Ninja Foodi Pulled Pork
Make this easy Ninja Foodi Pulled Pork using the pressure cooker function.
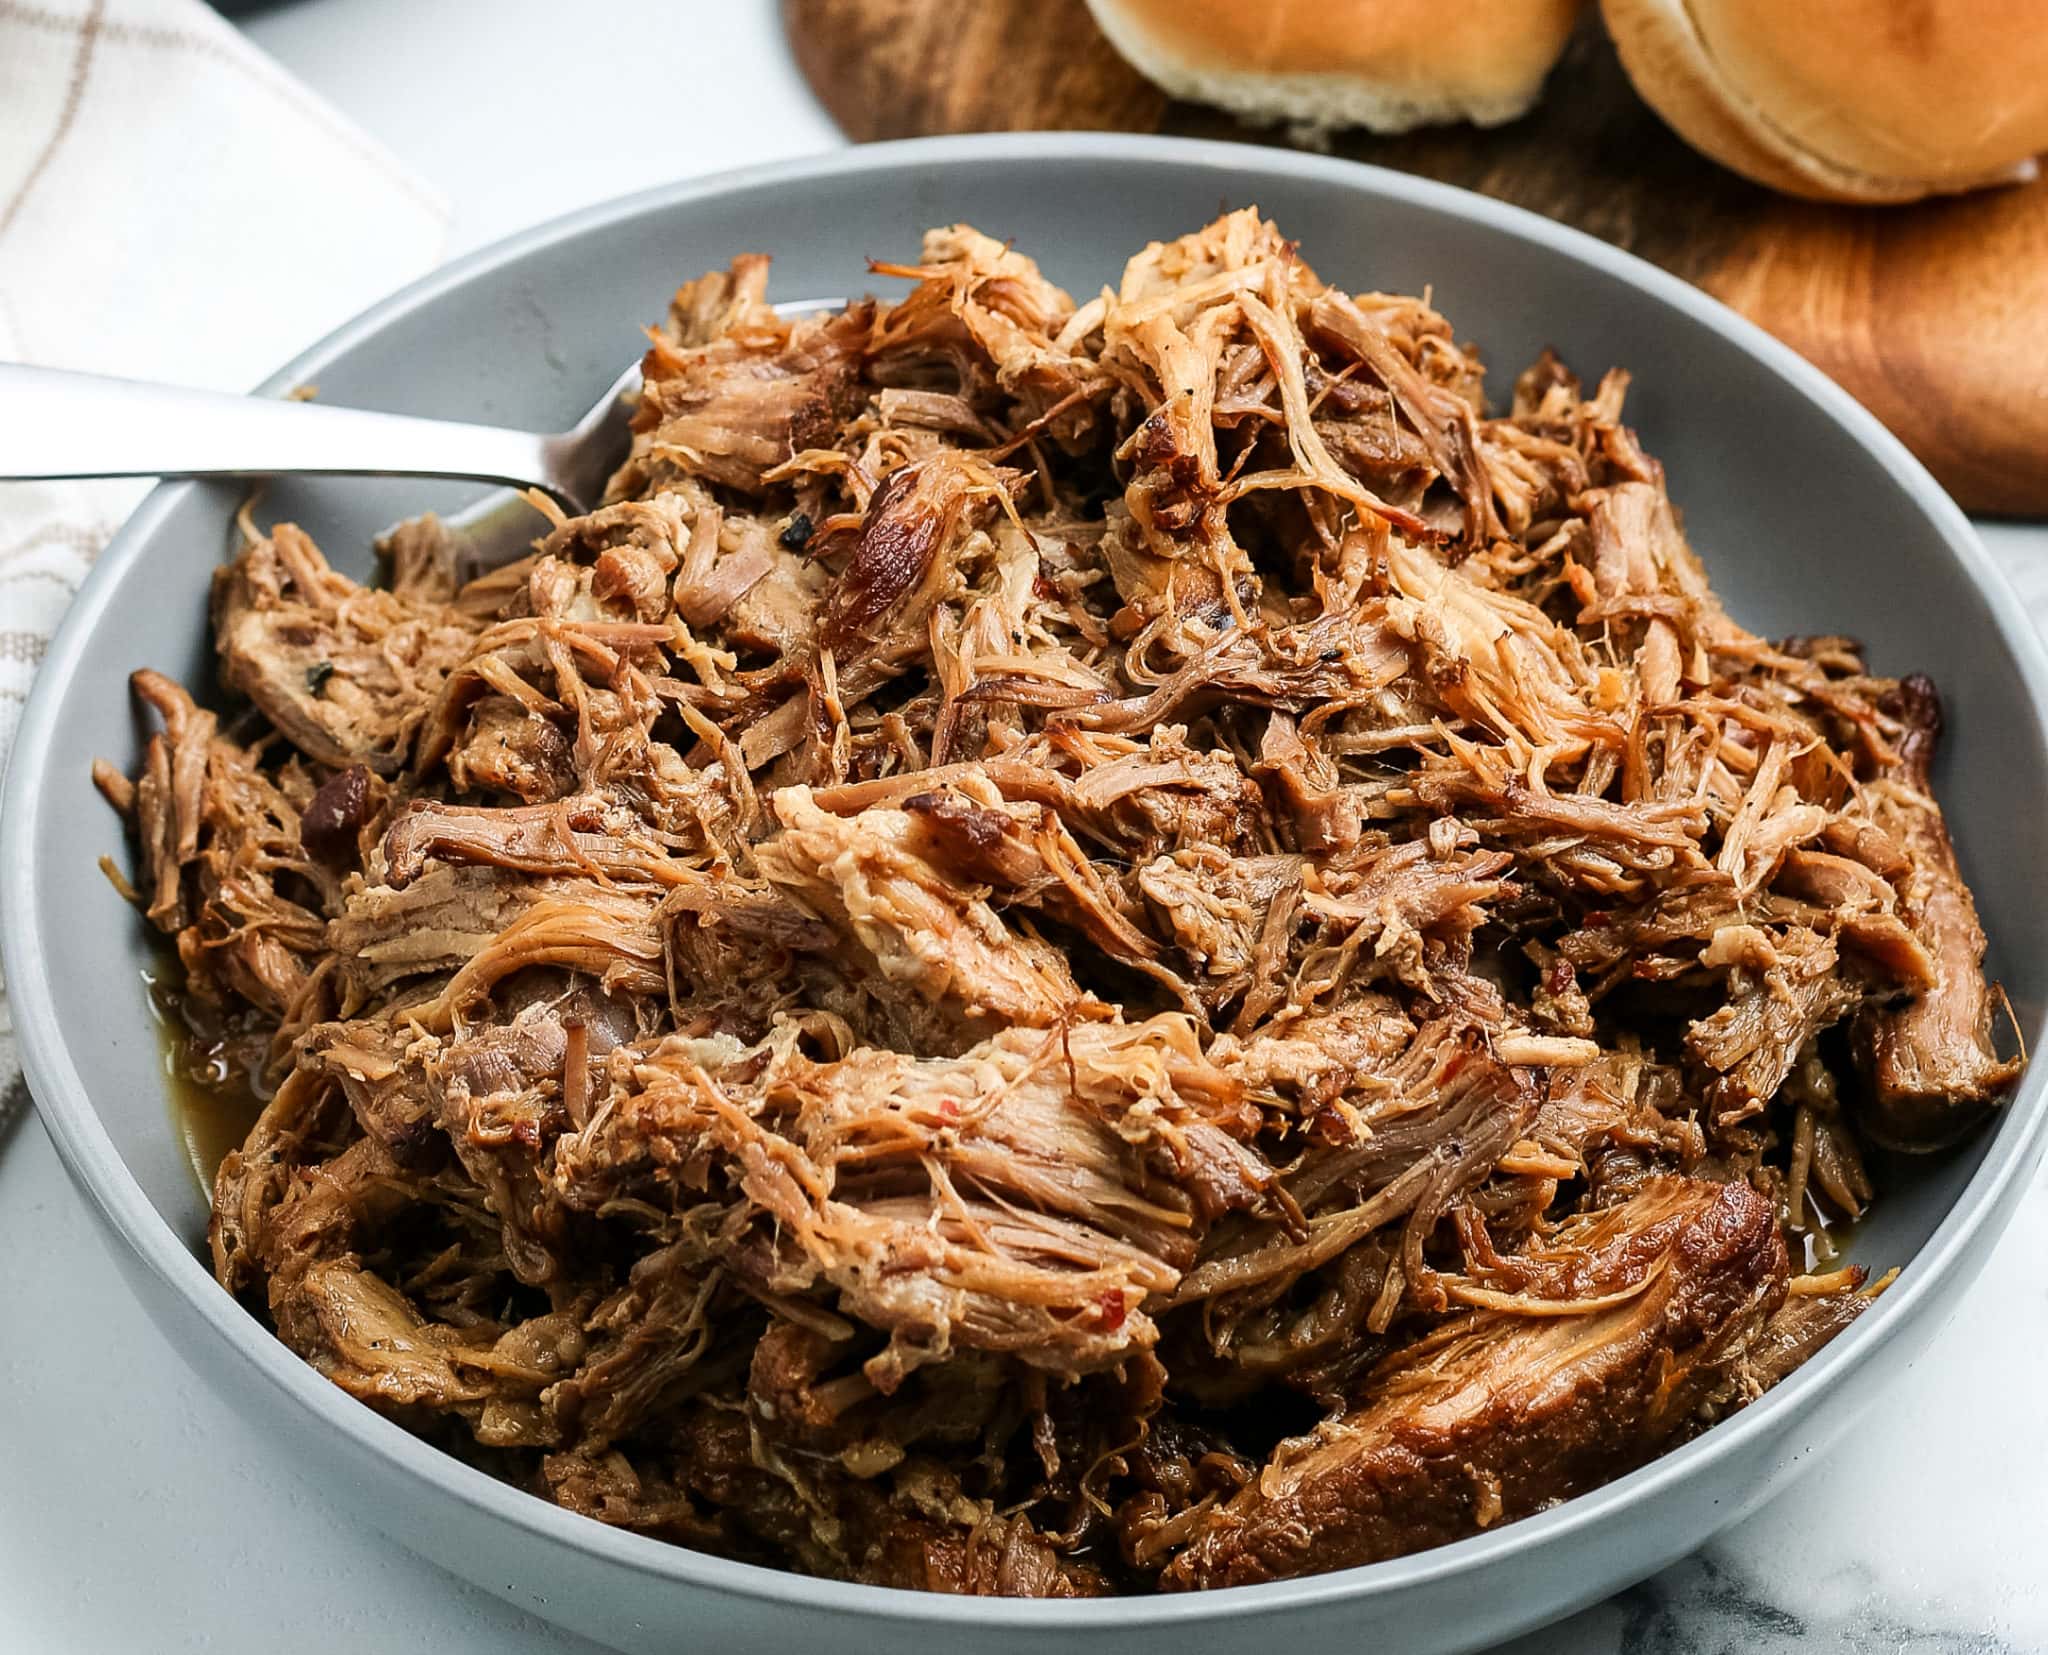
Ninja Foodi Pulled Pork is another great way to enjoy barbecue right in the Ninja Foodi!
If you are ready to have a great barbecue then this Ninja Foodi Pulled Pork is a perfect choice. This can be made in the slow cooker too; however, since I’ve fallen in love with the Ninja Foodi, I’ve been using it for a variety of meals.
Remember that almost all of these Ninja Foodi Recipes can be made as an Instant Pot Recipe too, they are typically going to be the exact same method with either appliance.
Tips for Making Ninja Foodi Pulled Pork:
Using the pot of the Ninja Foodi, coat it well with olive oil using a brush to sear the meat prior to pressure cooking it. This will give it a nice brown coating instead of that ugly gray coating that meat sometimes gets when steamed or pressure cooked.
This recipe will also use a dry rub that you can make with pantry style ingredients and then you can use this Ninja Foodi Pulled Pork to stuff in baked potatoes or as sandwiches, it’s even great in wraps or salad too.
We love to have some barbecue sauce on hand as well for this recipe.
If you like this recipe, you’ll enjoy this Slow Cooker BBQ Chicken too and it can be made in the slow cooker or the Ninja Foodi too.
Pair this recipe with Air Fryer Roasted Okra!
What cut of pork should you use for pulled pork?
It’s best to use the pork shoulder or pork butt, both come from the front of the pig. We prefer the pork butt, which is more marbled than a pork shoulder.
Pork Butt gives that fall apart, easy to shred result. Pork Shoulder will normally have the skin on, which is also a great choice for this recipe too.
Find more information on the difference between the two cuts here.
Now let’s enjoy this great Ninja Foodi Pulled Pork.
Also, be sure to check out these Ninja Foodi Pork Carnitas too!
Ingredients
Dry Rub
Additional Toppings
Steps
- 1
Add all dry rub ingredients to a bowl.
- 2
Place pork roast in a shallow dish and rub with the dry rub ingredients.
- 3
Let it rest for 1-2 hours to bring to room temperature.
- 4
Using the olive oil, brush it in the pot of the Ninja Foodi to fully coat the pot.
- 5
Set the Ninja Foodi to the saute function on medium-high heat and sear each chunk of pork on all sides to brown the outside.
- 6
Carefully remove and set aside.
- 7
Add the chicken broth to the pot.
- 8
Using a wooden or silicone spoon, deglaze the bottom of the pot by scrapping it.
- 9
Add the apple cider vinegar and mix together with the chicken broth.
- 10
Place the chunks of pork back into the pot and secure the pressure cooker lid in place.
- 11
Set the nozzle to 'seal' and cook on high pressure for 45 minutes.
- 12
Let it naturally release (do nothing) for 20 minutes.
- 13
Release the additional steam by turning the nozzle to 'vent'.
- 14
Remove the pork and place in a large bowl or on a platter and allow it to rest for about 5 minutes, then use 2 forks to shred the pork.
- 15
Use your desired toppings to serve it on a baked potatoes, topped over a bun with sauce or coleslaw.
Nutrition
- Calories
- 354
- Carbs
- 5 g
- Protein
- 51 g
- Fat
- 13 g
- Fiber
- 1 g
- Sodium
- 1098 mg
- Sugar
- 5 g
Estimates for one serving.
Filed under Recipes Gluten Free Main Dish Ninja Foodi Recipes