Gluten-Free Pressure Cooker Lasagna
Get ready to make a delicious Gluten-Free Pressure Cooker Lasagna in mere minutes with this easy recipe.
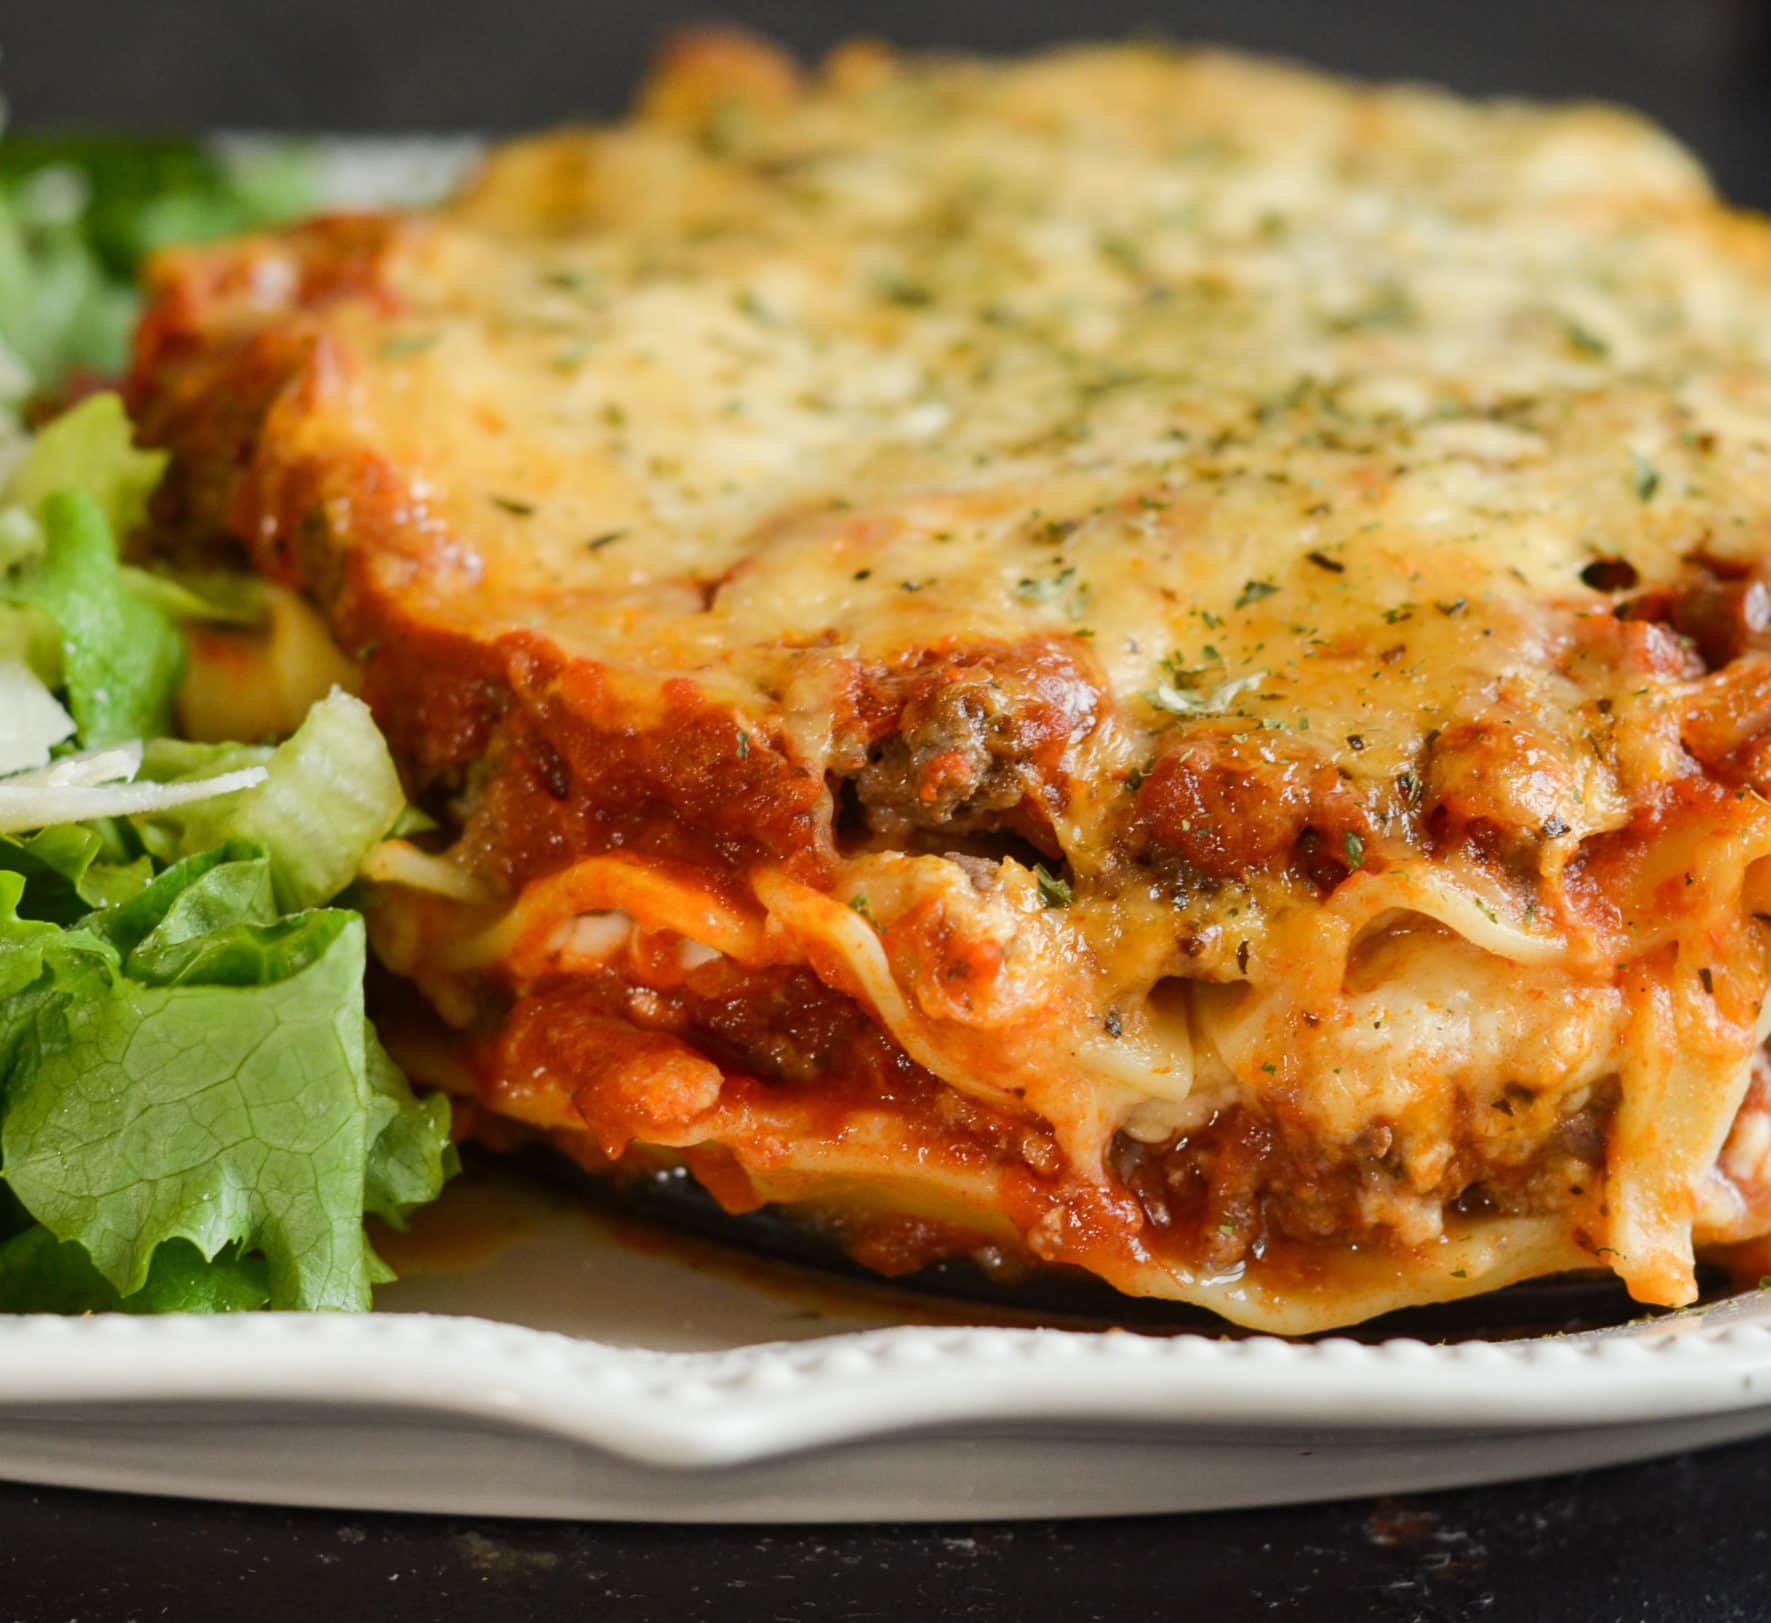
Get ready to make a delicious Gluten-Free Pressure Cooker Lasagna in mere minutes with this easy recipe.
Ingredients
Steps
- 1
Start by cooking the ground beef on high-heat on sauté, add in the garlic salt and Italian seasoning.
- 2
Carefully remove the meat and drain it.
- 3
Place the pot back into the pressure cooker along with 1 1/2 cups of water.
- 4
Add in the rack so that it's low and the handles are up to make it easy to remove it. This is doable with a Ninja Foodi. If it isn't with yours, make a foil sling to be able to easily remove the pan.
- 5
Using a 7-inch springform pan, spray it with non-stick cooking spray, and then add one layer of gluten-free oven-ready lasagna noodles to the bottom. These will need to be broken apart to fit.
- 6
Add in the ground beef, top it with part of the marinara sauce.
- 7
Top with 1/2 of the cottage cheese. It's best to use a slotted spoon so the liquid from the cheese can drain out.
- 8
Repeat the layer with lasagna noodles, meat, sauce, and cottage cheese.
- 9
Add the shredded mozzarella cheese on top along with garlic salt and Italian seasoning.
- 10
Place the pan in the pressure cooker, making sure if you are using a foil sling that it's centered properly.
- 11
Add the lid, seal the nozzle, and cook on high pressure for 20 minutes.
- 12
Natural release for 15 minutes.
- 13
While it's naturally releasing if you prefer, heat the oven to low broil.
- 14
Quick release the remaining and remove the lasagna.
- 15
Place the pan of lasagna on a baking sheet and put in the oven on low broil for 5 minutes. It's best to watch this closely as many times heat is different on broil for each oven.
- 16
Carefully remove.
- 17
Let cool for about 5 minutes and carefully release the pan. We found this was best done on the baking sheet so that any liquid could drain out.
- 18
It can be served right from here, or use a large spatula to move it to a serving plate.