No Bake Blue Bunny® PB ‘N Cone™ Ice Cream Pie
This shop has been compensated by Collective Bias, Inc. and its advertiser. All opinions are mine alone. #SoHoppinGood #BlueBunny #CollectiveBias
If you are looking for the perfect dessert this season then you must try this No Bake Blue Bunny® PB ‘N Cone™ Ice Cream Pie. This dessert is so easy to make, it’s a must!
I’m not sure what it is about this time of year, but my family tends to have lots of cookouts along with friends and family stopping in. I almost always have something to eat featured as well, my favorite though are no-bake desserts. I can easily whip up a no-bake dessert without even touching the oven or the stove. Why is this so great? Well among the obvious reasons, that means my house is not heating up with the oven on. Here in Oklahoma, the heat starts out immediately and sometimes it’s well over 100*, so a nice cold treat that I don’t have to use the oven for is my go-to. This No Bake Blue Bunny® PB ‘N Cone™ Ice Cream Pie totally hit the spot for us!
Blue Bunny® is featuring a whole new lineup for 2017 with several new flavors of ice cream. Of course the one that immediately grabbed my attention was Blue Bunny® PB ‘N Cone™. I grabbed that one at Walmart to use for this pie, but I also decided to pick up Blue Bunny® Monster Cookie Mash and Blue Bunny® Mint Cookie Crunch too. My family tends to love any ice cream that has ‘cookie’ in the name, so I knew those would be a hit! Not only did they introduce new flavors but also a new product called Blue Bunny® Bunny Snacks. These are bite-size frozen treats that are great on the go or served on a pool date! I also happen to love how they swirl the ice cream, it’s just gorgeous when you open up the carton. They even have Blue Bunny® Cakes too!
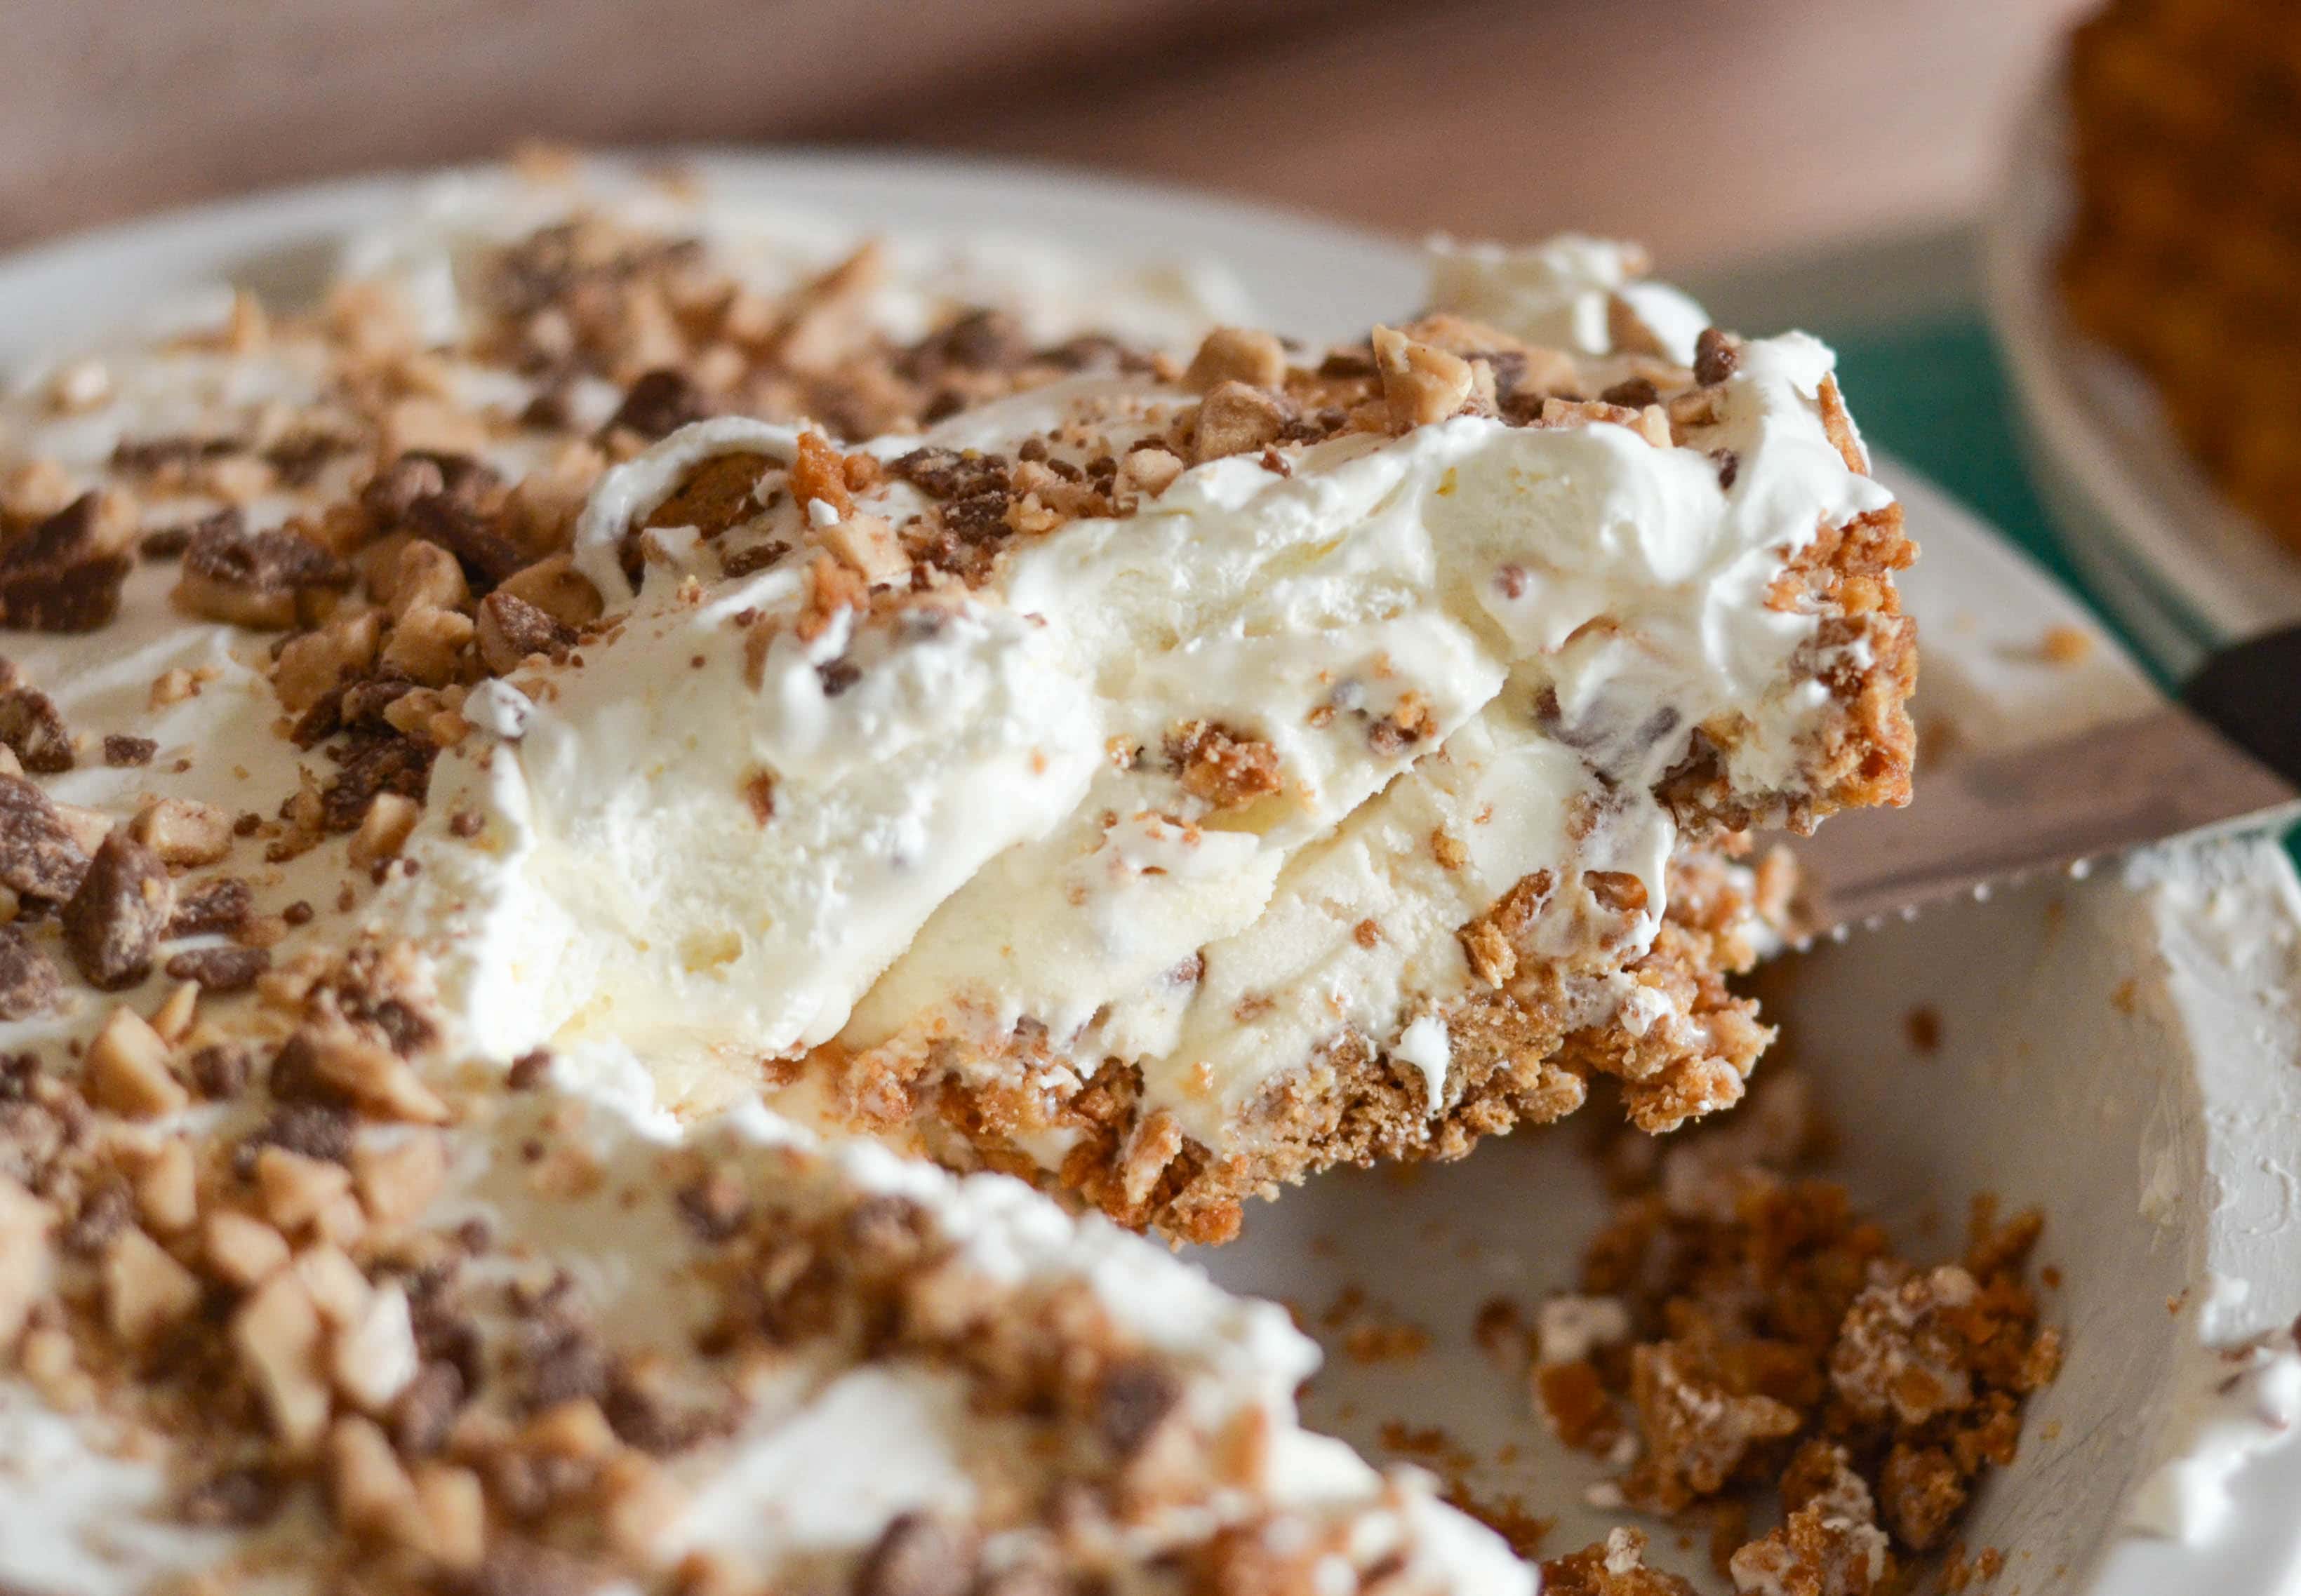
Now let’s chat about this tasty pie! It’s so simple, I decided to crush up some waffle cones for the crust, then I added the entire carton of the Blue Bunny® PB ‘N Cone™, topped it with a whipped topping, and garnished with toffee bits. It’s even pretty to add some caramel drizzle to the plate when serving. Of course, you need to let it harden for a while so that it’s setup well when you serve it.
One slice just wasn’t enough for my husband, he was anxious to assist me with pictures so that he could gladly clean up the plates. This is just a beautiful dessert to serve at a party this summer plus it’s nice and cold which is great in the summer heat.
What are some of your favorites flavors of ice cream? Be sure to check out all the new products that are available nationwide at Walmart. Then, I’d love to know your favorite!
Enjoy!
Ingredients
Steps
- 1
Set the ice cream aside to soften just a bit, enough to easily spread it.
- 2
While the ice cream softens, add the cones to a food processer and blend up.
- 3
Add the crushed cones to a bowl and mix in the melted butter.
- 4
Spray a 9 inch pie pan with non-stick baking spray, then press the crushed cone mixture into the pan to form the crust.
- 5
Carefully spread in the ice cream.
- 6
Add the whipped topping evenly on top of the ice cream.
- 7
Sprinkle with toffee bits.
- 8
Freeze for 2+ hours until hardened and ready to serve.