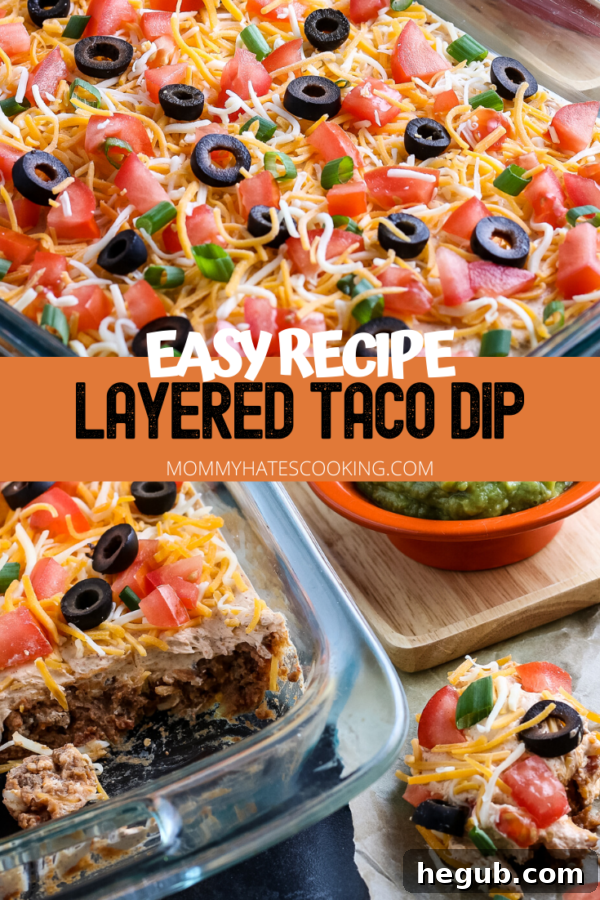
Effortless Entertaining: The Ultimate Layered Taco Dip Recipe (7 Layer Dip)
Searching for that perfect, crowd-pleasing appetizer that’s guaranteed to be a hit at any gathering? Look no further than this incredible Layered Taco Dip, often known as the 7 Layer Dip. This versatile and vibrant dish is a staple for parties, game days, and potlucks, offering a delightful combination of textures and bold flavors that everyone adores. It’s not just delicious; it’s also remarkably simple to prepare, making it your go-to recipe for stress-free entertaining. Prepare to impress your guests with minimal effort and maximum taste!
Why Layered Taco Dip is Your Go-To Party Appetizer
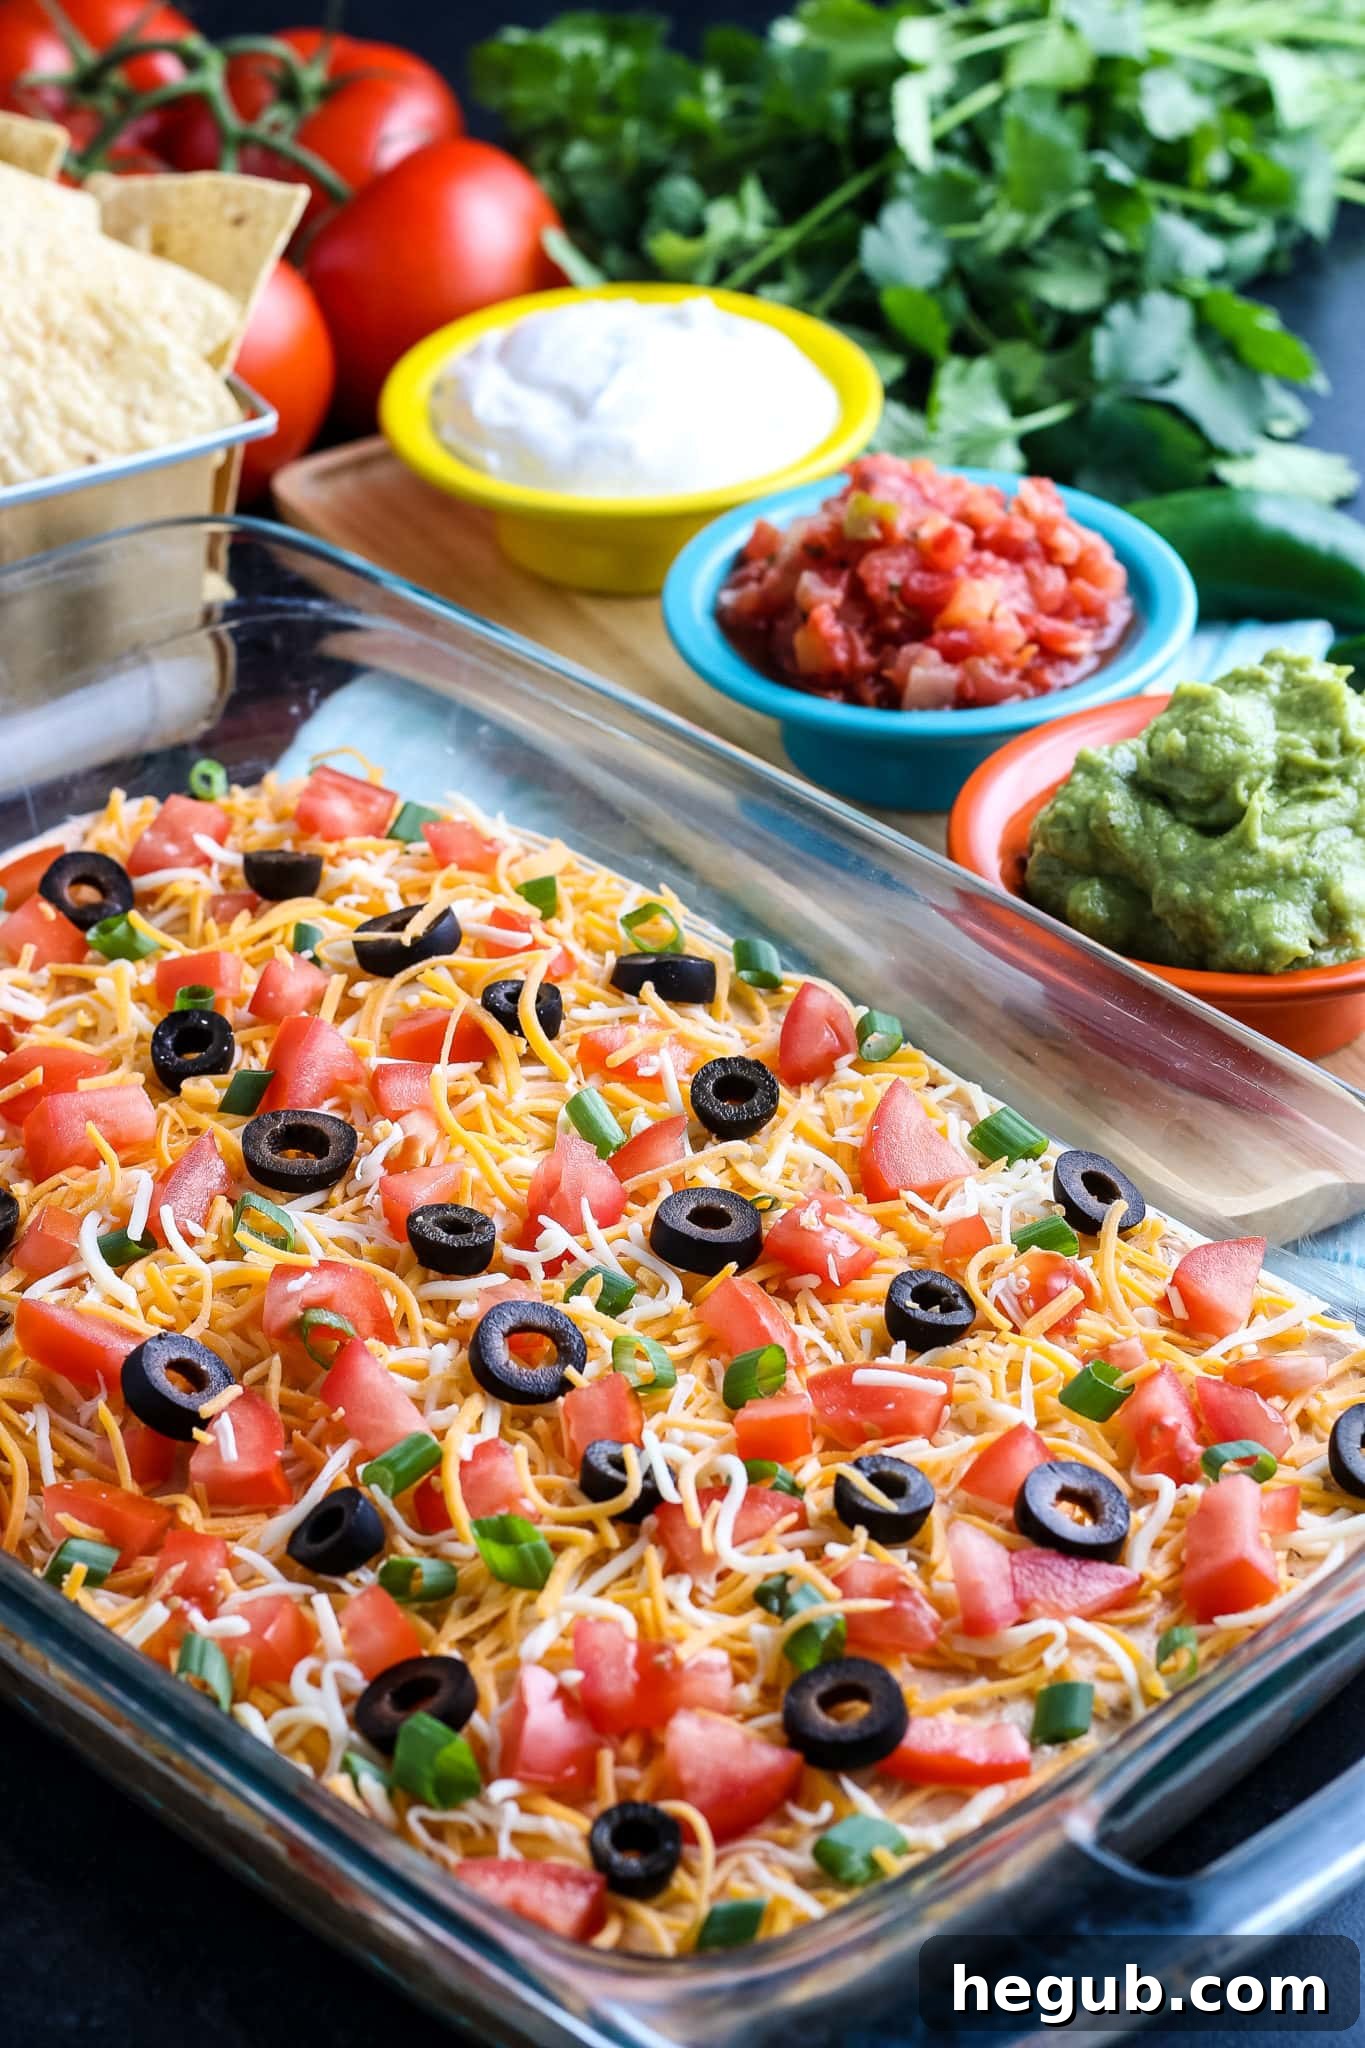
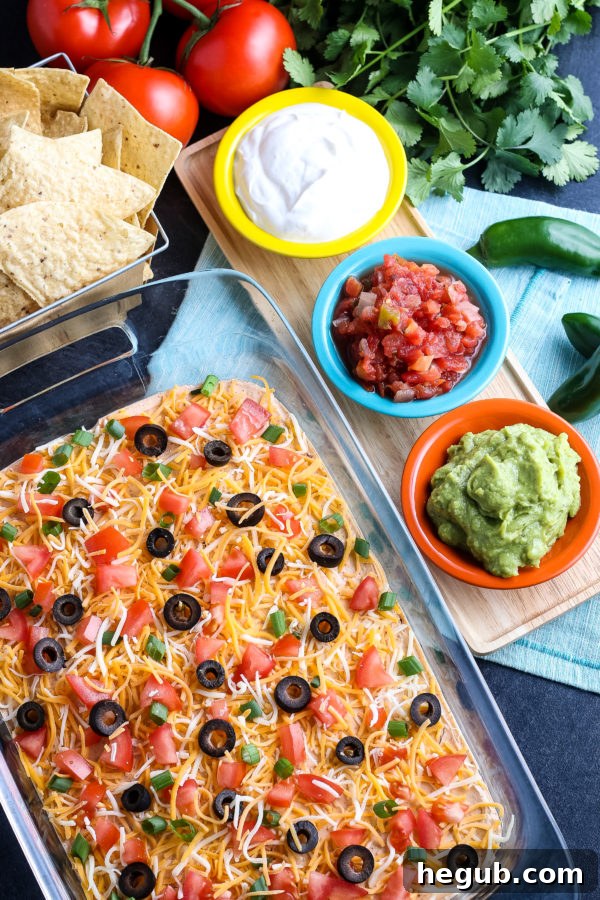
The beauty of Layered Taco Dip lies in its universal appeal and adaptability. This Mexican-inspired dish brings together a symphony of flavors – savory seasoned meat, creamy refried beans, a tangy sour cream mixture, and fresh, crisp toppings – all harmoniously layered for an irresistible scoop. Unlike many appetizers that require last-minute assembly, this dip thrives on being made ahead, allowing the flavors to meld and deepen. It’s a low-stress option that frees you up to enjoy your guests, rather than being stuck in the kitchen. Plus, its colorful presentation is naturally inviting, making it a focal point on any appetizer spread. Pair it with your favorite tortilla chips, and watch it disappear!
The Irresistible Layers of a Classic 7 Layer Dip
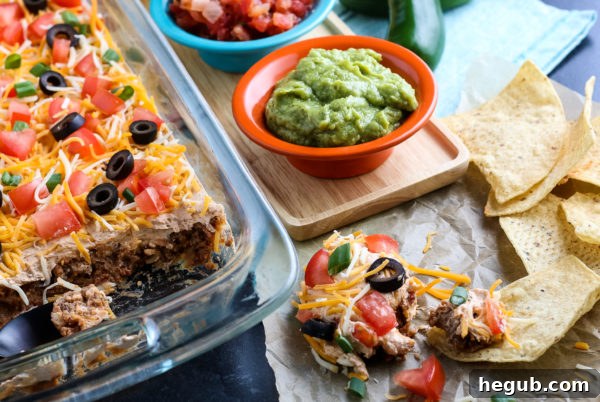
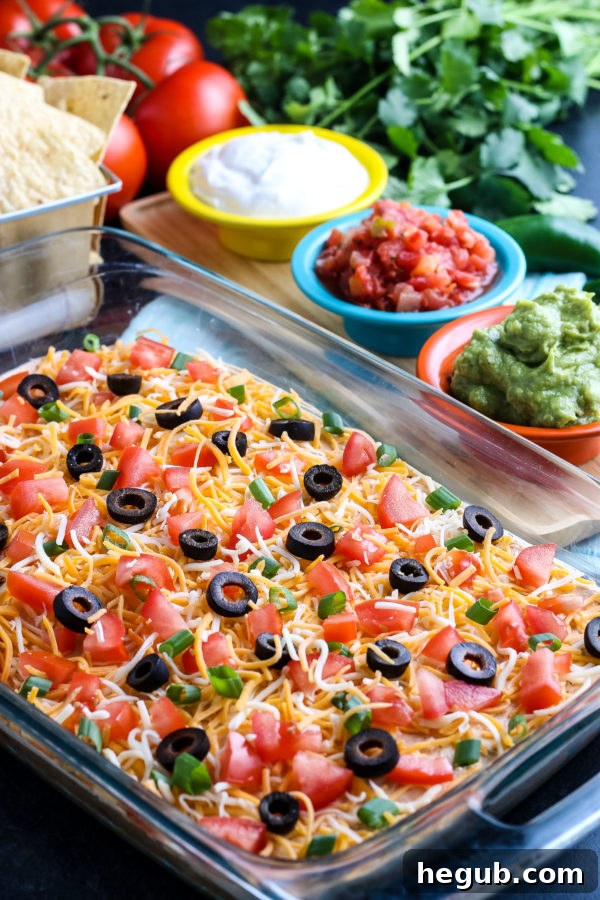
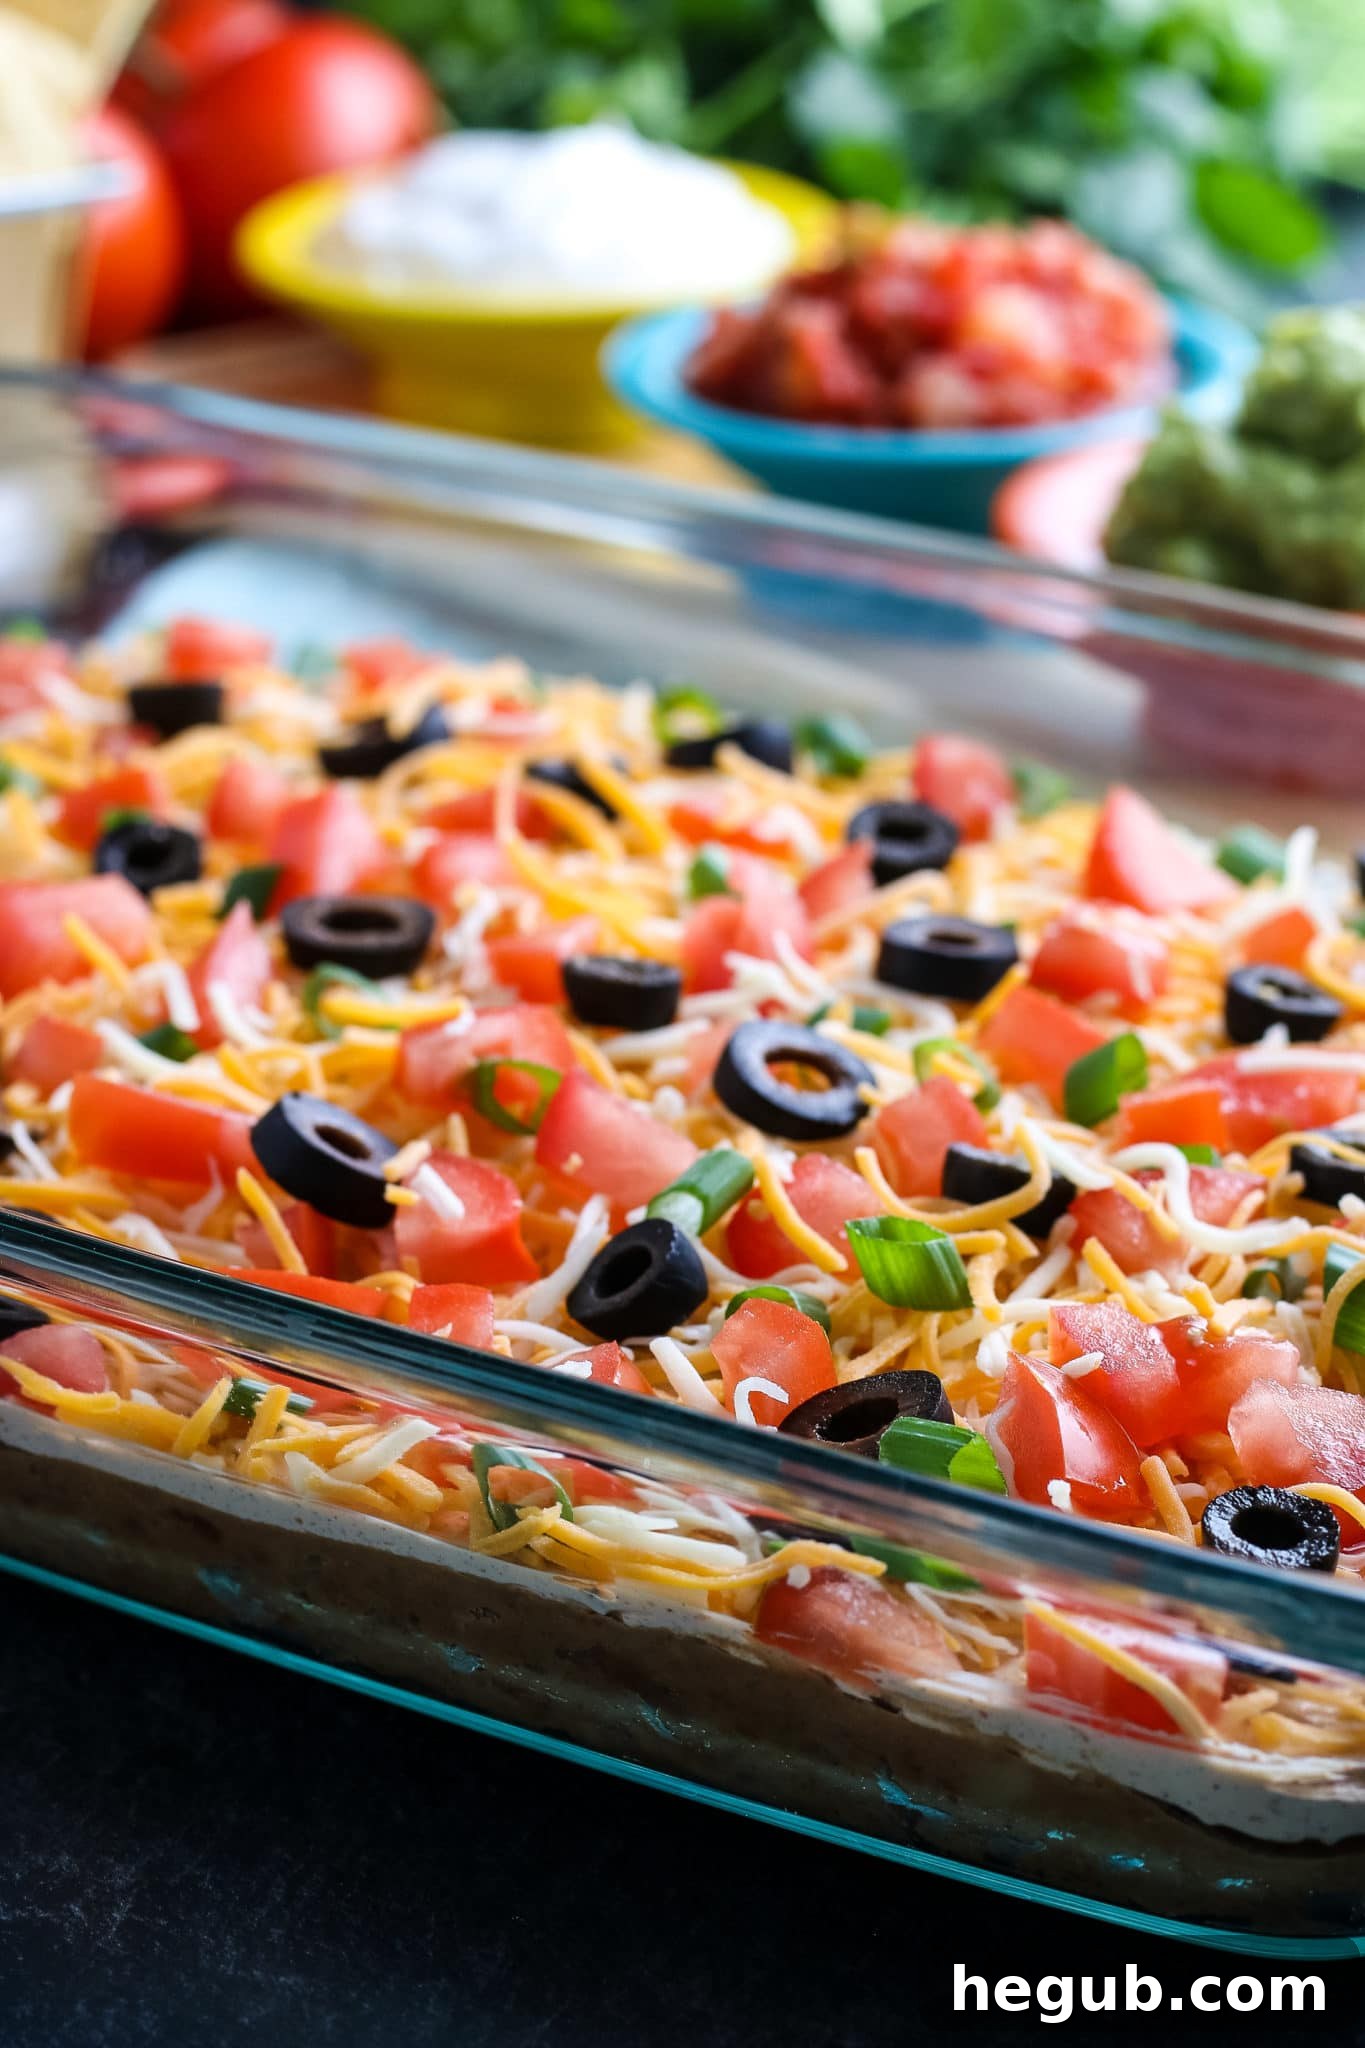
A true Layered Taco Dip is a masterpiece of culinary layering, with each component contributing to the overall experience. While variations abound, the classic 7-layer structure typically includes:
- **Seasoned Refried Beans:** The foundational layer, offering a creamy, earthy base.
- **Savory Taco Meat:** Adds a hearty, protein-packed element with authentic taco flavor.
- **Cream Cheese & Sour Cream Blend:** A cool, tangy, and impossibly smooth layer that perfectly balances the richer flavors below.
- **Shredded Cheese:** A generous blanket of cheddar and/or Mexican blend cheese for that classic cheesy goodness.
- **Diced Tomatoes:** Bursting with fresh, juicy flavor and a vibrant pop of color.
- **Sliced Black Olives:** Offers a briny, distinctive taste that complements the other ingredients.
- **Chopped Green Onions (Scallions):** Provides a mild oniony bite and a fresh green garnish.
Beyond these classic seven, many choose to add fresh avocado or guacamole, sliced jalapeños for a kick, or a sprinkle of fresh cilantro for an extra layer of flavor and visual appeal. The possibilities for customization are endless, allowing you to tailor this dip to your personal preferences and dietary needs.
Making Layered Taco Dip Ahead of Time: Your Party Prep Secret Weapon
One of the most fantastic features of Layered Taco Dip is its make-ahead potential. Yes, you can absolutely prepare this delicious dip the night before, or even earlier on the day of your event! Allowing it to chill in the refrigerator for several hours, or even overnight, gives the flavors a chance to fully meld and intensify, resulting in an even more delicious dip. The chilling process also helps the layers to set, making it easier to scoop and serve without them running together.
To prepare in advance, simply assemble all the layers as per the recipe instructions. Once completed, cover the dish tightly with plastic wrap to prevent air exposure, which can dry out the dip or cause the fresh toppings to lose their vibrancy. Store it in the coldest part of your refrigerator. When it’s time to serve, simply remove it from the fridge and let it sit at room temperature for 10-15 minutes to take off the chill, making it perfectly scoopable and enjoyable. This strategic planning means less stress on party day and more time to socialize!
Serving Your Layered Taco Dip Warm or Cold?
While traditionally served chilled, Layered Taco Dip can also be enjoyed warm, offering a different but equally delicious experience. The choice largely depends on your personal preference and the occasion.
- Serving Cold: This is the most popular method. The cool, crisp layers and refreshing toppings make it an ideal snack for warm weather, outdoor gatherings, or as a vibrant contrast to other hot appetizers. The distinct textures of each layer are more pronounced when cold.
- Serving Warm: If you prefer a melted cheese experience and a comforting, hearty dip, warming it is a great option. To do so, prepare all the layers up to the cheese (excluding fresh toppings like tomatoes, olives, green onions, avocado, and cilantro). Bake the dip in a preheated oven at 350°F (175°C) for 15-20 minutes, or until the cheese is bubbly and the dip is heated through. Once warm, remove from the oven and then add your fresh, cool toppings. This ensures the toppings remain fresh and don’t wilt from the heat. Warm dip is particularly great for cooler months or as a substantial appetizer for a game night.
How Long Will Layered Taco Dip Last? Proper Storage for Freshness
Proper storage is key to maximizing the lifespan and freshness of your Layered Taco Dip. When stored correctly in the refrigerator, this dip will typically last for about 3 to 4 days. To ensure optimal freshness and safety, follow these guidelines:
- **Airtight Container:** Transfer any leftover dip into an airtight container. If keeping it in the original serving dish, make sure it has a tight-fitting lid or cover it very securely with multiple layers of plastic wrap. This minimizes exposure to air, which can cause oxidation (browning of avocado, wilting of fresh veggies) and bacterial growth.
- **Refrigeration Temperature:** Always keep the dip at or below 40°F (4°C). Avoid leaving it out at room temperature for more than two hours, as this can lead to rapid bacterial growth.
- **Visual and Olfactory Check:** Before serving leftovers, always give it a quick visual inspection and a sniff test. Discard the dip if you notice any signs of spoilage, such as an off smell, unusual discoloration (beyond natural browning of avocado), or mold.
For best flavor and texture, it’s always recommended to enjoy the dip within 2-3 days of preparation, especially with fresh toppings involved.
Crafting a Gluten-Free Layered Taco Dip: Important Considerations
Good news for those with gluten sensitivities: Layered Taco Dip can be made naturally gluten-free with just a few mindful checks! Most of the core ingredients are inherently gluten-free, but it’s crucial to be vigilant about hidden gluten in processed items.
Here’s what to look for:
- **Taco Seasoning:** This is often the main culprit for hidden gluten. Many store-bought taco seasoning packets contain wheat flour or other gluten-containing anti-caking agents. Always opt for a brand explicitly labeled “gluten-free taco seasoning.” Alternatively, you can easily make your own homemade gluten-free taco seasoning using spices like chili powder, cumin, paprika, garlic powder, onion powder, and oregano.
- **Refried Beans:** While most plain refried beans are naturally gluten-free, it’s still best practice to check the label. Some brands might add flavorings or stabilizers that contain gluten. Look for certifications or clear “gluten-free” statements on the can.
- **Other Ingredients:** Ground beef, cream cheese, sour cream, fresh vegetables (tomatoes, green onions, olives, avocado, cilantro), and shredded cheeses are typically gluten-free. However, if you are highly sensitive, a quick glance at the ingredient list of any packaged product is always a good idea, especially for cross-contamination warnings.
- **Tortilla Chips:** Ensure your serving vehicle is also gluten-free! Most corn tortilla chips are naturally gluten-free, but again, check the packaging to confirm.
By simply paying attention to these key ingredients, you can easily enjoy a delicious and worry-free gluten-free Layered Taco Dip!
Expert Tips for the Best Layered Taco Dip Ever
To elevate your Layered Taco Dip from great to absolutely unforgettable, consider these expert tips:
- **Seasoning is Key:** Don’t skimp on the taco seasoning for your ground beef. If making your own, taste and adjust for a robust flavor. For an extra kick, add a pinch of cayenne pepper.
- **Cream Cheese Softening:** Ensure your cream cheese is fully softened to room temperature. This makes it much easier to blend smoothly with the sour cream and garlic, creating a silky, lump-free layer.
- **Garlic Freshness:** Freshly minced garlic in the sour cream layer makes a world of difference compared to garlic powder. Its pungent flavor brightens the creamy mixture beautifully.
- **Drain Your Meat Thoroughly:** After browning the ground beef, make sure to drain off all excess fat. This prevents your dip from becoming greasy.
- **Don’t Over-mix Toppings:** When adding fresh toppings like diced tomatoes and green onions, scatter them gently. Over-mixing can make the dip watery or mushy.
- **Chill Time is Crucial:** While you can serve it right away, allowing the dip at least an hour (or preferably more) in the fridge to chill and set up is a game-changer. The flavors meld, and the layers become more distinct and easier to scoop.
- **Presentation Matters:** Use a clear glass dish to showcase the beautiful layers of your dip. Arrange fresh cilantro or a few extra olive slices on top just before serving for an attractive finish.
- **Variety of Dippers:** While tortilla chips are classic, consider offering a variety of dippers like fresh vegetable sticks (cucumber, bell pepper, carrots) for a healthier alternative.
Now, let’s get to this fantastic recipe so you can serve up the ultimate Layered Taco Dip at your next gathering!
Created by: Kristy Still
Layered Taco Dip
Cuisine: American
Servings: 10
Make a fabulous Layered Taco Dip to serve for a party or potluck! It’s easy to make gluten-free too.
Pin Recipe
Prep Time: 15 mins
Cook Time: 15 mins
Total Time: 30 mins
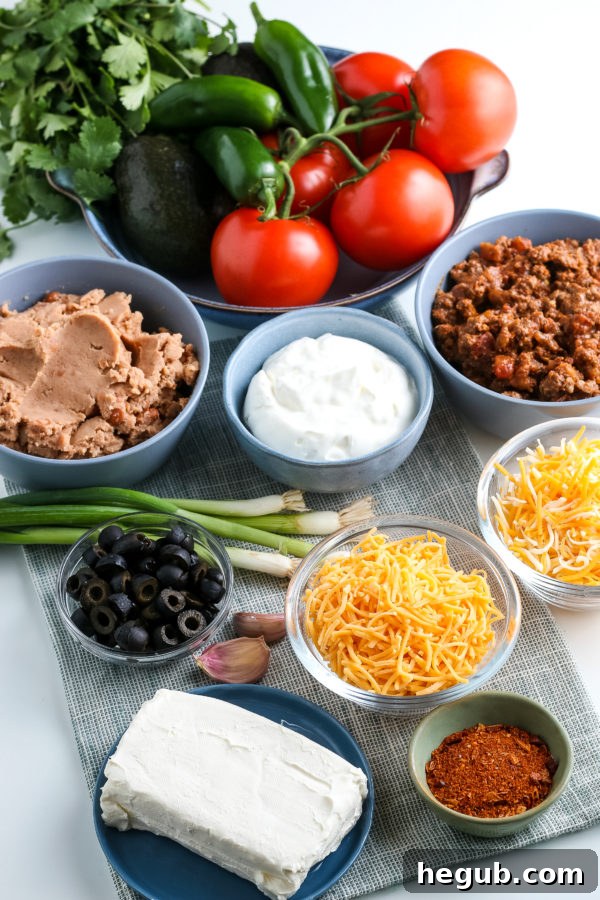
Ingredients
Dip Base
- 1 Lb Ground Beef
- 4 Tbsp Taco Seasoning (Divided, or Gluten-Free Seasoning)
- 1 (16 oz) Can of Refried Beans
- 8 oz Cream Cheese (Softened)
- 1 Cup Sour Cream
- 2 Garlic Cloves (Minced)
Toppings
- 1 Cup Shredded Mild Cheddar Cheese
- 1 Cup Shredded Mexican Blend Cheese
- 2 Tomatoes (Diced)
- 3 Green Onions (Diced)
- 1 Can (2.25oz) Sliced Black Olives
- 2 Tbsp Chopped Cilantro
- Jalapeno Peppers (Sliced, optional)
- Avocado (Sliced, optional)
Instructions
- If necessary, brown the ground beef in a skillet and drain any excess fat.
- Return the cooked beef to the pan. Add 2 Tbsp (or 1 envelope) of taco seasoning and 1/2 cup of water. Cook until all liquid is absorbed and the meat is fully seasoned.
- In a medium-sized bowl, combine the seasoned taco meat and the refried beans, mixing well until thoroughly incorporated.
- Transfer this mixture evenly into a 9×13 inch glass dish, spreading it to form the first layer.
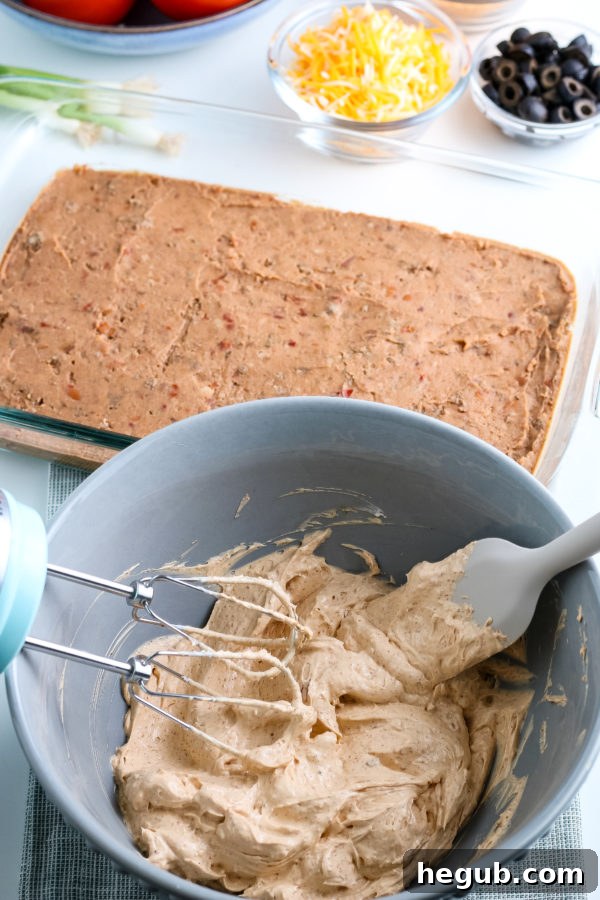
- In another medium bowl, combine the softened cream cheese, sour cream, minced garlic, and the remaining 2 Tbsp (or 1 envelope) of taco seasoning. Mix until the blend is completely smooth and creamy.
- Carefully spread this creamy mixture evenly over the bean and meat layer in the dish.
- Now, generously top with the shredded cheddar cheese and Mexican blend cheese.
- Arrange the diced tomatoes, diced green onions, and sliced black olives over the cheese layer. Add optional toppings like sliced jalapeno peppers and avocado if desired.
- Place the assembled dip in the refrigerator and chill for at least 1 hour before serving. This allows the flavors to meld and the layers to set.
- Serve chilled with your favorite tortilla chips and enjoy!
Notes
For a warm dip, prepare all layers up to the cheese (excluding fresh toppings). Place in a 350°F oven for 15-20 minutes, or until cheese is melted and dip is warm, BEFORE adding any additional cool toppings.
This recipe pairs perfectly with a flavorful Crockpot Taco Meat for extra ease.
For a vegetarian option, simply omit the ground beef layer. You can add an extra can of refried beans or a layer of black beans instead.
Nutrition
Serving: 1g | Calories: 379kcal | Carbohydrates: 17g | Protein: 23g | Fat: 25g | Saturated Fat: 11g | Polyunsaturated Fat: 10g | Trans Fat: 1g | Cholesterol: 82mg | Sodium: 551mg | Fiber: 6g | Sugar: 5g
Did you make this recipe?
Make sure to tag #mommyhatescoooking on Instagram and follow for more @momhatescooking
Pin Recipe
Share on Facebook