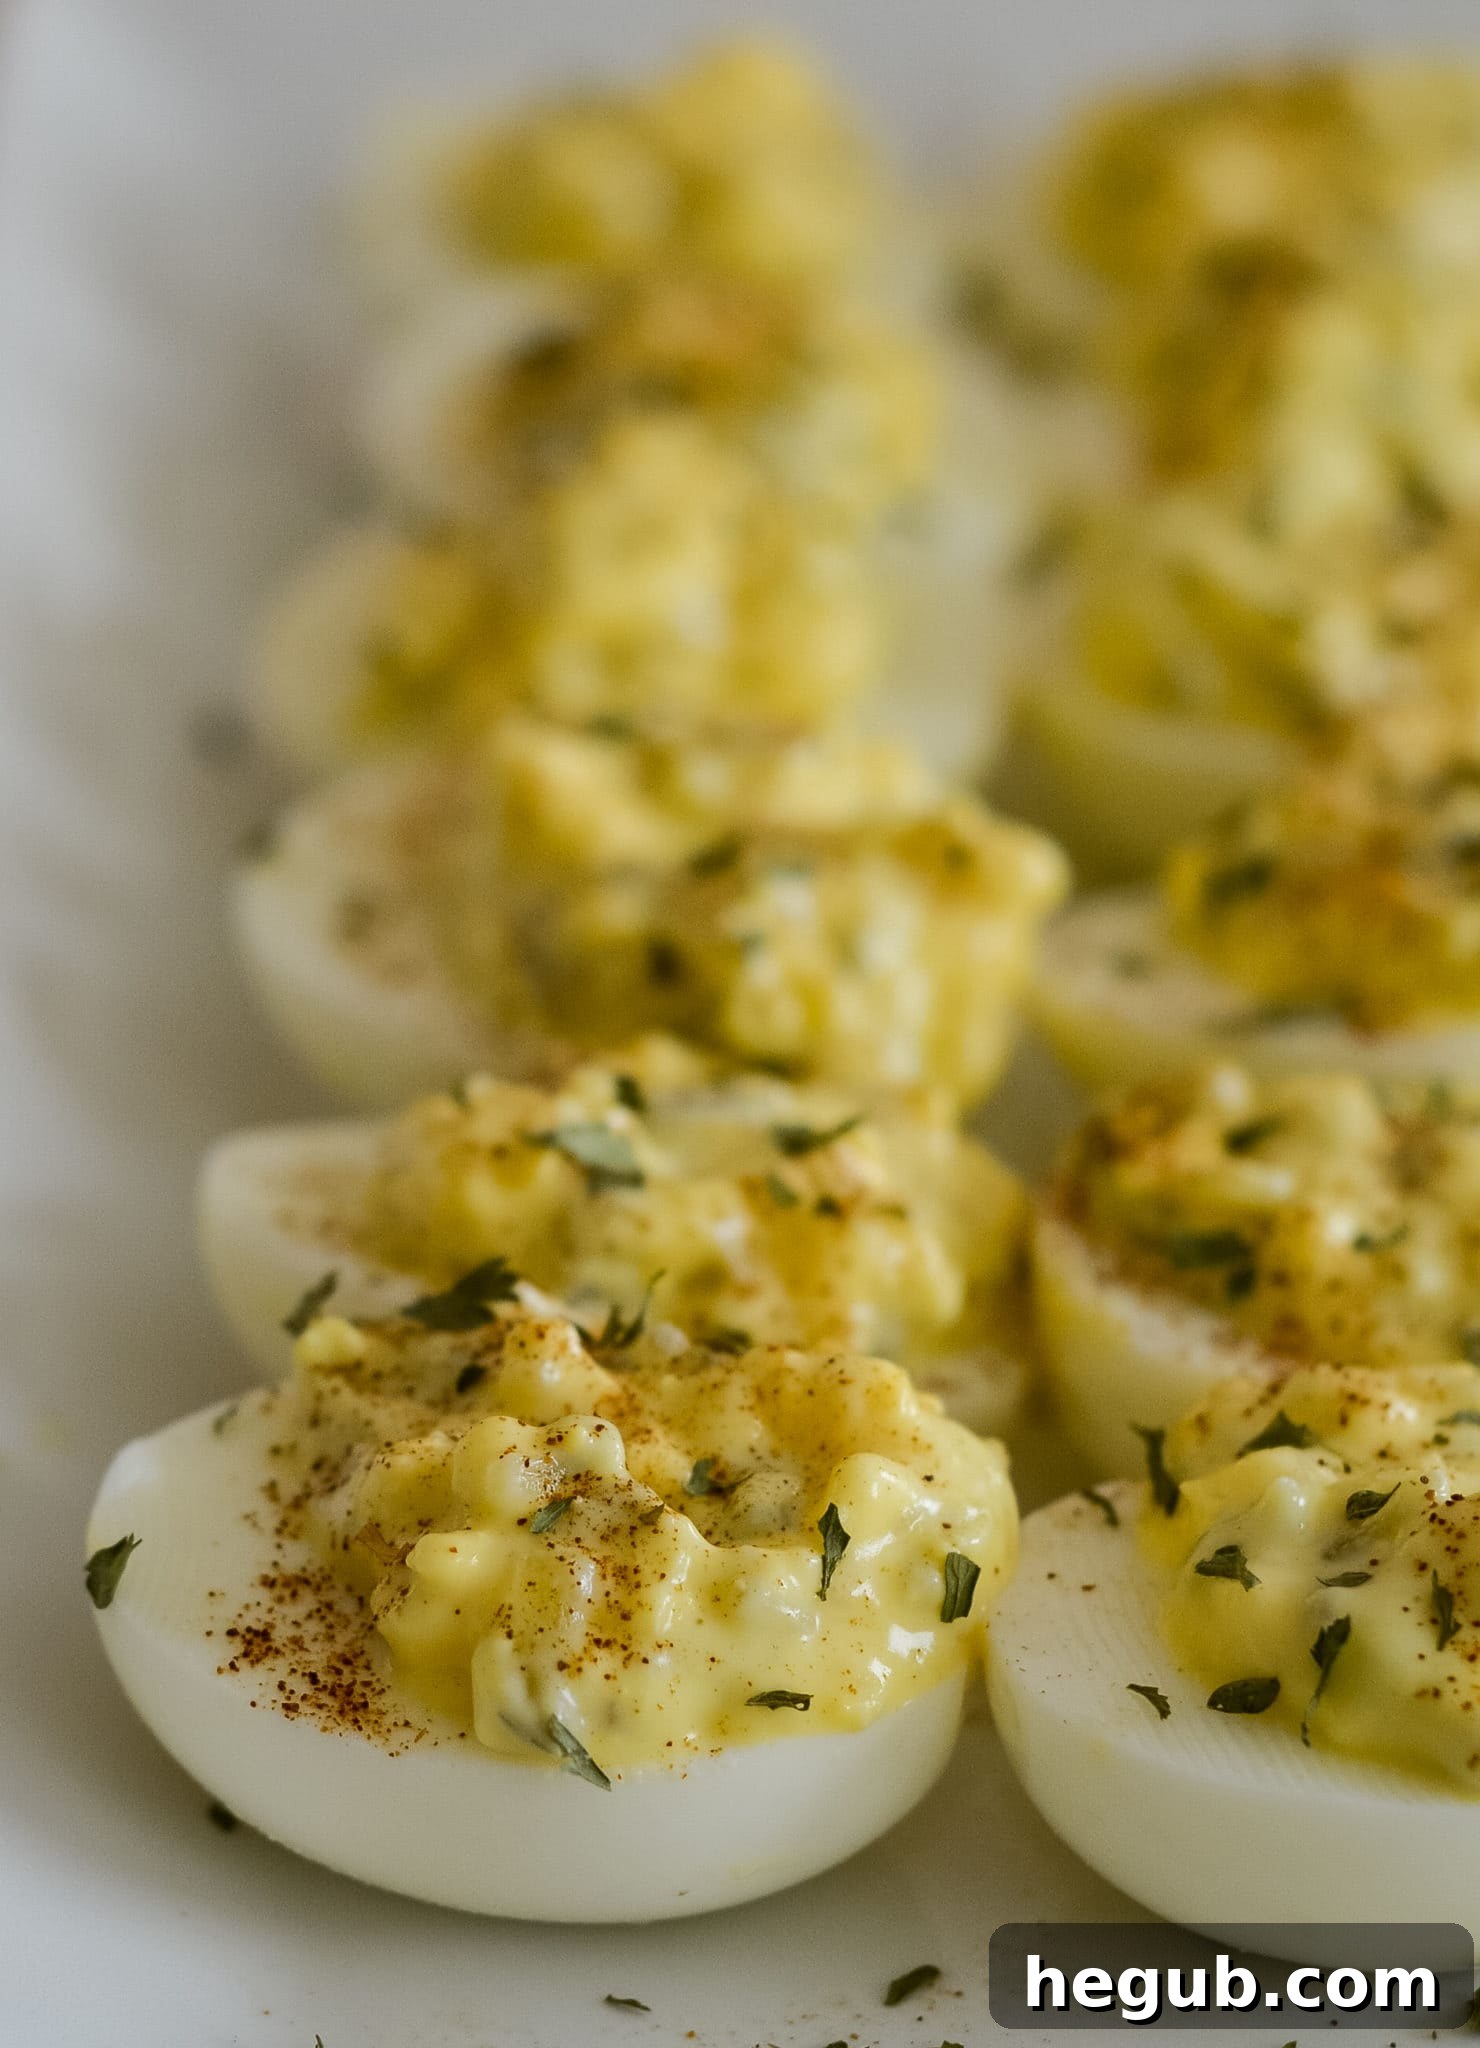
Experience the Best: Creamy Dill Pickled Deviled Eggs
There are classic recipes that evoke a sense of warmth, tradition, and pure comfort. For many, deviled eggs hold this special place, a beloved appetizer gracing tables at family gatherings, holiday feasts, and casual potlucks alike. But what if we told you there’s a version that elevates this timeless treat to an entirely new level of deliciousness? Enter **Dill Pickled Deviled Eggs** – a recipe that masterfully blends the rich, creamy texture of traditional deviled eggs with a delightful, zesty tang from dill and sweet relish. This isn’t just any deviled egg recipe; it’s a taste of nostalgia, often reminiscent of how grandma used to make them, offering a perfect balance of savory and sweet with a whisper of dill.
Preparing these exceptional deviled eggs is surprisingly simple, making them an ideal choice for any occasion. Whether you’re contributing to a large holiday dinner, planning a picnic, or simply craving a satisfying snack, these dill-infused delights are guaranteed to be a hit. Beyond their irresistible flavor, they are also naturally gluten-free, catering to a wider range of dietary needs without compromising on taste or texture.
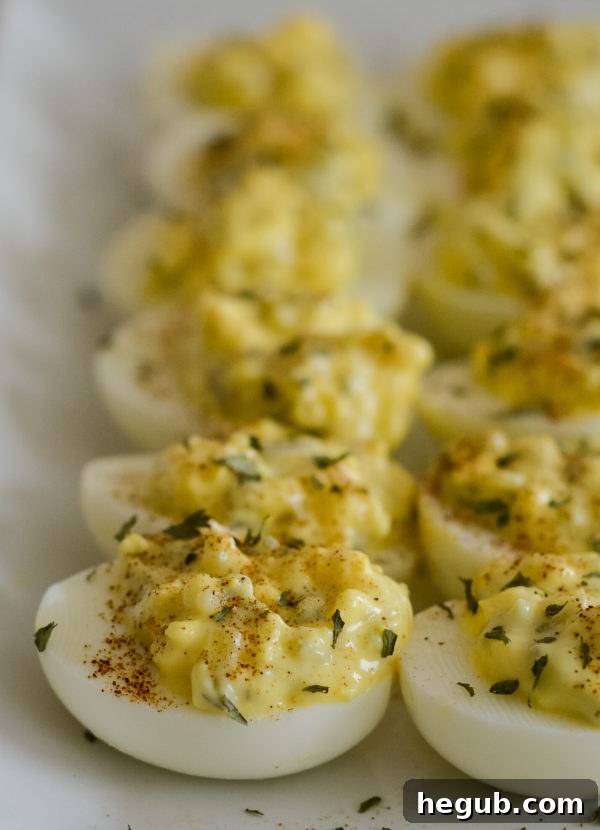
Deviled eggs are more than just a dish; they’re a celebration of flavor and a testament to how simple ingredients can create something truly extraordinary. This particular recipe for Dill Pickled Deviled Eggs stands out by introducing a nuanced complexity. Instead of a strong, overpowering pickle flavor, it delivers a subtle, tangy zest that complements the creamy egg yolk filling beautifully. This careful balance ensures the eggs remain the star, enhanced by the bright notes of dill and the gentle sweetness of relish. They’re a mandatory addition to any holiday table, from Easter brunch to Fourth of July barbecues, offering a refreshing twist on a classic everyone loves.
Essential Ingredients for Your Dill Pickled Deviled Eggs
Crafting the perfect batch of Dill Pickled Deviled Eggs doesn’t require an extensive list of obscure ingredients. In fact, one of the beauties of this recipe is its simplicity and reliance on pantry staples. The magic truly happens when these few key components come together in harmony, creating a flavor profile that is both familiar and exciting.
The Core Components:
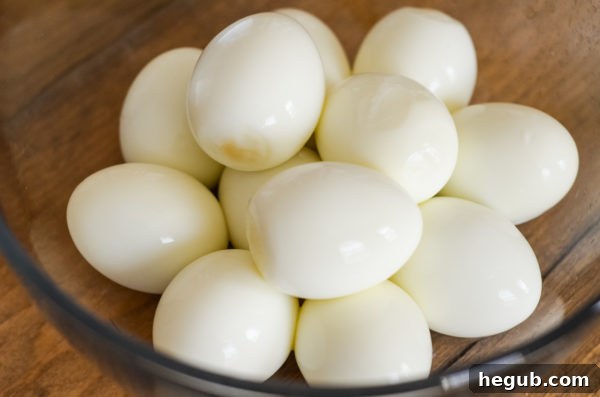
- Hard-Boiled Eggs: The foundation of any great deviled egg. Achieving perfectly cooked and easily peelable eggs is crucial for both taste and presentation.
- Mayonnaise: This binds the yolk mixture, providing the signature creaminess and rich texture that defines deviled eggs. The quality of your mayonnaise can significantly impact the final flavor.
- Dill Weed: The star of the “dill pickled” element. Dried dill weed offers a concentrated dill flavor that integrates seamlessly into the filling.
- Sweet Relish: This adds a delightful touch of sweetness and a gentle tang, contributing to the “pickled” character without being overtly sour.
- Paprika: Primarily used as a garnish, it adds a touch of color and a subtle earthy, smoky note, enhancing the visual appeal.
These ingredients are carefully chosen to deliver a deviled egg experience that is vibrant and nuanced. The combination ensures a subtle pickle flavor that is never overwhelming, but rather a zesty complement to the creamy eggs. Unlike recipes that might call for pickle juice, which can be too sharp, sweet relish provides a balanced acidity and sweetness that perfectly rounds out the profile. It creates a deviled egg filling that is rich, savory, and just a hint sweet, making it utterly addictive.
Why Sweet Relish is Preferred
When selecting your relish, we highly recommend opting for sweet relish over dill pickle relish. While dill pickle relish might seem like the obvious choice for “dill pickled” eggs, sweet relish contributes a crucial element: balance. Its inherent sweetness harmonizes beautifully with the savory eggs and the distinct flavor of dill weed, preventing the filling from becoming too tart or one-dimensional. This choice truly creates a unique sweet and savory flavor profile that sets these deviled eggs apart from the rest, making them exceptionally appealing to a wide palate.
Understanding Dill: Dried vs. Fresh
This recipe specifically calls for dill weed, which is the dried form of the dill herb. Dried dill weed has a more concentrated flavor and is readily available in most spice aisles. If you prefer to use fresh dill, you’ll need a different quantity, typically about three times the amount of dried dill to achieve a comparable flavor. Fresh dill, with its brighter, more herbaceous notes, can also make a fantastic garnish. A sprinkle of finely chopped fresh dill sprigs on top of the finished deviled eggs not only adds an appealing visual touch but also a burst of fresh flavor just before serving, elevating the overall experience.
Mastering the Base: Perfect Hard-Boiled Eggs Every Time
The secret to exceptional deviled eggs lies in the quality of your hard-boiled eggs. Achieving firm whites and creamy, vibrant yolks is paramount. The good news is there are several reliable methods to prepare hard-boiled eggs, each with its own advantages. Whether you prefer a traditional approach or modern kitchen gadgets, getting perfectly cooked, easy-to-peel eggs is simpler than you might think.
Popular Methods for Hard-Boiling Eggs:
- Stovetop: The classic method, involving a large pot of boiling water.
- Pressure Cooker / Instant Pot: Offers consistent results and often makes peeling incredibly easy.
- Ninja Foodi: A versatile appliance that combines pressure cooking and air frying, also excellent for hard-boiled eggs.
- Pellet Grill / Smoker: For those looking for a unique, smoky twist, smoked hard-boiled eggs add an extra layer of flavor.
Our go-to method for consistently perfect and easy-to-peel hard-boiled eggs is the Instant Pot or Ninja Foodi. These pressure cooker methods typically involve a short cooking time followed by an immediate ice bath. The rapid change in temperature helps the egg whites contract, making the shells detach effortlessly. For stovetop methods, bringing the water to a rolling boil, adding eggs, then reducing heat to a simmer for a specific time, followed by an ice bath, also yields great results. Regardless of the method, the ice bath step is key to halting the cooking process, preventing that unsightly green ring around the yolk, and ensuring easy peeling. Using eggs that are a few days old can also aid in easier peeling, as fresher eggs tend to cling more to their shells.
Crafting the Irresistible Yolk Mixture
Once your hard-boiled eggs are perfectly prepared and cooled, it’s time to transform those vibrant yolks into the star of your deviled eggs: the creamy, flavorful filling. This step is where the magic truly comes alive, as you combine the rich yolks with the zesty dill and sweet relish to create an unforgettable taste experience.
Step-by-Step Filling Preparation:
- Halve the Eggs: Carefully slice each hard-boiled egg in half lengthwise using a sharp knife. Gently scoop out the bright yellow yolks, placing them into a medium-sized mixing bowl. Keep the pristine egg white halves aside; they will serve as the perfect vessels for your delicious filling.
- Combine Ingredients: To the bowl with the egg yolks, add the mayonnaise, dill weed, and sweet relish. For a truly exceptional deviled egg, consider adding a pinch of salt and a grind of fresh black pepper to taste, enhancing the overall flavor profile.
- Mash and Mix: Using a fork, thoroughly mash the egg yolks until they are smooth and free of large lumps. Incorporate the mayonnaise, dill weed, and sweet relish until all ingredients are well combined and the mixture is uniformly creamy. The goal is a smooth, luscious filling that holds its shape without being too stiff or too runny. If needed, add a tiny bit more mayonnaise, a quarter teaspoon at a time, until you reach your desired consistency – think of the spreadability of a good egg salad sandwich.
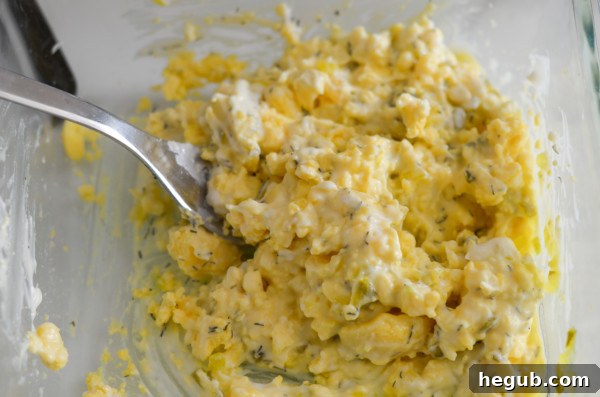
Filling the Egg Whites and Garnish:
With your flavorful yolk mixture ready, it’s time to fill the waiting egg white halves. You have two main options for this, depending on your desired presentation:
- Simple Spoon Method: For a rustic and straightforward look, simply use a small spoon to carefully scoop the filling into each egg white cavity. This is quick, easy, and perfectly delicious.
- Elegant Piping Method: For a more polished and visually appealing presentation, transfer the yolk mixture into a piping bag fitted with a decorative cake decorator tip (such as a star tip). Pipe the filling artfully into each egg white, creating an elevated look that’s perfect for special occasions or when you want to impress your guests.
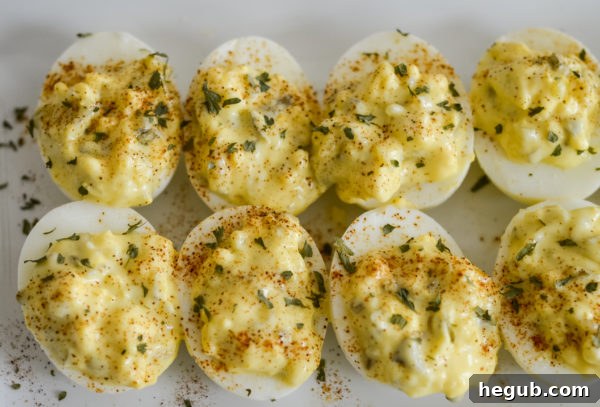
Once the eggs are filled, the final touch is the garnish. A generous sprinkle of **paprika** over each deviled egg adds a beautiful pop of color and a subtle warmth in flavor. For those who enjoy extra layers of taste and visual appeal, consider additional garnishes such as a sprinkle of finely chopped fresh chives, a dash of flaky sea salt, a crack of black pepper, or even a tiny dollop of Dijon mustard for an extra kick. These small additions can truly make your deviled eggs stand out.
From Deviled Eggs to Delicious Egg Salad
The versatility of this dill-pickled egg recipe extends beyond just deviled eggs. The flavorful yolk mixture, with its creamy texture and zesty dill notes, serves as an excellent base for a vibrant egg salad. If you find yourself with extra hard-boiled eggs or simply prefer to enjoy these flavors in a different format, repurposing the recipe into an egg salad is incredibly easy and equally delicious.
To transition this recipe into a satisfying egg salad, simply follow the steps for preparing the yolk mixture, but instead of discarding the egg whites or using them as separate cups, chop them finely and mix them directly into the yolk mixture. This creates a cohesive and flavorful egg salad that’s perfect for sandwiches, wraps, or as a protein-rich addition to a green salad. The dill and sweet relish will infuse the entire salad with their distinct, refreshing notes, making it a standout choice for lunch or a light dinner. You can find more detailed instructions for a complete egg salad recipe, often optimized for various cooking appliances, to guide you further.
Storing Leftovers for Lasting Freshness
Deviled eggs are best enjoyed fresh, but sometimes you might have a few delicious leftovers. Proper storage is key to maintaining their freshness, flavor, and food safety. With a little care, you can enjoy these dill-pickled delights for a few days after preparation.
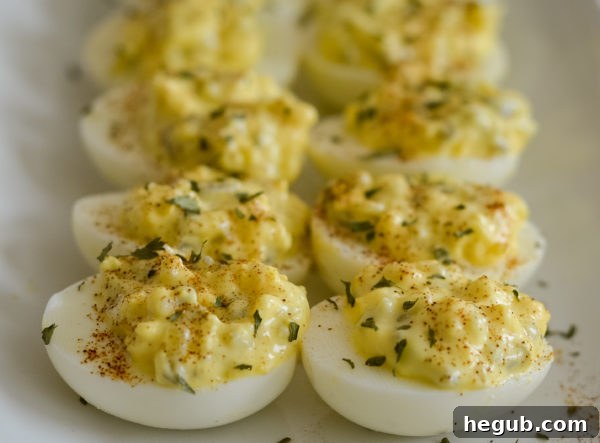
To store leftover deviled eggs, place them in an airtight container immediately after making and serving. It’s crucial that they are refrigerated promptly to prevent spoilage, especially because they contain mayonnaise. Arrange the deviled eggs in a single layer within the container to prevent them from shifting and smushing the delicate filling. If you have multiple layers, you can place a piece of parchment paper between them to protect the presentation. When properly stored in the refrigerator, dill pickled deviled eggs will remain fresh and delicious for no more than 3 days. Always use your best judgment regarding freshness, and if there’s any doubt, it’s safer to discard them.
These classic deviled eggs, infused with the vibrant flavors of dill and the subtle sweetness of relish, truly offer the best combination for a memorable appetizer. Their creamy texture and zesty kick make them an unrivaled choice for your next holiday dinner, family gathering, or casual potluck. Easy to prepare, universally loved, and undeniably delicious, Dill Pickled Deviled Eggs are sure to become a cherished recipe in your culinary repertoire.
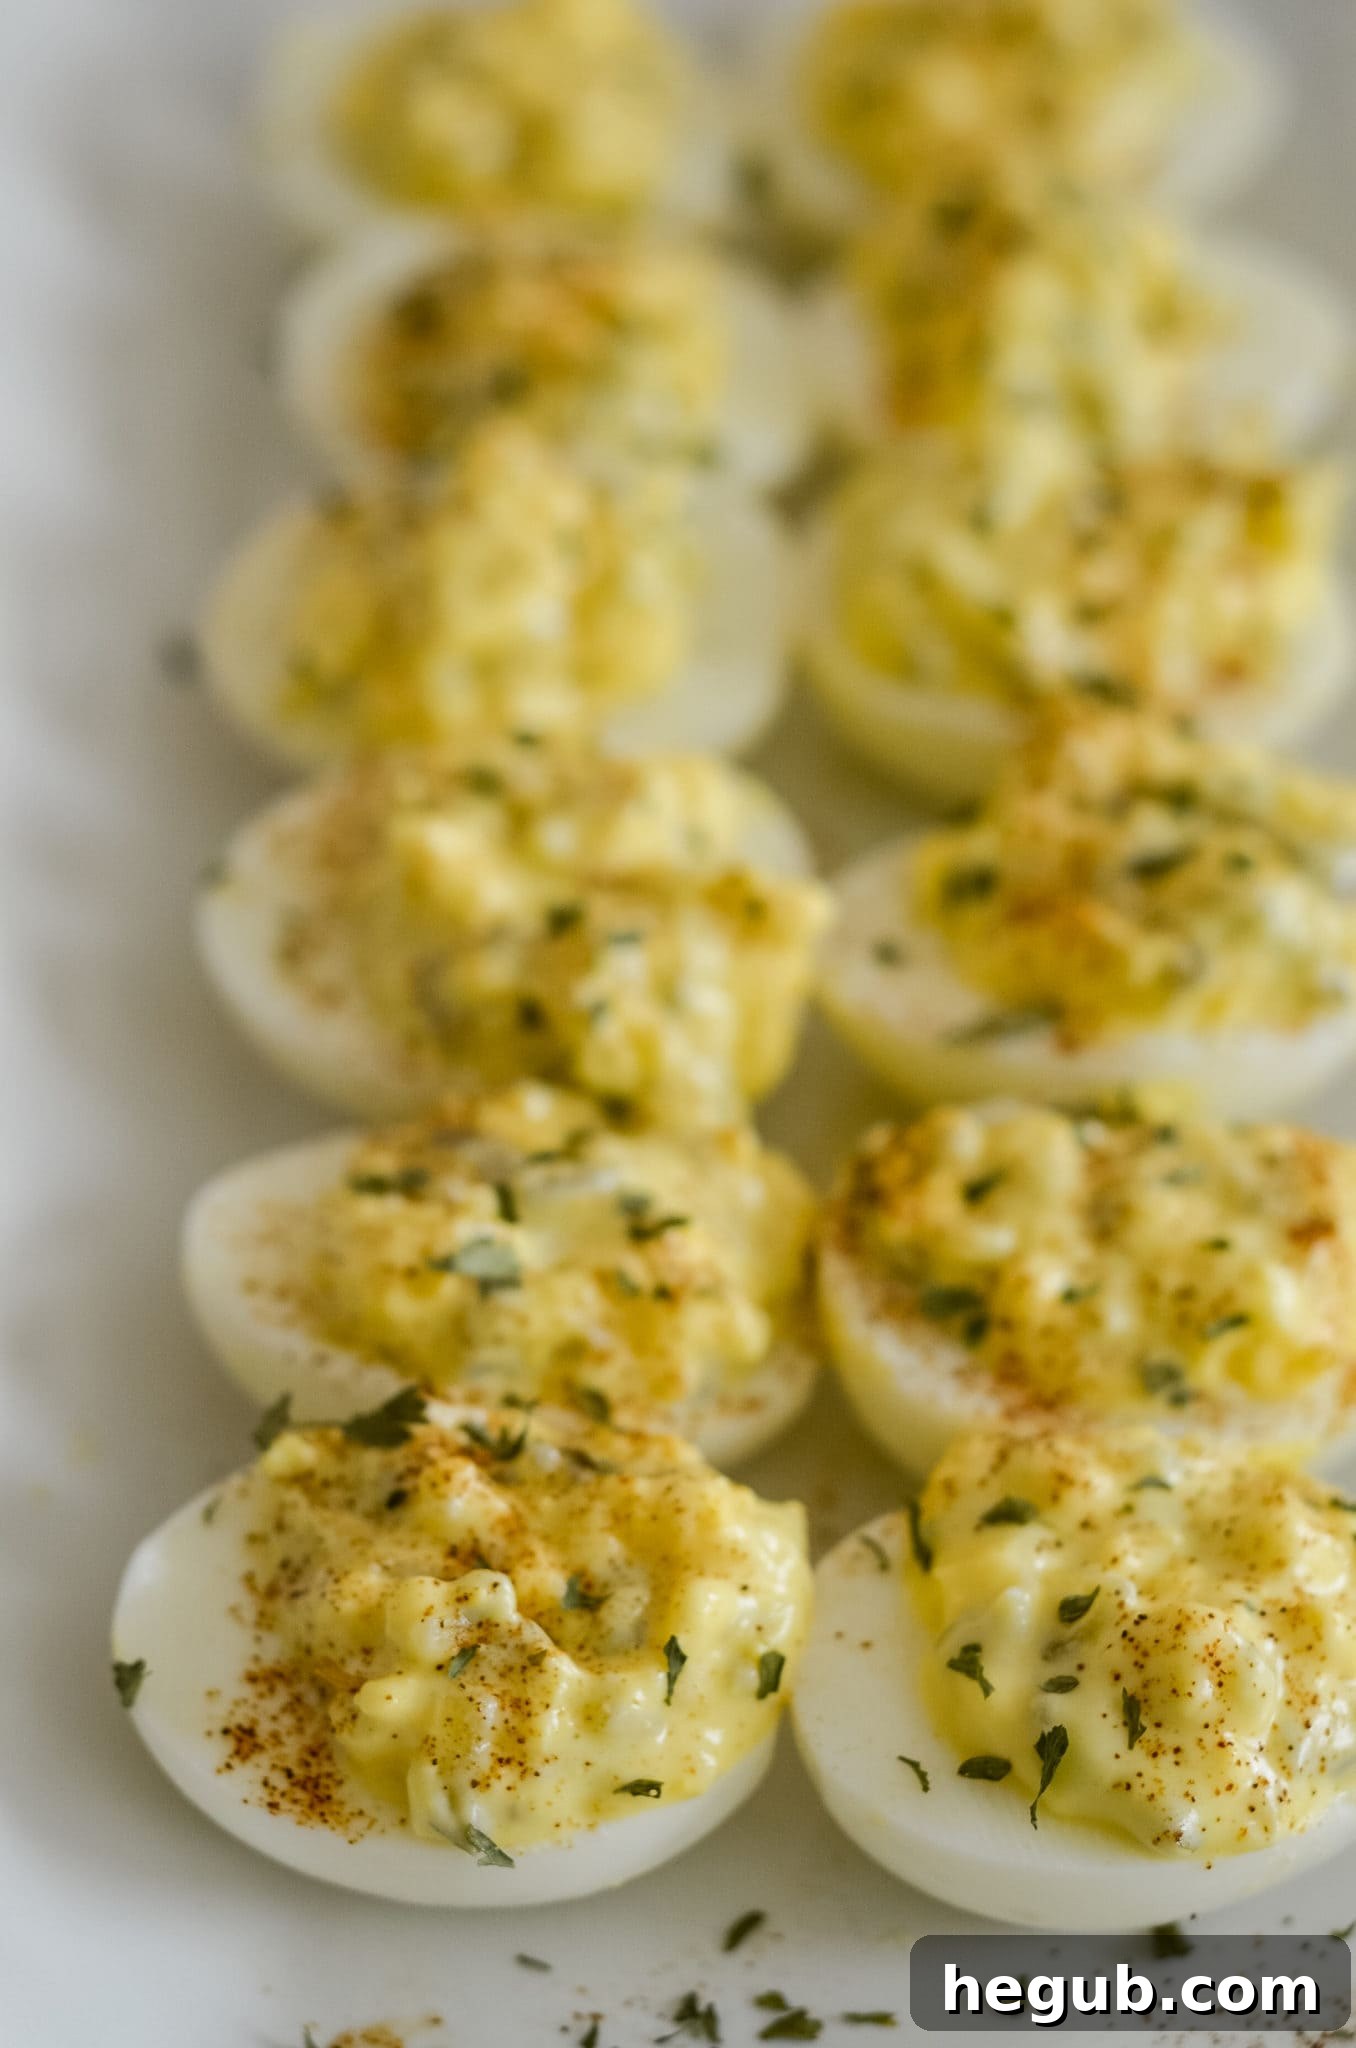
Dill Pickled Deviled Eggs
Save Recipe
Ingredients
- 12 Hard-Boiled Eggs
- 1/2 Cup Mayonnaise
- 1/2 Tsp Dill Weed
- 1 Tbsp Sweet Relish
- Paprika, for garnish
- Salt and Black Pepper, to taste (optional)
Instructions
-
Begin by carefully slicing the hard-boiled eggs in half lengthwise. Gently scoop out the yolks and place them into a small mixing bowl. Reserve the egg white halves.
-
Add the mayonnaise, dill weed, and sweet relish to the bowl with the egg yolks. Season with salt and black pepper to your preference.
-
Mash the yolks thoroughly with a fork, ensuring they are smooth and well combined with the other ingredients. Add a bit more mayonnaise if needed to achieve a creamy, but not too runny, consistency. The mixture should be similar to a thick egg salad.
-
For best flavor and texture, cover the yolk mixture and refrigerate for 1-2 hours to allow the flavors to meld and the mixture to chill and firm up slightly.
-
Once chilled (or if already cold), spoon or pipe the creamy yolk filling into each reserved egg white half. If using a piping bag with a decorative tip, you can create an attractive presentation.
-
Before serving, sprinkle generously with paprika for color and a hint of flavor. Additional garnishes like fresh dill sprigs or chives can also be added.
Notes
Nutrition
Did you make this recipe?
We’d love to see your creations! Make sure to tag #mommyhatescooking on Instagram and follow for more @momhatescooking
Pin Recipe
Share on Facebook