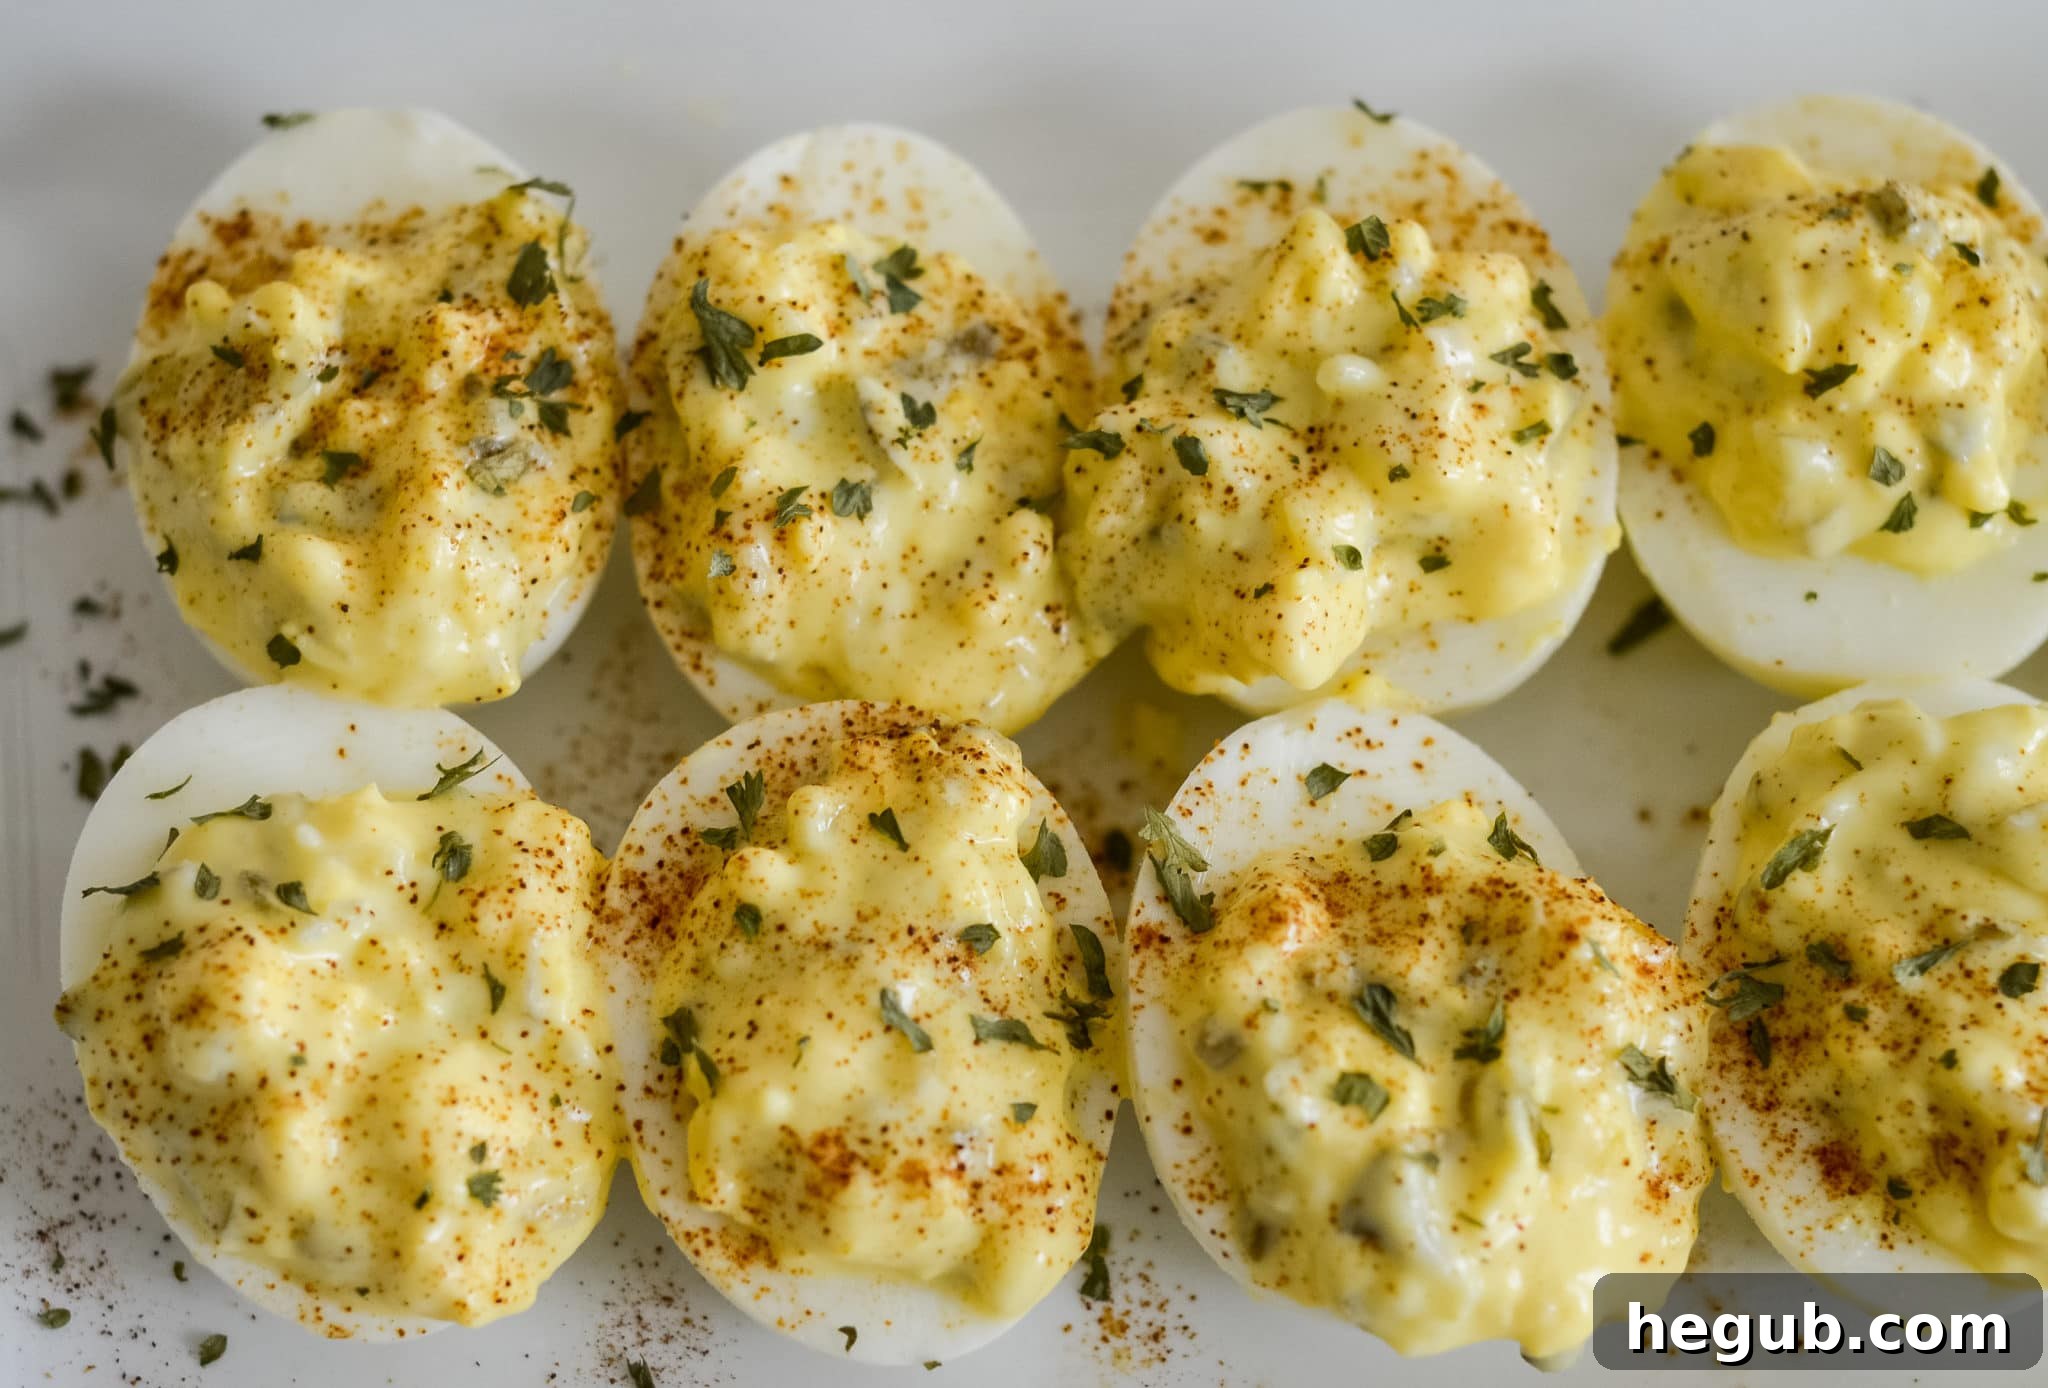
Unlock the Secret to Perfect Deviled Eggs: A Simple & Quick Ninja Foodi Method
Deviled eggs are a timeless classic, beloved for their creamy texture, rich flavor, and effortless elegance. They’re a staple at family gatherings, holiday feasts, and casual potlucks, always disappearing from the platter far too quickly. While traditional methods for preparing hard-boiled eggs can sometimes be a chore – think difficult peeling and inconsistent results – the Ninja Foodi completely transforms this process. Using your Ninja Foodi to make hard-boiled eggs is not just a convenience; it’s a game-changer, ensuring perfectly cooked eggs that are incredibly easy to peel every single time. This consistency makes preparing deviled eggs simpler, faster, and much more enjoyable.
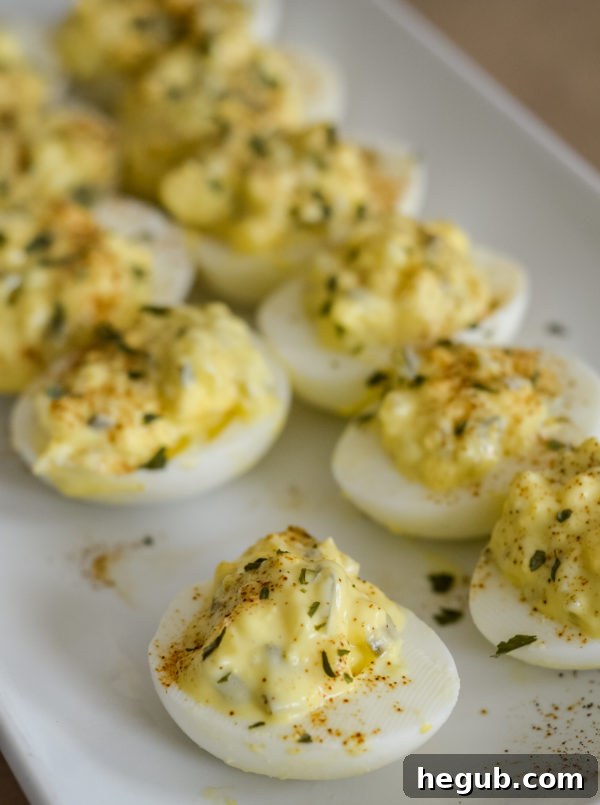
For many, hard-boiled eggs in the Ninja Foodi have become a weekly ritual. Preparing a fresh batch ensures you always have a healthy snack or versatile ingredient on hand. But as the holidays approach, or when a special family dinner is on the horizon, these flawlessly cooked eggs become the ideal foundation for creating truly fabulous deviled eggs. The Ninja Foodi takes the guesswork out of the most crucial first step, allowing you to focus on crafting the perfect, savory filling that will delight everyone.
The Magic of Ninja Foodi Hard-Boiled Eggs
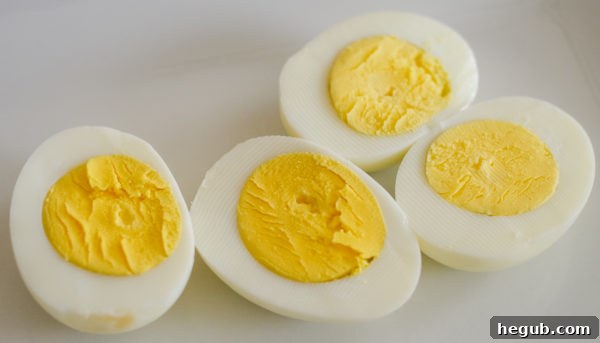
Before diving into the deviled egg recipe, it’s worth highlighting why the Ninja Foodi excels at hard-boiling eggs. The pressure cooking function creates an environment where eggs cook evenly and precisely. This controlled cooking not only prevents overcooking, which can lead to that unsightly green ring around the yolk, but also makes the eggs incredibly simple to peel. Say goodbye to frustrating moments spent meticulously picking off tiny shell fragments! The consistent results mean you’ll have smooth, perfectly formed egg whites, which are essential for the attractive presentation of deviled eggs.
If you’re new to making hard-boiled eggs in your Ninja Foodi, we highly recommend referring to our comprehensive guide on how to make hard-boiled eggs in the Ninja Foodi. It covers everything from water ratios to cooking times, ensuring you master this foundational technique.
Crafting Delicious Deviled Eggs with Ninja Foodi Hard-Boiled Eggs
The journey to exquisite deviled eggs begins with your perfectly prepared Ninja Foodi hard-boiled eggs. Once they are cooked, cooled, and peeled, the real fun starts. Each step is straightforward, transforming simple ingredients into a gourmet appetizer that everyone will crave.
Step-by-Step Preparation
- **Halving the Eggs and Separating Yolks:** Carefully take your peeled hard-boiled eggs. Using a smooth-bladed knife, slice each egg cleanly in half lengthwise. Gently scoop out the vibrant yellow yolks and place them into a small, clean mixing bowl. The pristine white halves of the eggs will be your elegant vessels for the creamy filling.
- **Creating the Classic Filling:** Now comes the heart of the deviled egg – the flavorful filling. In the bowl with the yolks, add your mayonnaise, dill weed, and sweet relish. This combination creates a delightful balance of creaminess, herbaceous freshness, and a subtle tang. For an extra touch of color and a hint of warm flavor, we also like to include a small dash of paprika directly into the filling mix. Mash the yolks thoroughly with a fork, then combine all the ingredients until you achieve a smooth, consistent mixture. The texture should be similar to a soft egg salad – not too runny, but easily spreadable. Adjust the mayonnaise gradually to reach your desired consistency, ensuring it holds its shape when piped or spooned.
- **Chilling the Filling for Optimal Flavor:** While the filling is absolutely delicious immediately, allowing it to chill in the refrigerator for 1-2 hours significantly enhances its flavor. This resting period allows the ingredients to meld together, deepening the savory notes and ensuring a cool, refreshing bite. If you’re short on time and your ingredients are already cold, you can proceed directly to filling the egg whites.
- **Filling the Egg Whites:** This is where your deviled eggs truly come to life! You have two excellent options for filling the egg whites:
- **Simple Spoon Method:** For a rustic and charming look, simply use a small spoon to generously dollop the prepared filling into each hollowed-out egg white.
- **Elegant Piping Method:** If you prefer a more polished, “chef-style” presentation, a piping bag fitted with a Wilton 1M star tip (or similar decorative tip) works wonders. Carefully pipe the filling into each egg white, creating beautiful swirls or mounds. This method is particularly impressive for holiday dinners or special occasions.
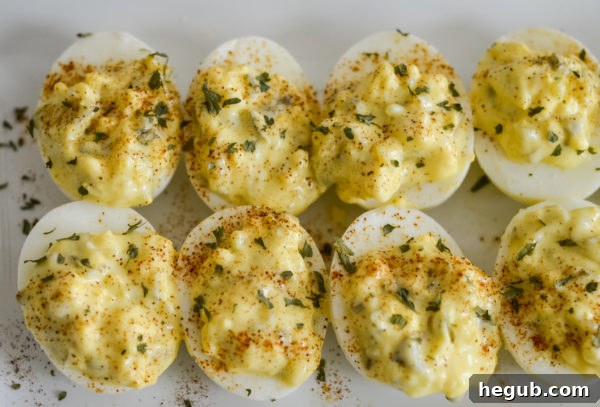
- **The Finishing Touch – Paprika:** Just before serving, a final sprinkle of paprika over each filled deviled egg is a must. It adds a beautiful pop of color and a subtle smoky aroma that completes the classic deviled egg aesthetic.
Essential Tips for Perfect Deviled Eggs
How Long Do Deviled Eggs Last?
While freshly made deviled eggs taste absolutely best, they can be stored in an airtight container in the refrigerator for approximately 3 days. However, for peak flavor and texture, we strongly recommend consuming them within the first 24 hours. The delicate balance of flavors and the creamy consistency are at their prime when enjoyed soon after preparation.
To maximize freshness and reduce last-minute stress, you can prepare the deviled egg filling a day in advance. Store the filling in a separate airtight container in the fridge, and keep the egg white halves in another. Assemble and fill the egg whites just before you plan to serve, and add the final paprika sprinkle then. This strategy ensures a stunning presentation and the freshest possible taste for your guests.
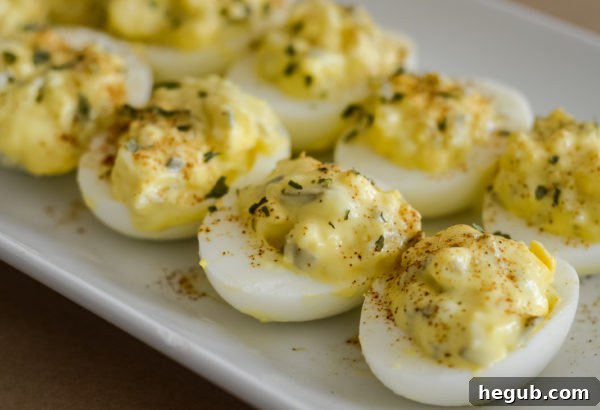
Beyond the Classic: Exploring Deviled Egg Variations
The beauty of deviled eggs lies in their versatility. While our family-favorite recipe (inspired by the delightful egg salad sandwiches my grandma and granny used to make, always featuring that essential sweet relish!) is a fantastic starting point, there are endless possibilities for customization. Feel free to experiment and discover your own signature deviled egg creation!
- **Spicy Kick:** Add a dash of hot sauce (like Sriracha or Tabasco), a pinch of cayenne pepper, or finely diced jalapeños to the filling for a fiery twist.
- **Savory & Smoky:** Incorporate crumbled cooked bacon bits or a touch of smoked paprika for a deeper, more robust flavor profile.
- **Herbaceous Delight:** Experiment with different fresh herbs like chives, parsley, or cilantro, finely minced, to add varying aromatic notes.
- **Tangy Twist:** A small amount of Dijon mustard or a splash of apple cider vinegar can brighten the flavor and add an extra layer of tang.
- **Mediterranean Inspired:** Mix in a bit of sun-dried tomato paste, finely chopped olives, or feta cheese for a Mediterranean flair.
- **Avocado Creaminess:** For an extra creamy and slightly healthier option, mash in a small amount of ripe avocado with the yolks.
- **Curry Infusion:** A pinch of curry powder can transform your deviled eggs into an exotic and aromatic appetizer.
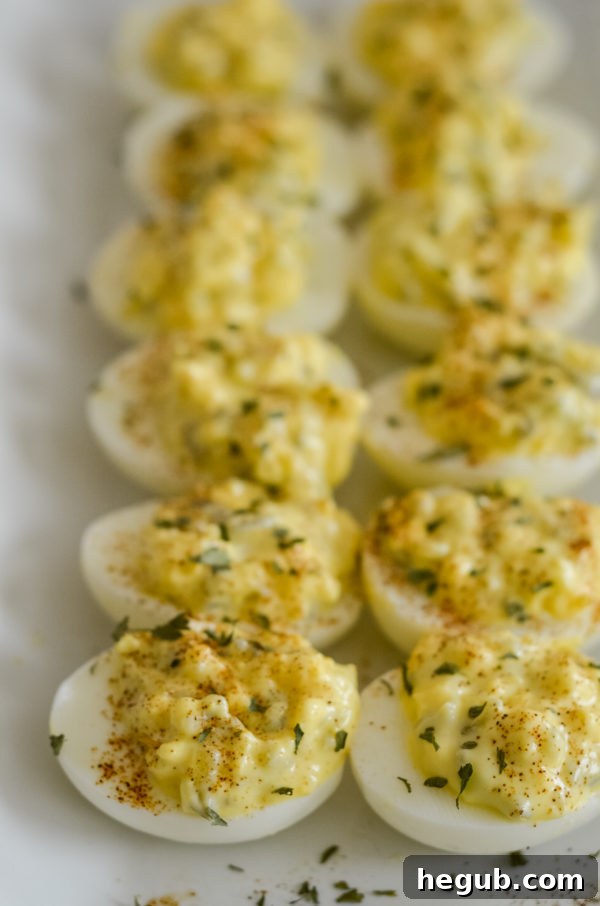
The sweet relish is truly what sets our go-to recipe apart, providing a unique sweetness and crunch that perfectly complements the creamy yolk mixture. It’s a nostalgic flavor that brings back cherished memories and adds a distinct character to every bite.
For those looking to expand their culinary horizons with their multi-functional Ninja Foodi, be sure to check out our list of favorite Ninja Foodi Accessories. These tools can help you unlock even more possibilities for delicious and easy meal preparation.
Adding this deviled egg recipe to your collection of Ninja Foodi Recipes will undoubtedly make your entertaining and everyday cooking much more exciting and stress-free!
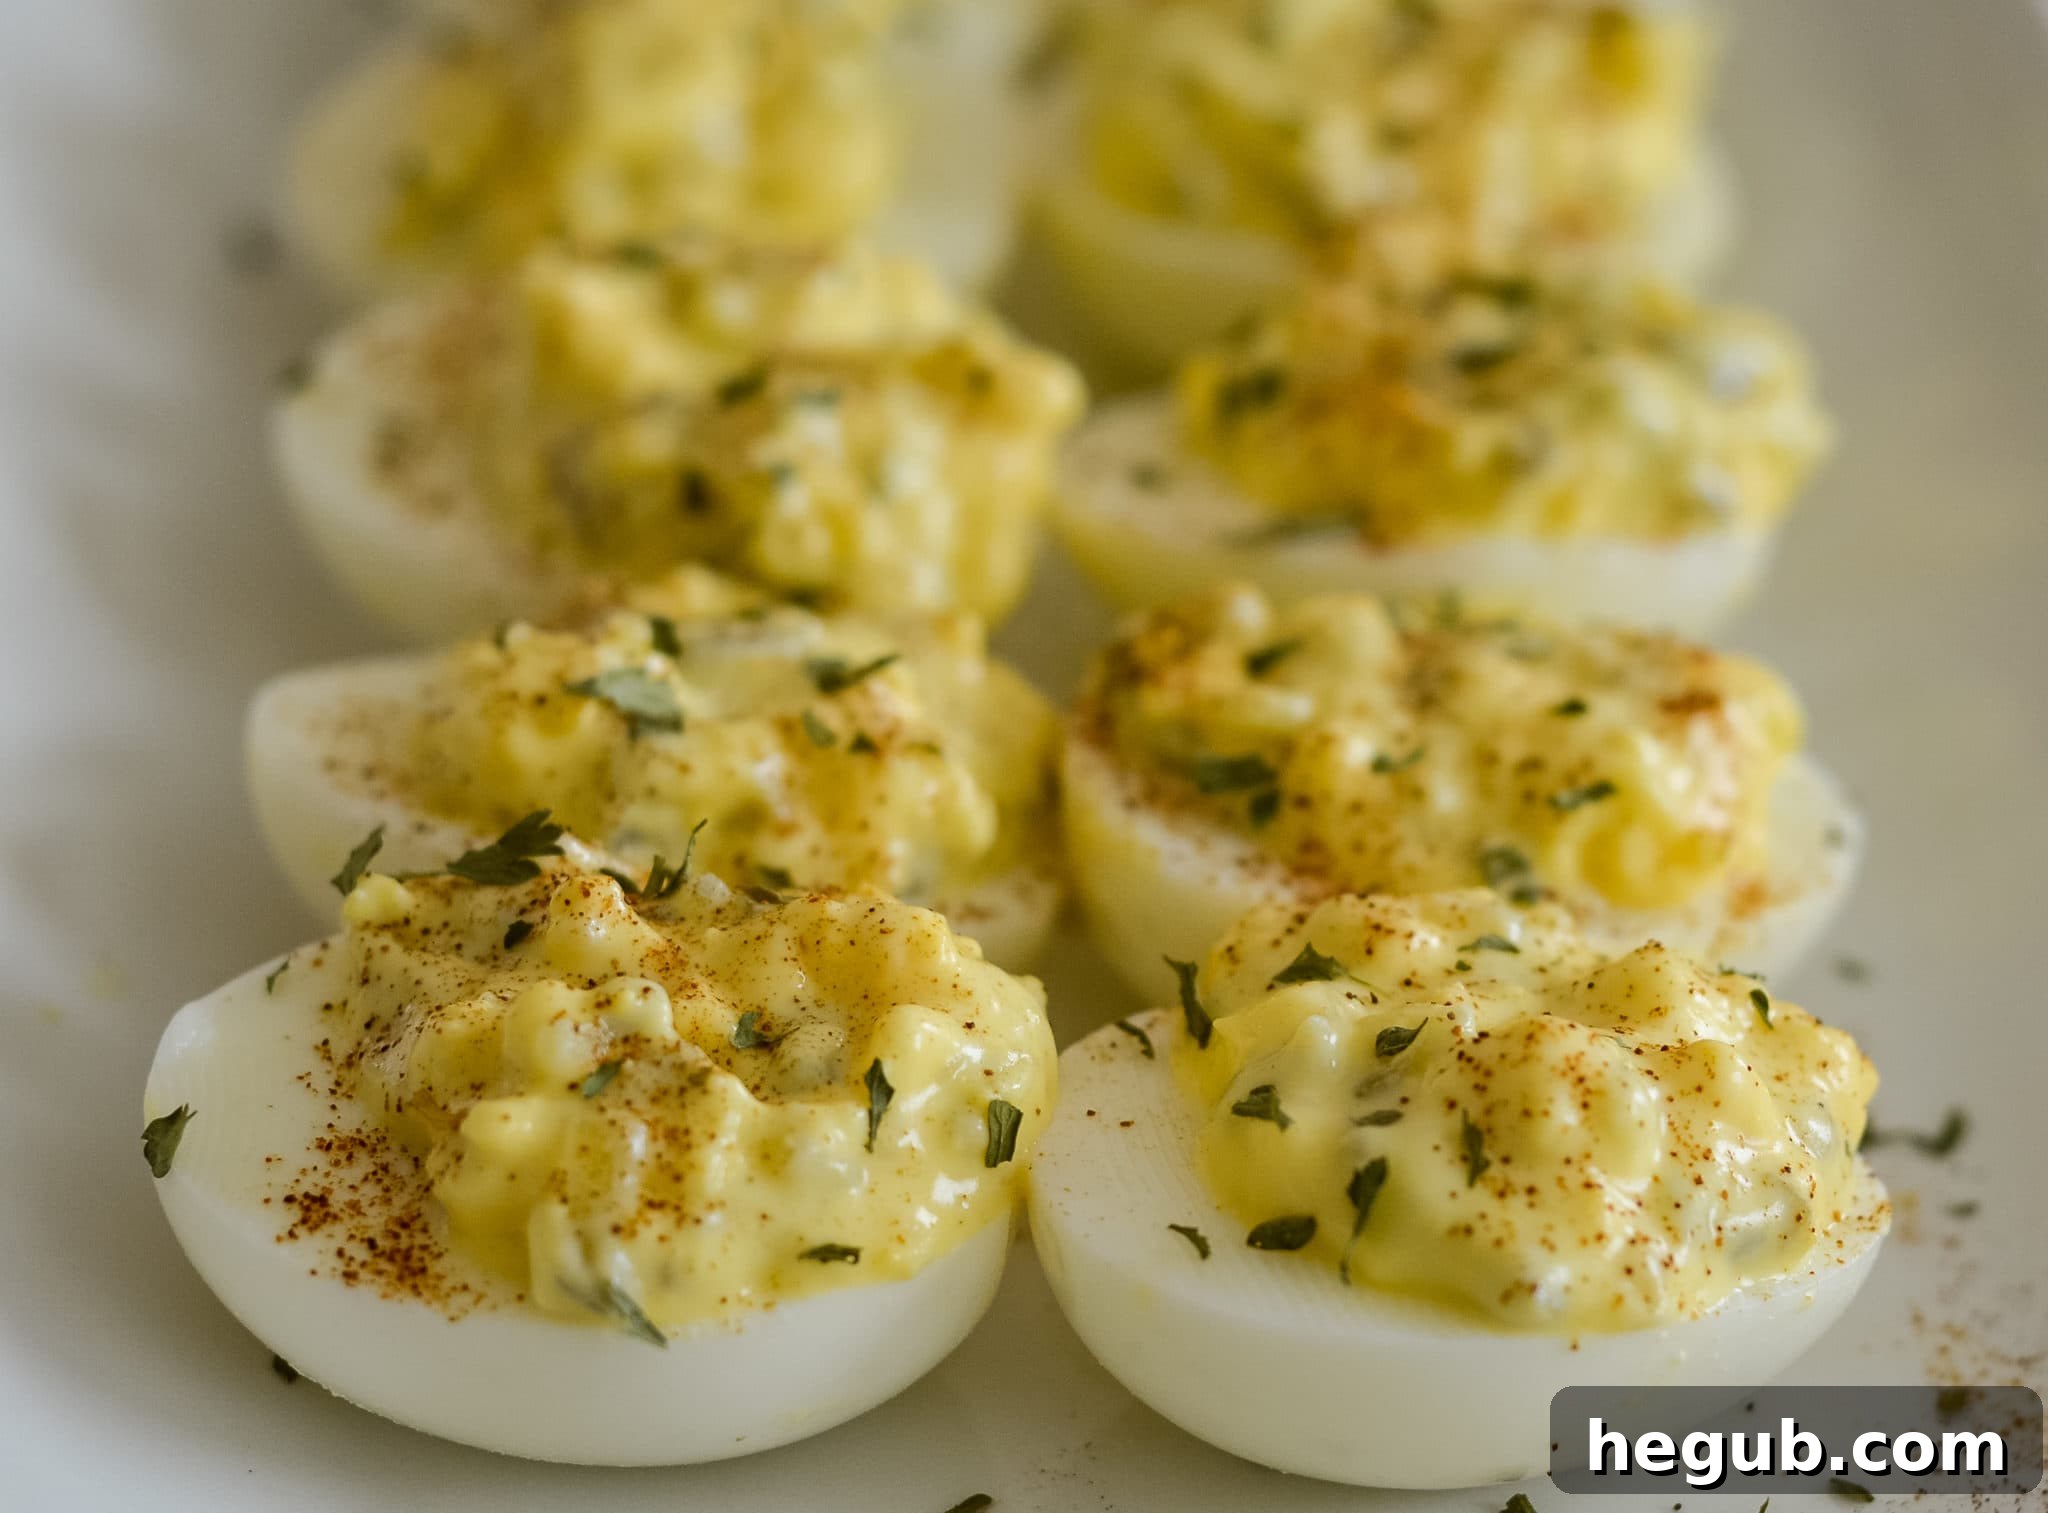
Kristy Still
Deviled Eggs with Ninja Foodi Hard-Boiled Eggs
Course
Ninja Foodi Recipes
Cuisine
American
Servings
24
Pin Recipe
Prep Time
10 minutes
Cook Time
2 hours
Total Time
2 hours 10 minutes
Ingredients
- 12 Hard-Boiled Eggs (made with Ninja Foodi for best results)
- 1/2 Cup Mayonnaise
- 1/2 Tsp Dill Weed
- 1 Tbsp Sweet Relish
- Paprika, for garnish
Instructions
-
Begin by slicing your Ninja Foodi hard-boiled eggs in half lengthwise with a sharp, smooth-bladed knife. Carefully scoop out all the yolks and place them into a small mixing bowl, reserving the egg white halves.
-
To the bowl with the yolks, add the mayonnaise, dill weed, and sweet relish. Mash the yolks thoroughly with a fork, then stir all the ingredients together until well combined and smooth.
-
It’s important to achieve a nice, creamy consistency that isn’t too runny or too thick. Start with 1/2 cup of mayonnaise and add more in small increments if needed, until the mixture resembles a firm egg salad.
-
For best flavor, cover the egg yolk mixture and place it in the refrigerator to chill for 1-2 hours. This allows the flavors to deepen and meld beautifully. If your ingredients are already cold, you can skip this chilling period.
-
Once chilled (or if proceeding immediately), transfer the filling to a piping bag fitted with a star tip (like a Wilton 1M) for an elegant presentation, or simply use a small spoon. Fill each reserved egg white half generously with the creamy yolk mixture.
-
Just before serving, sprinkle a touch of paprika over each deviled egg for a pop of color and a subtle aromatic finish. Arrange on a platter and serve immediately.
Nutrition
Did you make this recipe?
Make sure to tag #mommyhatescooking on Instagram and follow for more @momhatescooking
Pin Recipe
Share on Facebook