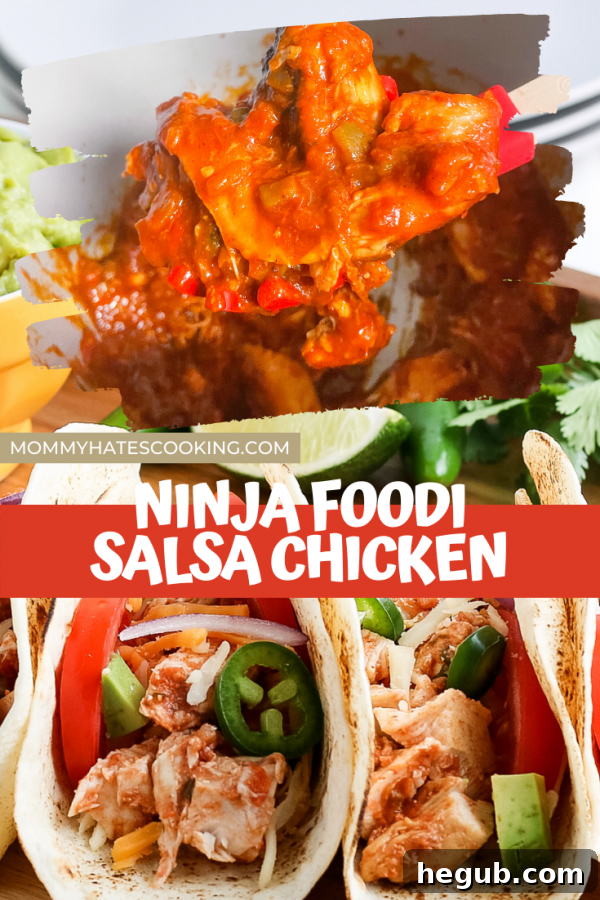
Ninja Foodi Salsa Chicken: Your Ultimate Recipe for Speedy, Flavorful Meals
Unlock the secret to incredibly quick and versatile weeknight dinners with this foolproof Ninja Foodi Salsa Chicken recipe. Whether you’re a seasoned pressure cooker pro or new to the world of multi-cookers, this dish is designed for maximum flavor with minimal effort. Imagine tender, juicy shredded chicken infused with vibrant salsa and savory taco seasoning, ready in minutes to transform into tacos, nachos, burritos, salads, and so much more. This isn’t just a recipe; it’s a game-changer for busy families and meal preppers alike.
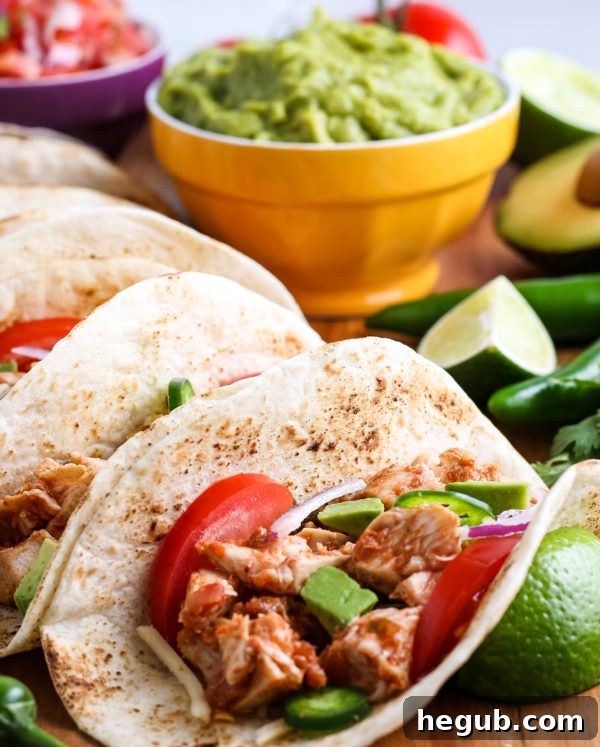
Similar to our popular Ninja Foodi Chicken Tacos, today’s focus is squarely on the star: the incredibly adaptable salsa chicken. This core ingredient can elevate a multitude of meals, making it a staple in any kitchen. With just a few staple ingredients and the magic of your Ninja Foodi (or Instant Pot), you’ll have a flavorful protein base ready faster than ordering takeout. This recipe has become my absolute go-to for those hectic evenings when time is short, but the desire for a homemade, satisfying meal is strong.
Beyond its speed, this dish is fantastic for yielding plenty of leftovers. You can easily refrigerate the extra salsa chicken to incorporate into meals throughout the week, or freeze it for convenient future use. This makes it an ideal choice for healthy meal prepping, ensuring you always have a nutritious and delicious option at your fingertips.
Essential Ingredients for Ninja Foodi Salsa Chicken
Creating this delicious salsa chicken requires only a handful of readily available ingredients. The beauty of this recipe lies in its simplicity and the ability to achieve profound flavor with minimal fuss. Remember, as this is a pressure cooker recipe, it’s perfectly suitable for an Instant Pot or any other brand of electric pressure cooker.
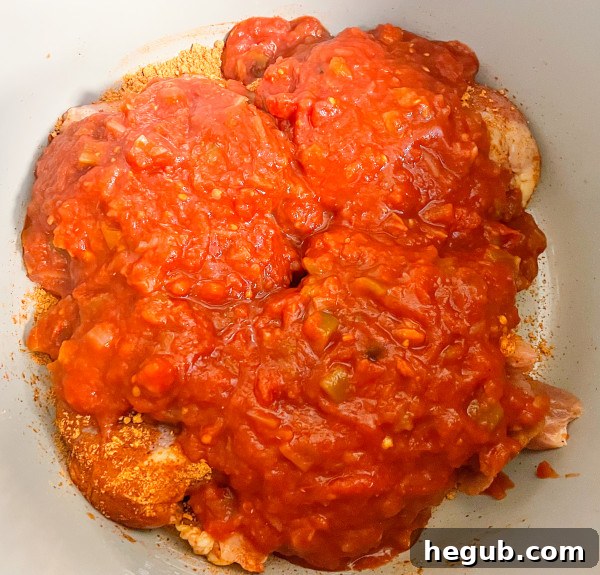
- Chicken: The foundation of this recipe. You can use either boneless, skinless chicken thighs or breasts. While both work wonderfully, chicken thighs tend to yield a more tender and juicy result due to their higher fat content.
- Salsa: A crucial flavor component. Any jarred salsa you love will work here. From mild and chunky to spicy and smooth, the choice is yours. We often gravitate towards Pace Picante Sauce for its excellent chunky texture and robust flavor, but feel free to experiment with your favorites.
- Taco Seasoning: This spice blend adds that authentic Tex-Mex kick. You can use a store-bought packet or whip up your own homemade taco seasoning for a fresher, customizable, and often gluten-free option.
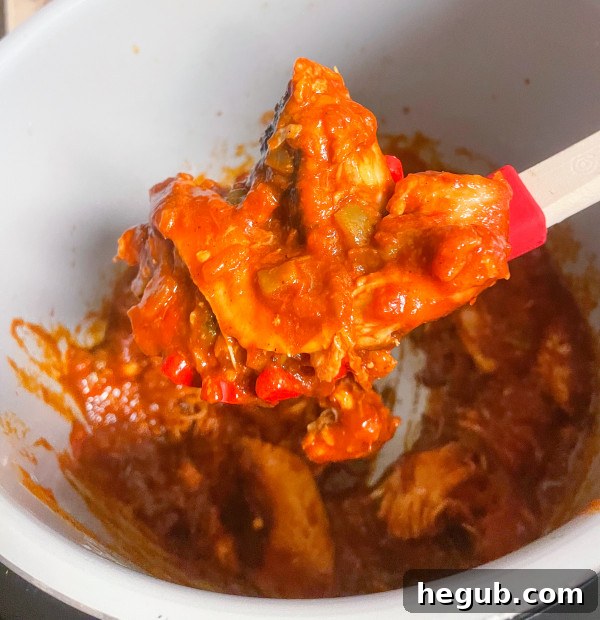
That’s truly all you need for the salsa chicken itself! The remaining items, such as taco shells, tortilla chips, or fresh toppings, are simply for serving and customizing your meal. This minimalist ingredient list makes it incredibly accessible and budget-friendly, proving that incredible meals don’t require an overflowing pantry.
Expert Tips for Perfect Ninja Foodi Salsa Chicken
Achieving perfectly tender and flavorful salsa chicken in your Ninja Foodi is straightforward, especially with these helpful tips:
- Cooking Time Precision: The pressure cooking time is surprisingly short, ranging from 10 to 12 minutes once your Ninja Foodi (or Instant Pot) builds pressure. The exact time depends on the type of chicken you choose:
- For boneless, skinless chicken breasts: Aim for 10 minutes on high pressure.
- For boneless, skinless chicken thighs: Cook for 12 minutes on high pressure. This slight increase ensures the thighs are fall-apart tender.
- Choose Your Chicken Wisely: While both chicken breasts and thighs are excellent choices, using boneless, skinless chicken thighs is often recommended for the juiciest, most tender, and flavorful shredded chicken. The slightly higher fat content in thighs helps prevent them from drying out during pressure cooking, resulting in a wonderfully succulent texture. Always ensure your chicken is boneless and skinless for ease of shredding and a smoother finished product.
- Protect Your Pot: After cooking, it’s best practice to carefully remove the chicken from the inner pot of your Ninja Foodi and transfer it to a separate large bowl before shredding. This prevents any potential scratching or damage to the non-stick coating of your cooker’s inner pot, preserving its longevity. While not strictly mandatory, it’s a simple step that can extend the life of your appliance.
- Pressure Release Method: For optimal tenderness and to prevent the chicken from drying out, use a “Natural Release” (NR) for 5 minutes after the cook time is complete. This means you simply do nothing and let the pressure naturally decrease for 5 minutes. After 5 minutes, you can then perform a “Quick Release” (QR) by carefully moving the pressure release valve to the ‘venting’ position to release any remaining pressure. This two-stage release helps the chicken absorb more moisture and become incredibly tender.
- Check for Doneness: Always ensure that the internal temperature of the chicken reaches 165°F (74°C) using a meat thermometer before serving. This guarantees your chicken is safely cooked.
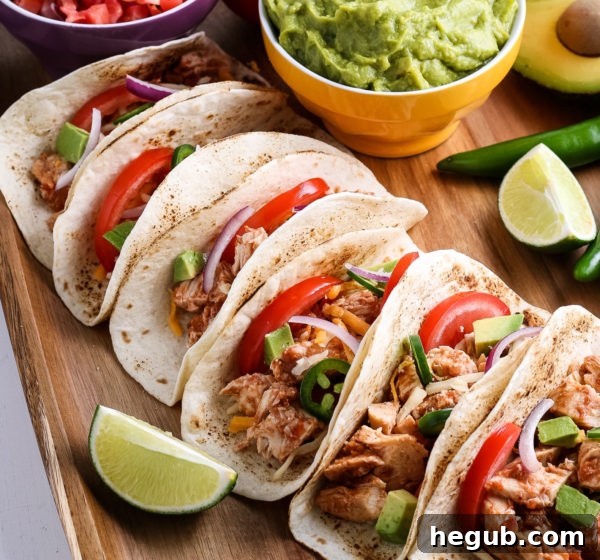
This salsa chicken recipe is a guaranteed winner, making it a wonderful addition to your regular menu rotation. It’s especially fantastic for transforming any ordinary evening into a festive taco night!
Why Choose Your Ninja Foodi for This Recipe?
The Ninja Foodi (or any electric pressure cooker) is truly the hero of this recipe, offering unmatched convenience and efficiency. Here’s why it’s the ideal appliance for preparing this flavorful salsa chicken:
- Unbeatable Speed: Pressure cooking significantly reduces cooking time. What might take hours in a slow cooker or on the stovetop is ready in a fraction of the time, making it perfect for last-minute meal decisions.
- “Set It and Forget It” Convenience: Once you’ve added your ingredients and set the pressure cook time, the Ninja Foodi handles the rest. This hands-off approach frees you up to attend to other tasks or simply relax while dinner cooks itself.
- Tender & Juicy Results: The high-pressure environment tenderizes the chicken beautifully, locking in moisture and flavor. Even lean chicken breasts emerge incredibly succulent, while thighs become melt-in-your-mouth tender.
- One-Pot Wonder: Everything cooks in a single pot, minimizing cleanup. This means less scrubbing and more time enjoying your delicious meal.
- Flavor Infusion: Pressure cooking forces the flavors of the salsa and taco seasoning deep into the chicken, creating a more robust and cohesive taste profile than other cooking methods.
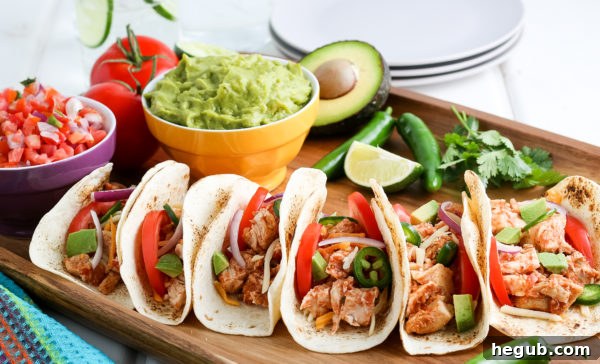
For these reasons, the Ninja Foodi makes cooking this salsa chicken an absolute breeze and a joy for any home cook looking for efficiency and delicious results.
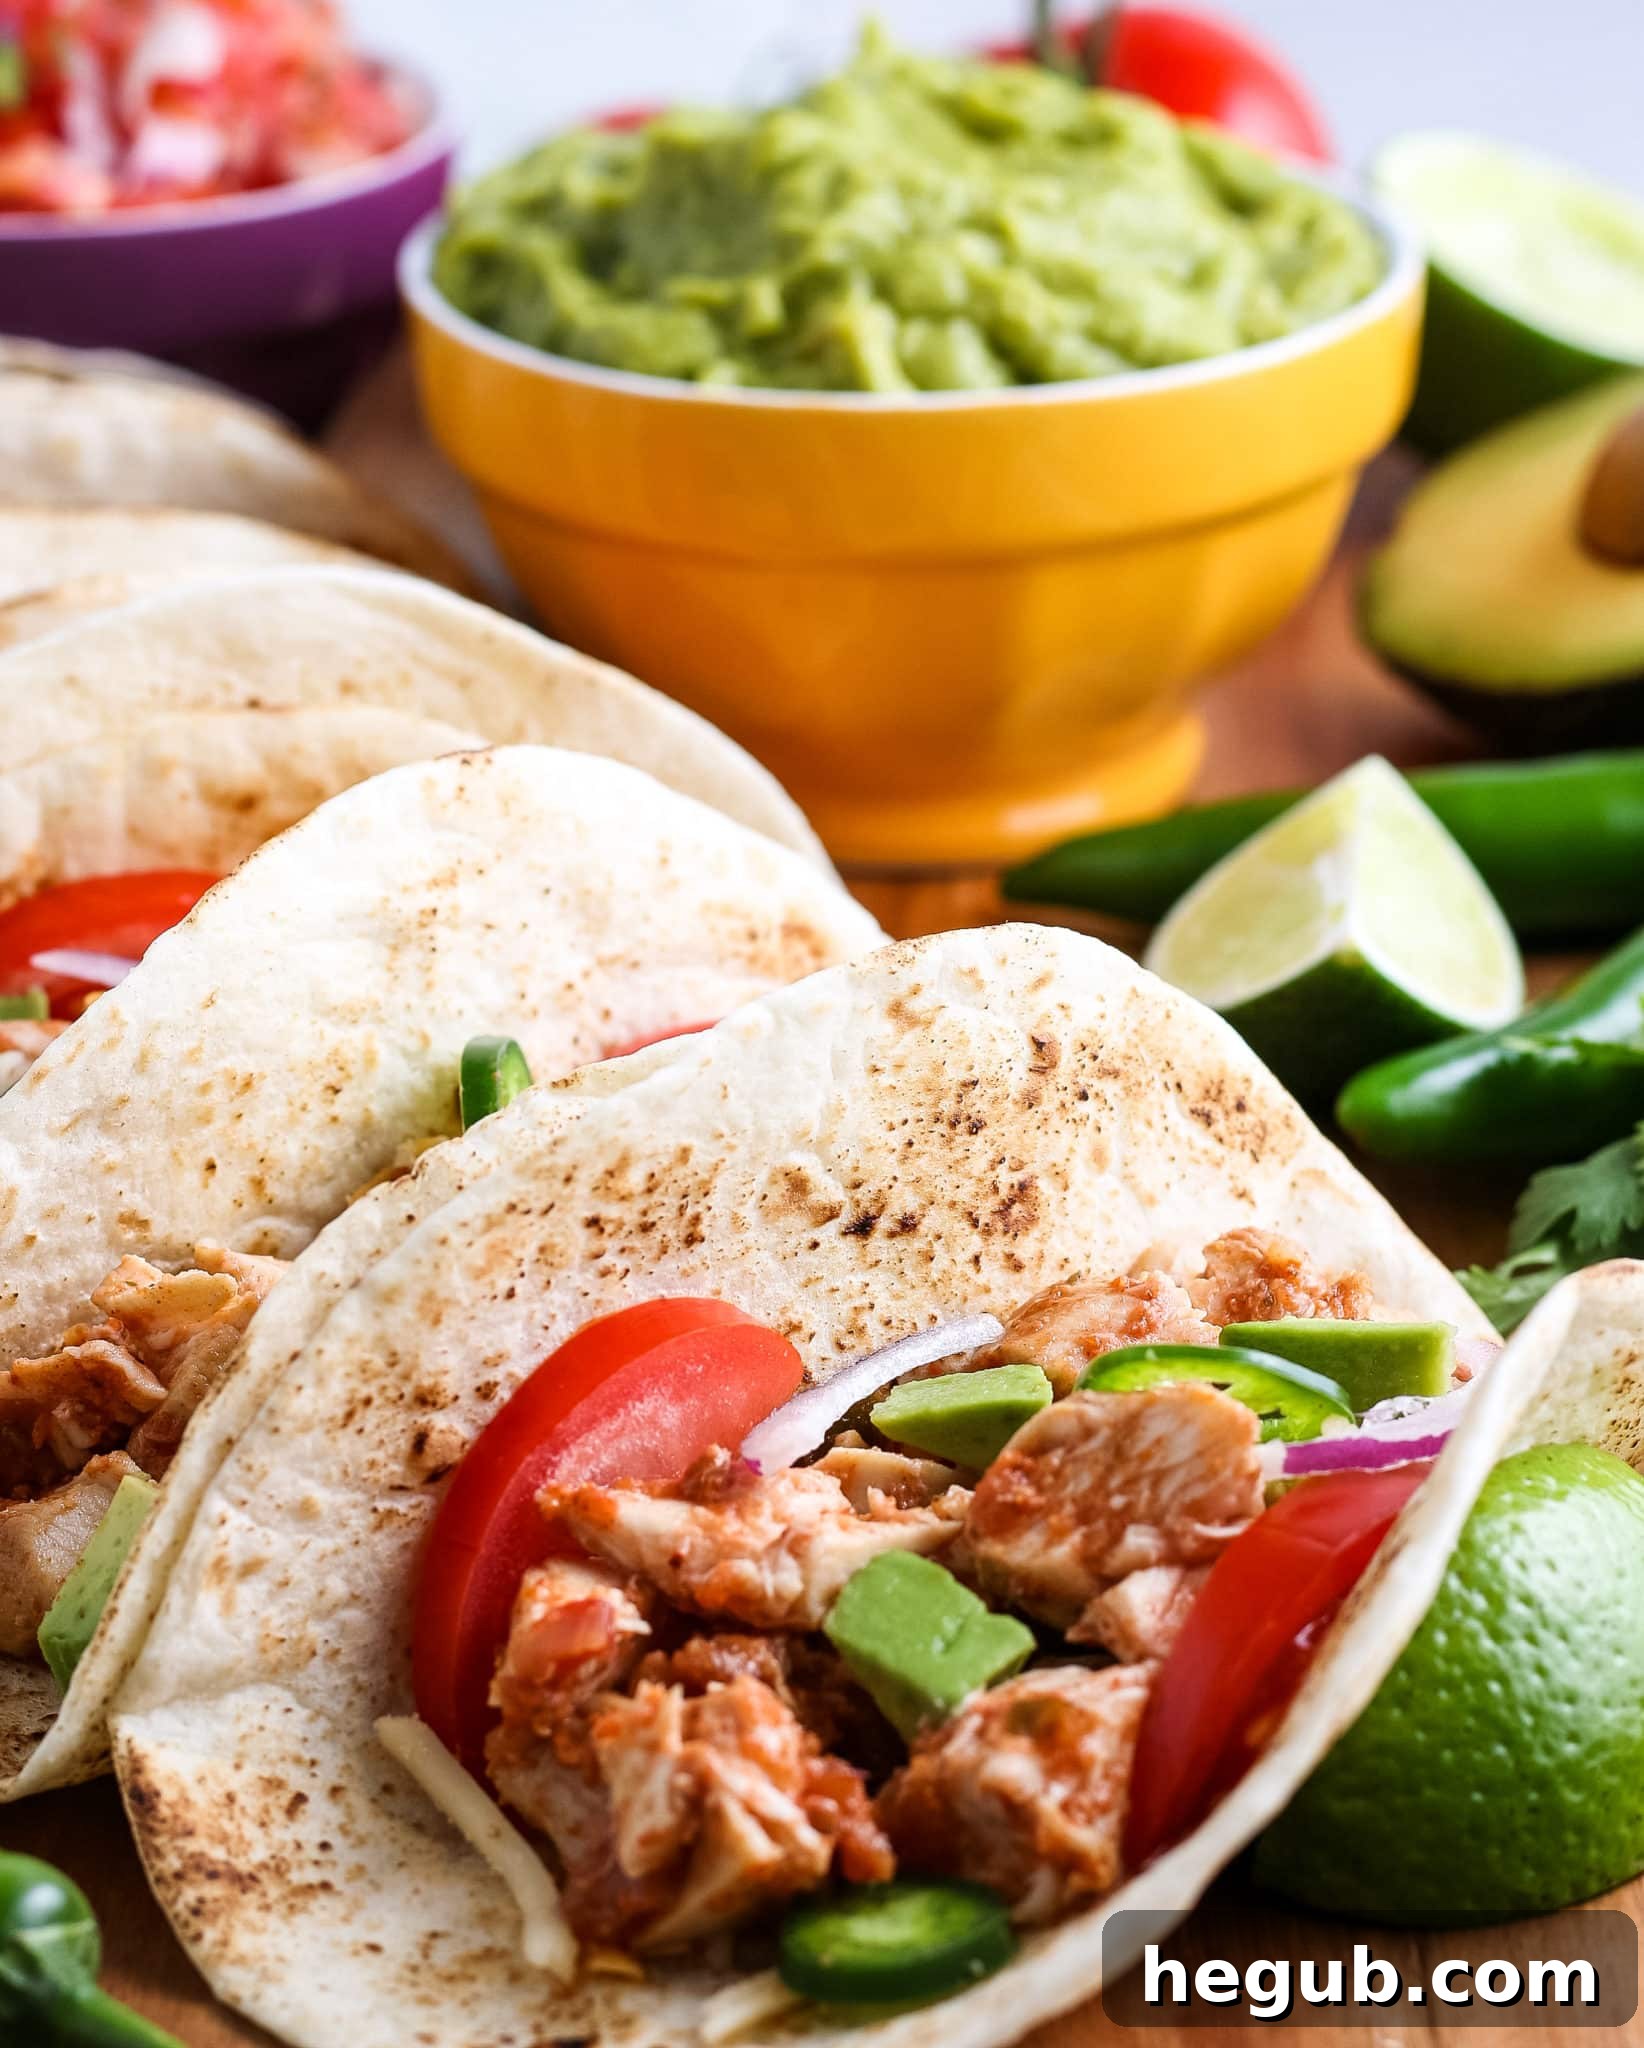
Ninja Foodi Salsa Chicken
Pin Recipe
Ingredients
- 4 Boneless, Skinless Chicken Breast or Thighs (Cook time varies for each)
- 2 Tbsp Taco Seasoning (1 Envelope)
- 2 Cups Salsa (or 16oz Jar of Salsa)
- Taco Toppings & Shells (Tortillas, Crispy Shells, Lettuce, Tomato, Sour Cream, Cheese, Etc.)
- Olive Oil Cooking Spray
Instructions
-
Spray the pot of the Ninja Foodi with Olive Oil Cooking Spray to prevent sticking.
-
Place the boneless, skinless chicken breasts or thighs in a single layer at the bottom of the pot.
-
Evenly sprinkle the taco seasoning over the chicken, ensuring each piece is well coated.
-
Pour the salsa directly over the seasoned chicken, making sure it covers the chicken as much as possible.
-
Secure the pressure cooker lid onto your Ninja Foodi. Double-check that the pressure release nozzle is set to the ‘Seal’ position.
-
If using chicken breast: Set your Ninja Foodi to High Pressure for 10 minutes.
-
If using chicken thighs: Set your Ninja Foodi to High Pressure for 12 minutes.
-
Once the cook time ends, allow the pressure to naturally release (do nothing) for 5 minutes. After 5 minutes, carefully quick release the remaining pressure by moving the nozzle to the ‘Vent’ position.
-
Before serving, verify that the internal temperature of the chicken has reached 165°F (74°C) with a meat thermometer.
-
Once safely cooked, carefully remove the chicken from the pot and transfer it to a separate large bowl. Using two forks, shred the chicken into desired pieces. You can mix it back into the pot with the salsa or keep it separate.
-
Serve your delicious shredded salsa chicken on warm tortillas, crispy taco shells, or over a bed of rice or salad with all your favorite toppings.
Notes
Nutrition
Serving Suggestions & Customization for Salsa Chicken
The true beauty of Ninja Foodi Salsa Chicken lies in its incredible versatility. Once you have a batch of this flavorful shredded chicken, the culinary possibilities are endless!
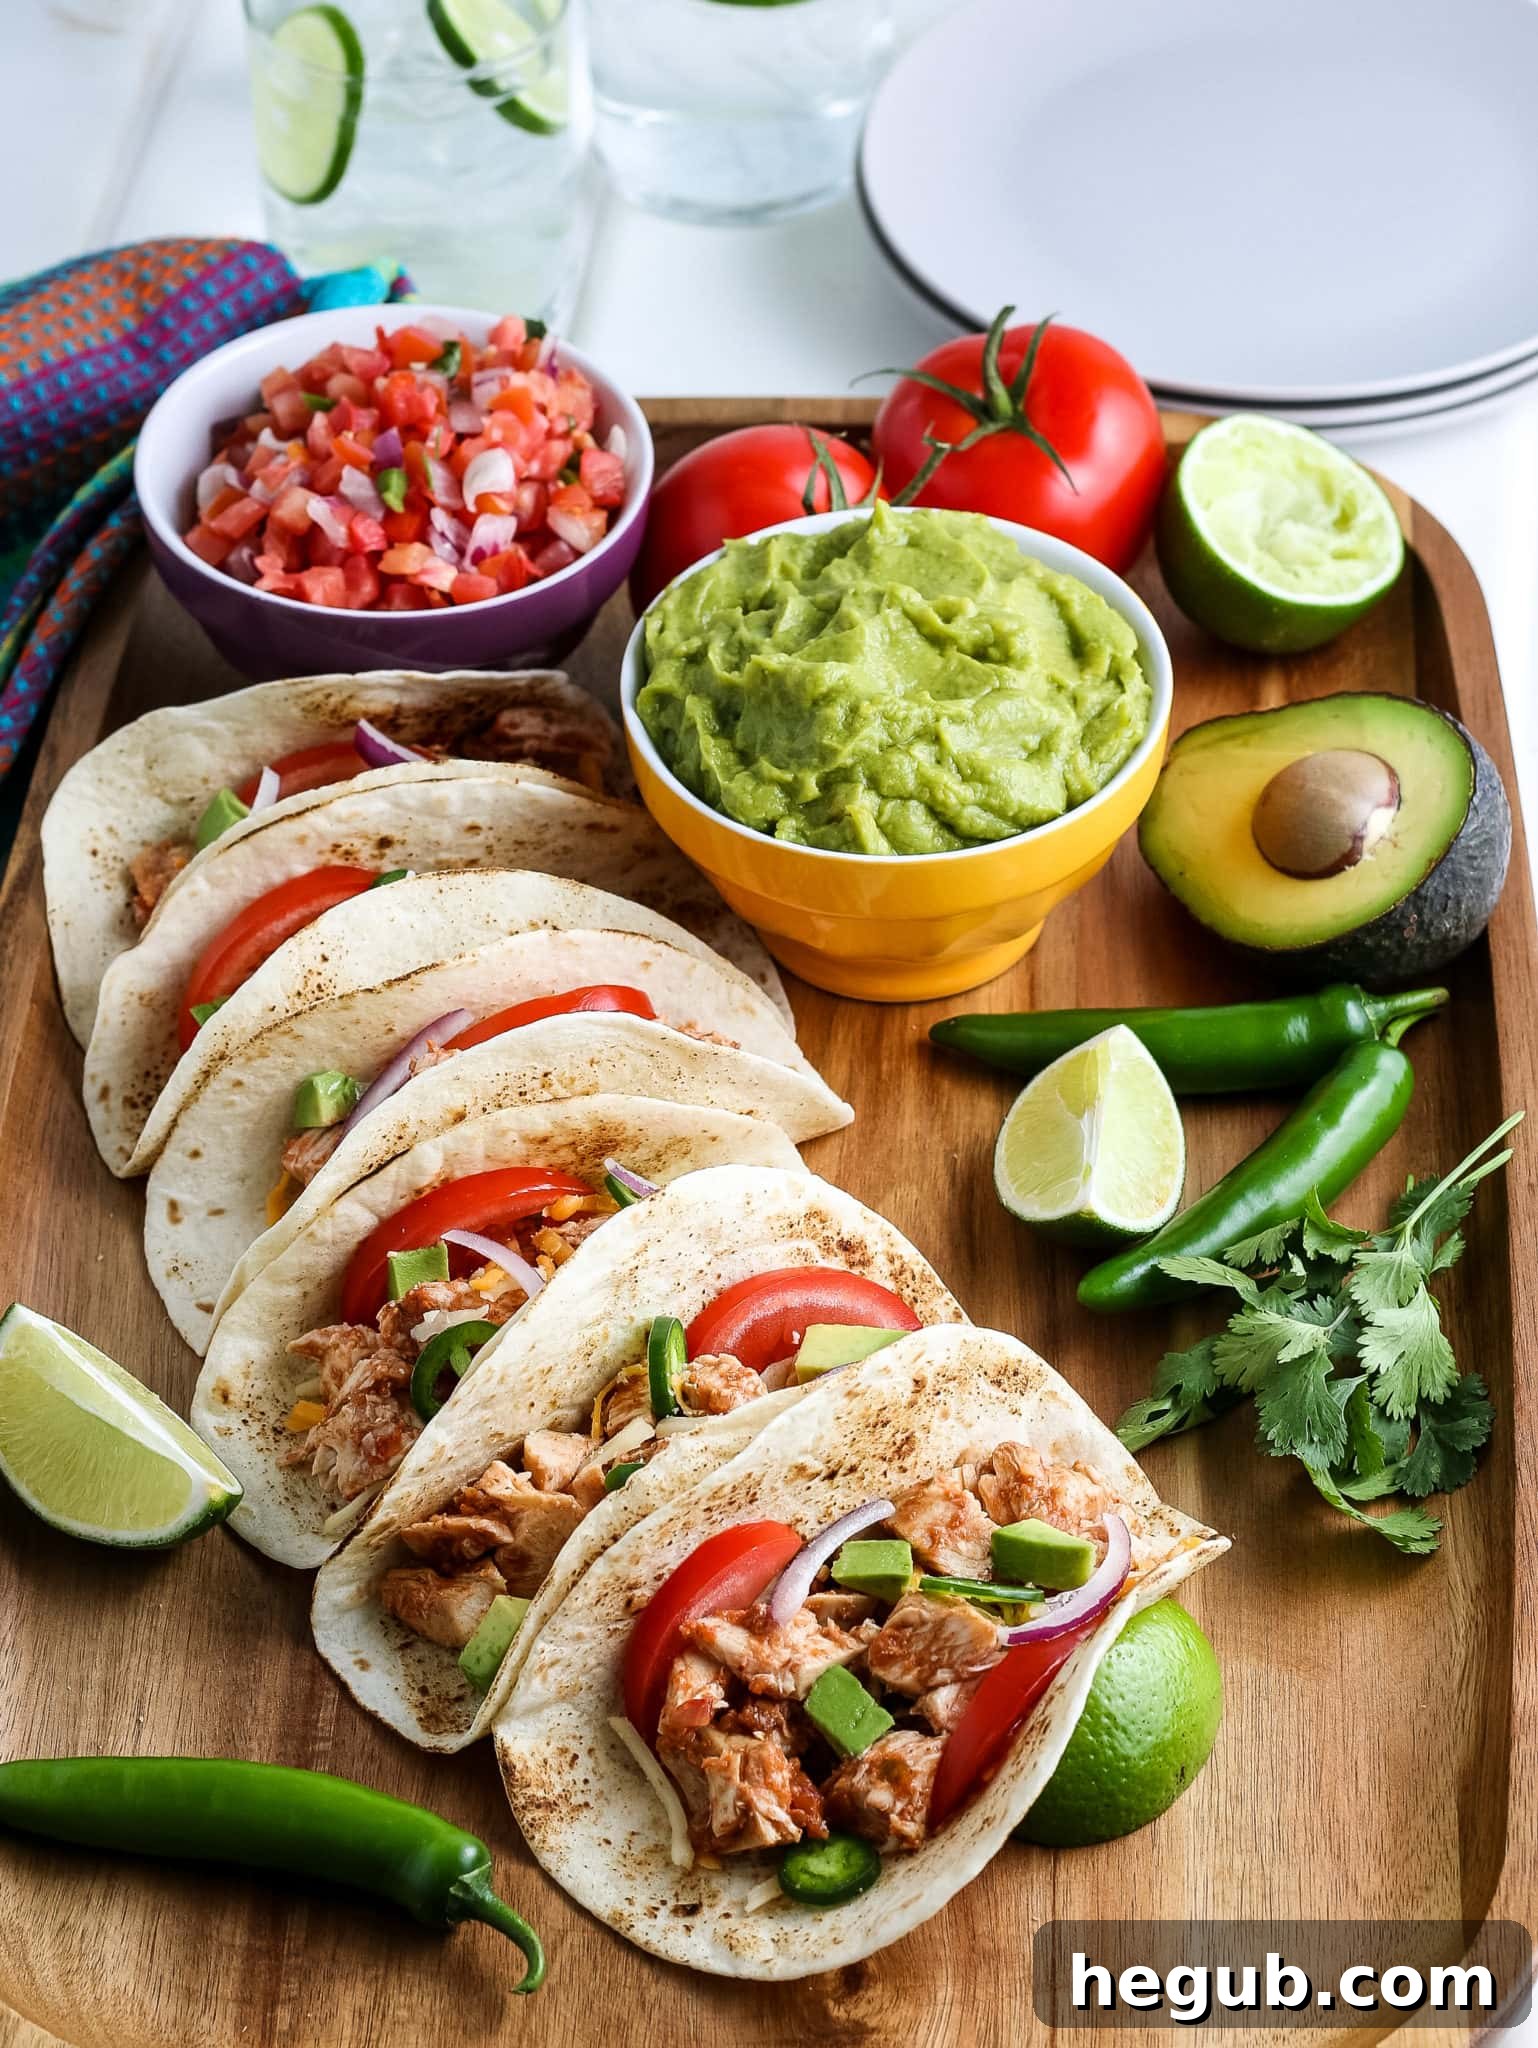
- Taco Night: The classic choice! Serve in soft tortillas or crispy taco shells with your favorite toppings like shredded lettuce, diced tomatoes, sour cream, guacamole, shredded cheese, and a squeeze of lime.
- Nacho Extravaganza: Layer tortilla chips with salsa chicken, cheese, black beans, corn, and jalapeños. Bake until cheese is bubbly, then top with fresh cilantro, sour cream, and extra salsa.
- Burrito Bowls: Create a healthy and satisfying bowl with a base of rice (white or brown), a generous serving of salsa chicken, black beans, corn, avocado, and your choice of veggies.
- Quesadillas & Burritos: Stuff tortillas with salsa chicken and cheese, then grill until golden and melty. Roll into burritos with rice, beans, and other fillings.
- Salad Topping: Add a protein-packed punch to your greens. This chicken is fantastic on a crisp bed of romaine with a creamy avocado dressing.
- Stuffed Bell Peppers or Sweet Potatoes: Hollow out bell peppers or bake sweet potatoes, then fill them with the flavorful chicken and top with cheese before baking further.
- Pasta Dish: Mix shredded salsa chicken with pasta, a touch of cream sauce, and some cheese for a unique twist on a weeknight pasta.
Customization Ideas:
- Spice Level: Adjust the heat by choosing a mild, medium, or hot salsa. You can also add a pinch of cayenne pepper or a chopped jalapeño with the chicken for extra kick.
- Flavor Profile: Experiment with different types of salsa – a smoky chipotle salsa, a tangy salsa verde, or a sweet corn salsa can completely change the dish.
- Add Veggies: Feel free to toss in some diced onions, bell peppers, or even a can of drained corn or black beans with the chicken before cooking for added texture and nutrition.
- Cheese Please: A sprinkle of cheddar, Monterey Jack, or a Mexican cheese blend adds richness.
Meal Prep and Storage Solutions
This Ninja Foodi Salsa Chicken is a dream come true for meal preppers. Its robust flavor holds up beautifully, making it perfect for preparing in advance.
- Refrigeration: Store leftover salsa chicken in an airtight container in the refrigerator for up to 3-4 days. It reheats wonderfully in the microwave or on the stovetop.
- Freezing: For longer storage, allow the chicken to cool completely. Transfer it to freezer-safe bags or containers, removing as much air as possible to prevent freezer burn. It can be frozen for up to 3 months. Thaw overnight in the refrigerator before reheating.
- Portioning: Consider dividing the shredded chicken into individual serving sizes before storing. This makes grabbing a quick lunch or dinner even easier throughout the week.
Troubleshooting Common Pressure Cooker Questions
Even with simple recipes, questions can arise. Here are some common pressure cooker troubleshooting tips:
- “My Ninja Foodi isn’t building pressure!”
- Ensure the lid is properly sealed and locked into place.
- Check that the pressure release valve is set to ‘Seal’ and not ‘Vent’.
- Make sure the silicone sealing ring is correctly inserted and free of debris. A damaged or improperly seated ring can prevent pressure buildup.
- Verify there’s enough liquid in the pot. Pressure cookers need a minimum amount of liquid (usually 1 cup) to create steam and build pressure, although this recipe’s salsa provides plenty.
- “My chicken is dry!”
- Overcooking is the most common cause of dry chicken. Ensure you are sticking to the recommended cooking times (10 minutes for breasts, 12 minutes for thighs).
- Allowing a 5-minute natural release (as instructed) before quick releasing helps the chicken reabsorb moisture, preventing it from drying out.
- Using chicken thighs, which have more fat, inherently leads to juicier results.
- “Can I double the recipe?”
- Yes, you can often double the ingredients in a pressure cooker. However, the cooking time typically remains the same as it’s based on the thickness of the individual pieces of meat, not the total volume. Ensure you do not overfill your pressure cooker (never past the max fill line).
With these tips and the straightforward recipe, you’re well on your way to mastering delicious and easy Ninja Foodi Salsa Chicken. Enjoy this incredibly adaptable dish as part of your family’s favorite meals!
Did you make this recipe?
Make sure to tag #mommyhatescoooking on Instagram and follow for more @momhatescooking. We love to see your creations!
Pin Recipe
Share on Facebook