
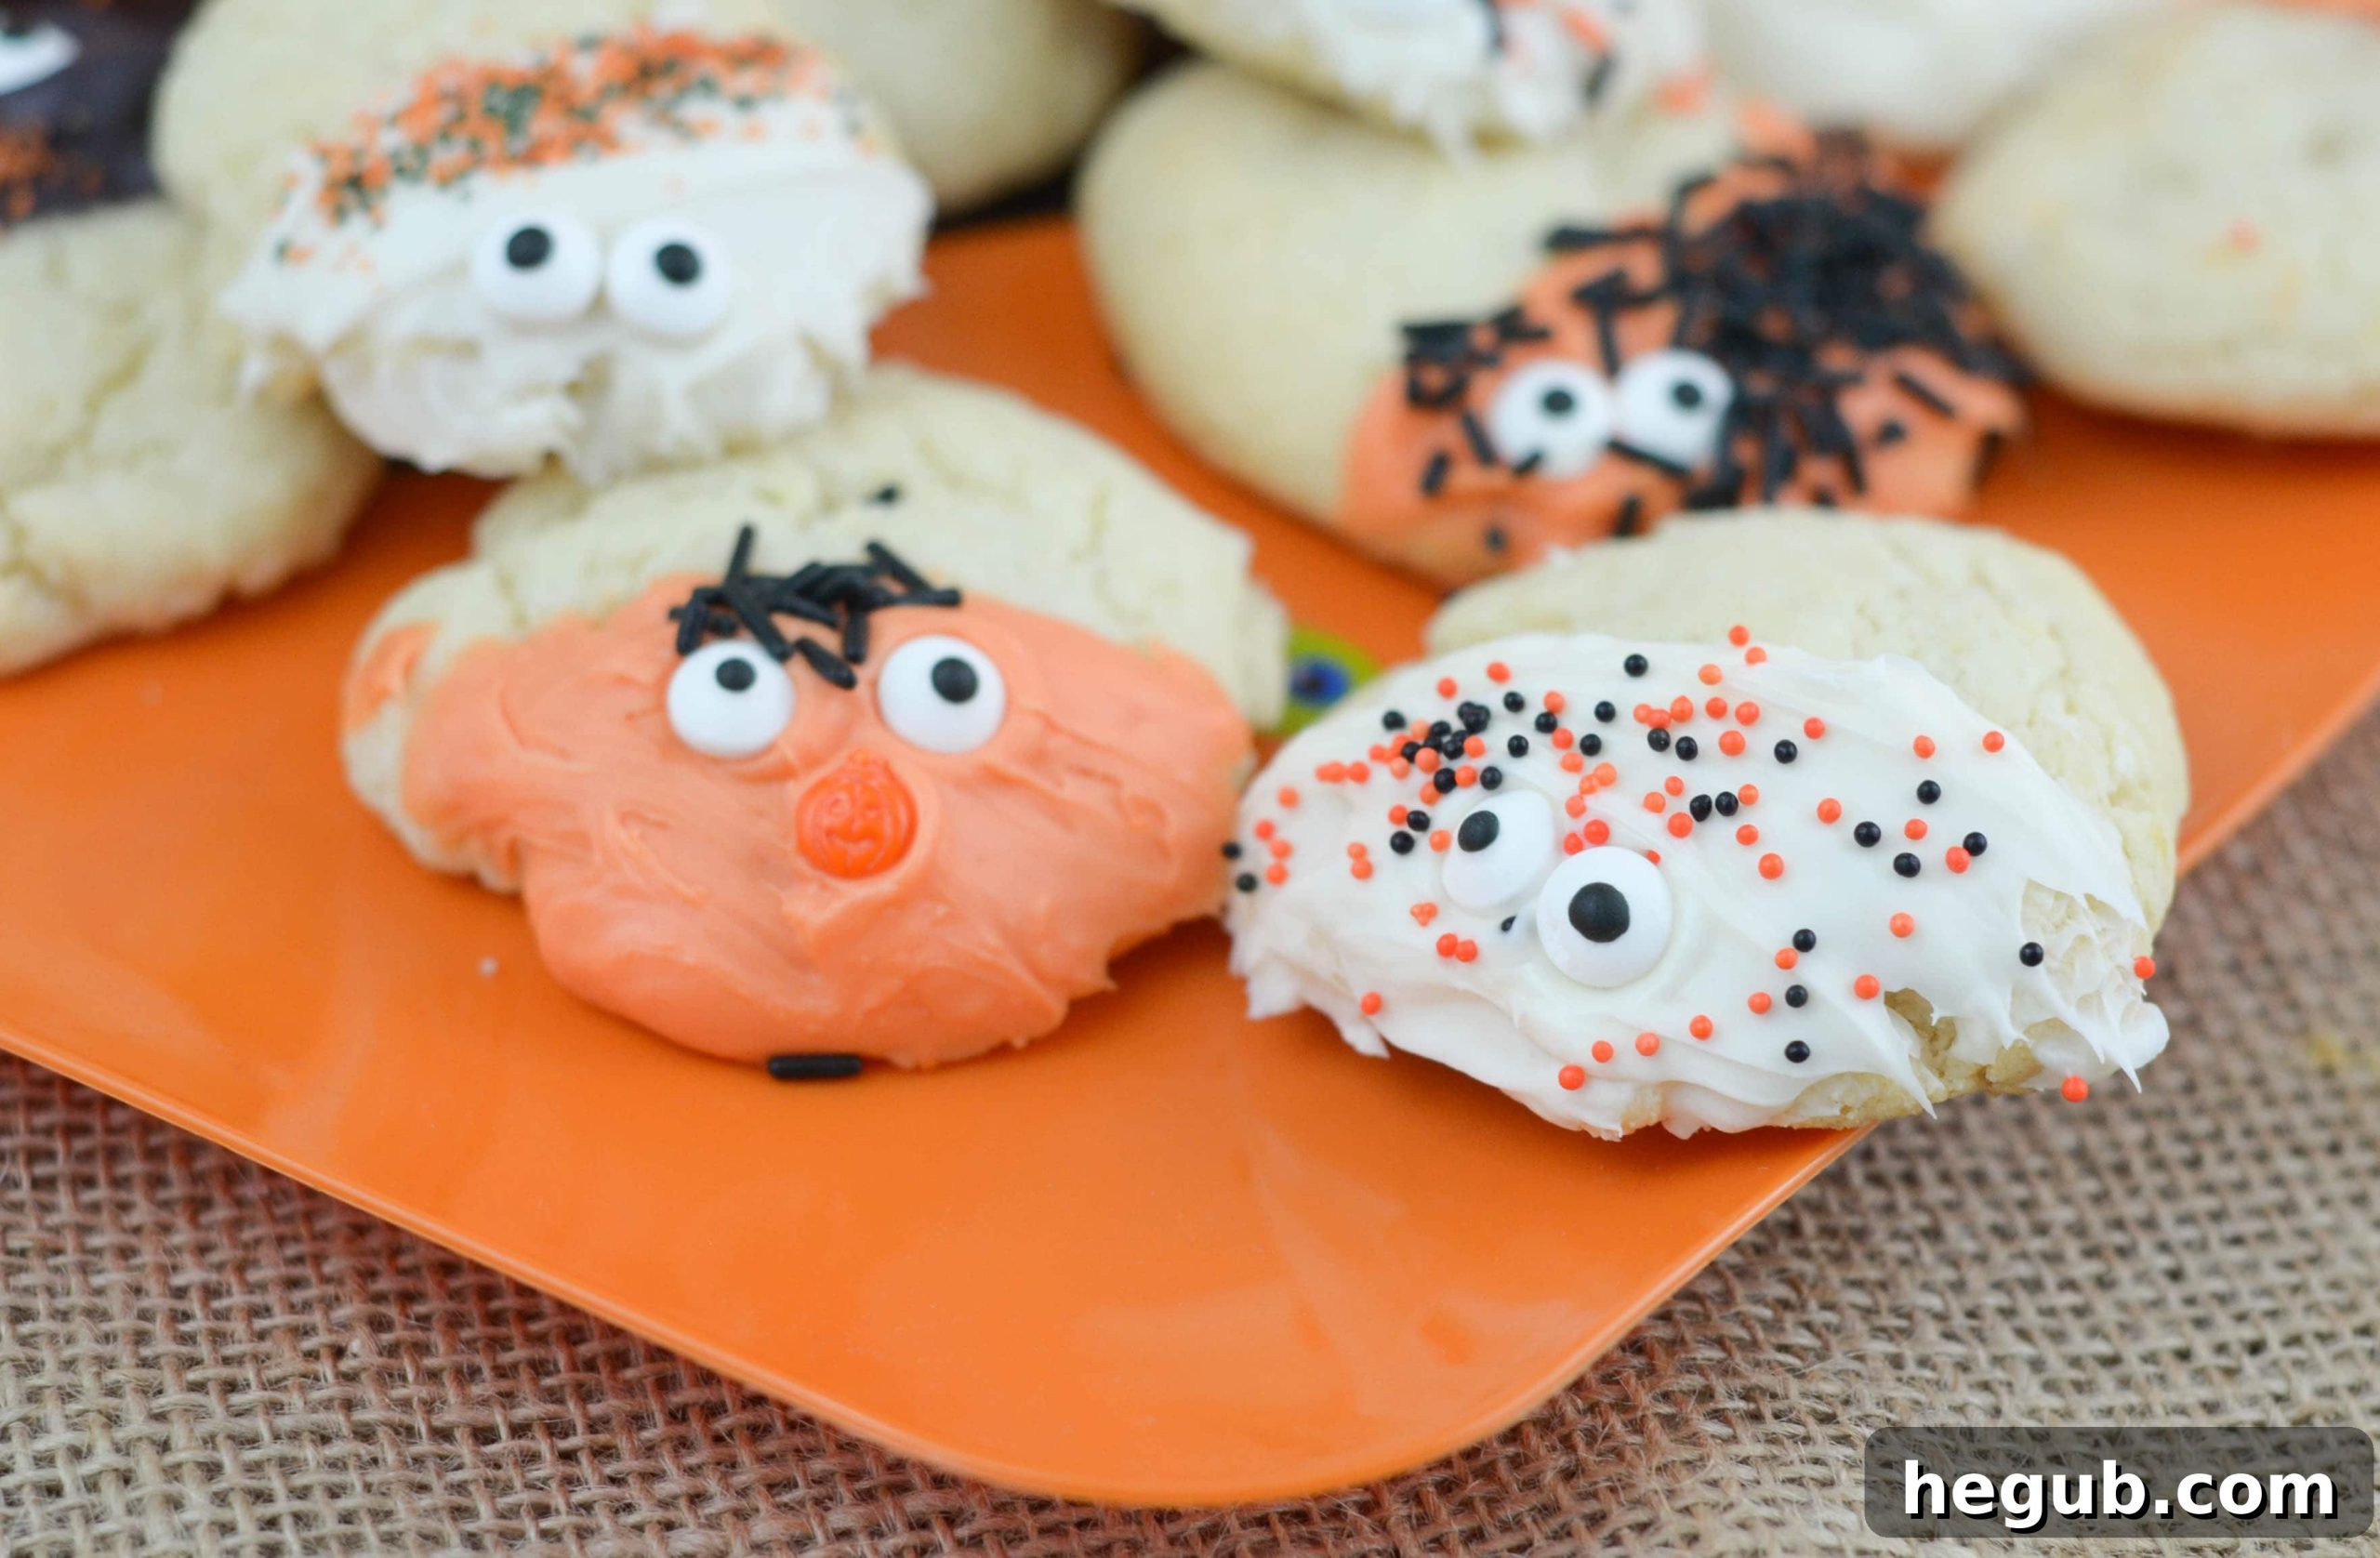
As Halloween approaches, the air fills with excitement, autumn leaves rustle, and the delightful aroma of freshly baked treats begins to waft from kitchens everywhere. This festive season is the perfect excuse to dive into some creative baking, and nothing captures the spirit quite like a batch of homemade sugar cookies. If you’re looking for a crowd-pleasing dessert that’s both fun to make and delicious to eat, then our Spooky Sugar Cookies are exactly what you need. These festive delights, alongside an array of other fantastic Halloween Recipes, are guaranteed to be the star of any holiday gathering or simply brighten up an October afternoon.
A Timeless Family Recipe: Old Fashioned Sugar Cookies
Every family has those cherished recipes that get passed down through generations, and for us, it’s our beloved sugar cookie recipe. This particular recipe hails from my great-great-aunt’s treasured cookbook collection, a culinary heirloom that has graced our family’s tables for decades. What makes this recipe truly special is its ability to consistently produce an exquisitely soft, buttery, and utterly delightful cookie. It’s the kind of cookie that evokes nostalgia with every bite, reminding you of simpler times and warm, comforting flavors.
One of the aspects I personally adore about this recipe is its incredible versatility. With just a simple swap of flours, these classic cookies transform beautifully into a delicious gluten-free version. Over the years, as dietary needs evolved in our home, I found myself adapting many traditional recipes. My husband, ever the purist, humorously reminded me the other day that I haven’t tasted a “real” gluten-filled cookie in five years, implying my taste buds might be biased. And he’s absolutely right! After years of embracing a gluten-free lifestyle, I honestly can’t discern the difference anymore. My palate has fully adjusted, and these cookies, whether made with traditional or gluten-free flour, are simply outstanding.
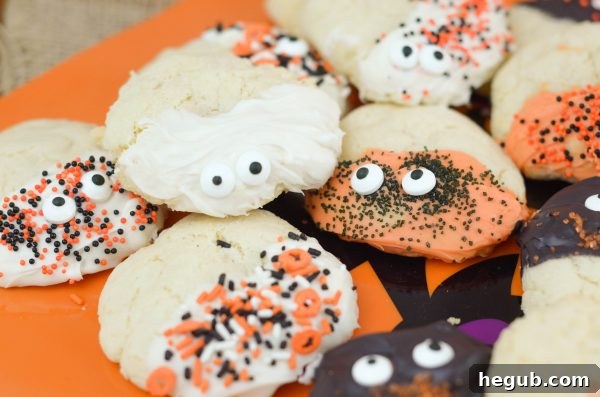
The beauty of this recipe lies in its unwavering quality. Regardless of the flour used, these cookies maintain their signature soft texture and rich, buttery flavor that makes them irresistible. While the gluten-free rendition might have subtle differences, they are so minor that they won’t stop you from reaching for another, and another, until the entire batch mysteriously disappears! It’s a testament to a truly robust recipe that stands the test of time and dietary preferences.
Bringing the Spooky to Sugar Cookies: Decorating Fun!
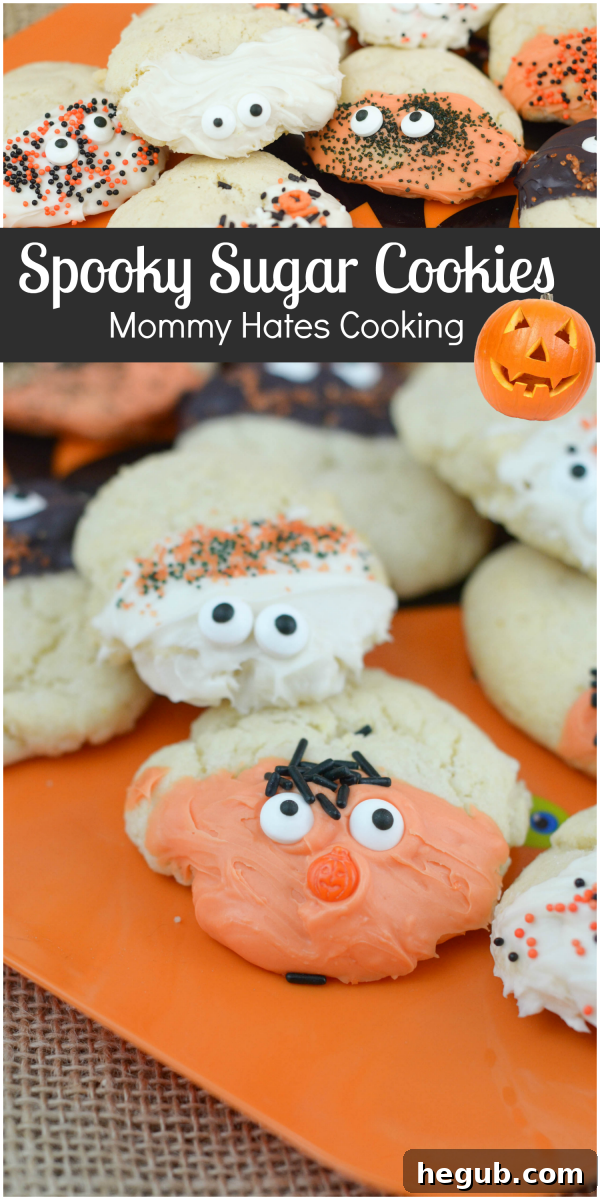
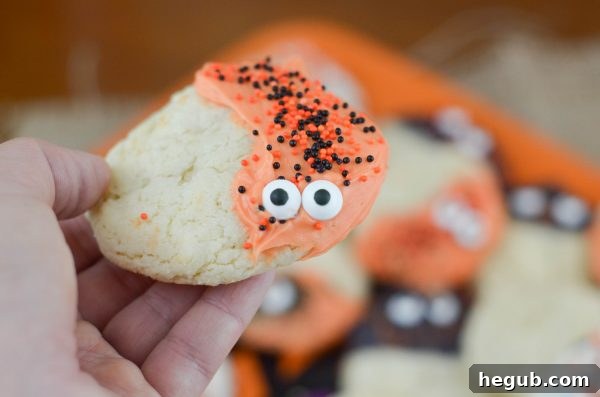
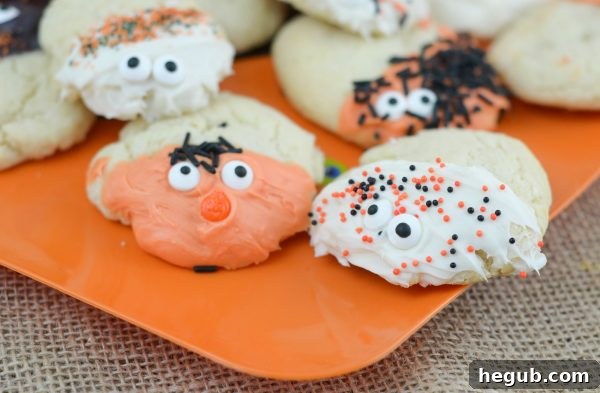
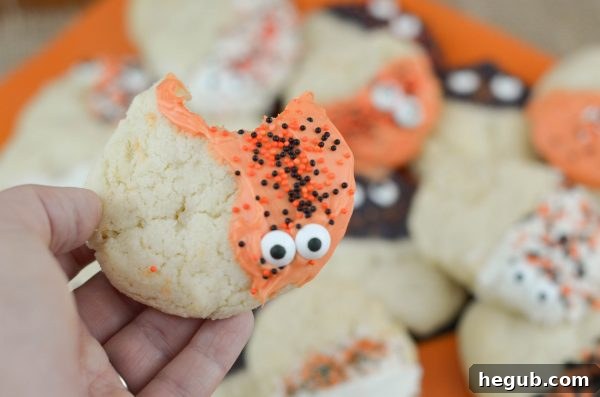
While we enjoy making these classic sugar cookies year-round, Halloween offers a fantastic opportunity to unleash our creativity with fun decorations. This time around, I decided to transform them into genuinely “Spooky Sugar Cookies” by dipping each one into vibrant Halloween-themed Candy Melts and then adding playful candy eyeballs. The excitement from my kids when they saw these was truly priceless!
Decorating these cookies is an absolute blast, especially as a family activity. The best part? They don’t need to be perfect. In fact, their charm often lies in their wonderfully whimsical imperfections. Whether an eyeball is placed slightly askew or a generous shower of sprinkles adorns the top, they will look wonderfully festive and unique. My children, bless their hearts, tend to get a little carried away with the sprinkles, creating colorful, sugary masterpieces. I suspect they inherited that particular enthusiasm from me!
This hands-on activity is perfect for fostering creativity in kids and creating lasting Halloween memories. It’s also an excellent way to introduce them to the joy of baking and decorating, allowing them to personalize their treats. The simple dipping and topping method ensures that even the youngest bakers can participate with minimal fuss and maximum fun.
Tips for Perfect Spooky Sugar Cookies Every Time
To ensure your Spooky Sugar Cookies turn out perfectly, here are a few tips:
- Chilling is Key: Don’t skip the chilling step! Chilling the dough for 1-2 hours helps it firm up, making it easier to handle and preventing the cookies from spreading too much in the oven. This results in cookies with a better shape and texture.
- Measure Accurately: Baking is a science, so precise measurements are crucial, especially for flour. Use the “spoon and level” method: spoon flour into your measuring cup and then level it off with a straight edge, rather than scooping directly from the bag.
- Soften Butter Properly: Ensure your butter is softened, not melted. Softened butter creams beautifully with sugar, creating a light and airy base for your cookies.
- Don’t Overbake: Sugar cookies can go from perfectly baked to overdone very quickly. Watch them closely. They should be lightly golden at the edges but still soft in the center. They will continue to firm up as they cool.
- Cool Completely Before Decorating: This is vital! If your cookies are even slightly warm, the candy melts will melt and run off, making a mess. Patience is a virtue here.
- Working with Candy Melts: Follow the package instructions carefully for melting your candy. Overheating can cause them to seize and become unusable. If they are too thick, you can add a small amount of coconut oil or vegetable shortening to thin them out.
- Get Creative with Decorations: Beyond candy eyeballs and sprinkles, consider using edible markers, different colored icing, or even small Halloween-themed candies like gummy worms or candy corn for extra flair.
- Storage: Store your decorated cookies in an airtight container at room temperature for up to 3-5 days. If stacking, place parchment paper between layers to prevent sticking.
Embracing the Gluten-Free Option
For those navigating dietary restrictions, the ability to effortlessly adapt a classic recipe to be gluten-free is a true blessing. Our Old Fashioned Sugar Cookie recipe lends itself beautifully to this modification. Simply swap out traditional all-purpose flour for a high-quality gluten-free all-purpose flour blend. When choosing a blend, look for one that contains xanthan gum, or add 1/2 teaspoon per cup of flour if your blend does not include it. This helps with the texture and elasticity typically provided by gluten, ensuring your cookies remain wonderfully soft and chewy. Many modern gluten-free flour blends are expertly formulated to mimic the properties of wheat flour, resulting in a nearly indistinguishable taste and texture from their conventional counterparts. So, whether you’re baking for yourself or for guests with sensitivities, everyone can enjoy these delightful Halloween treats without compromise.
More Festive Halloween Party Treats!
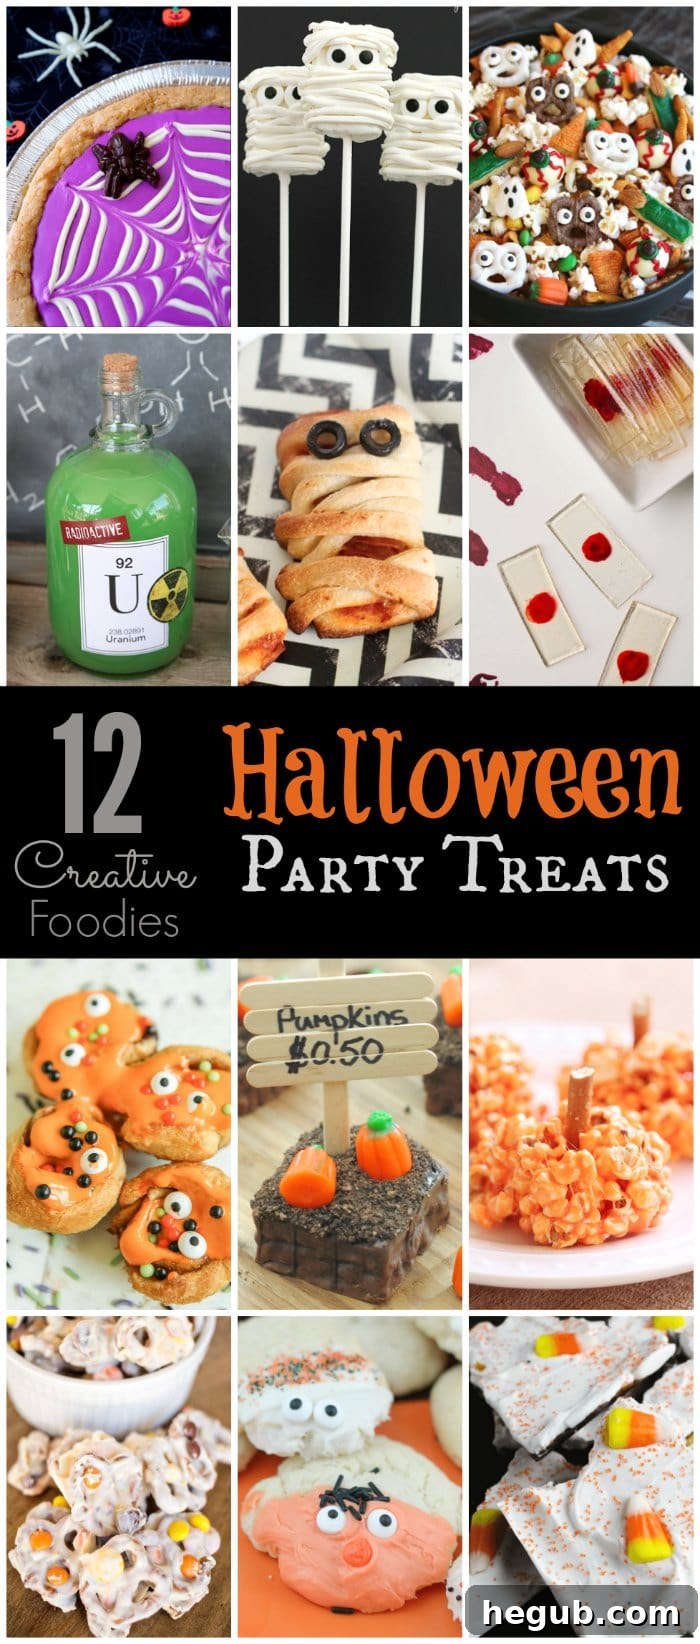
To make your Halloween celebrations truly spectacular, I’ve teamed up with some fellow bloggers to bring you an extensive collection of Halloween-themed recipes. From creepy concoctions to delightfully delicious desserts, these ideas are sure to impress your friends and family and add an extra touch of magic to your October festivities. I’m already planning to whip up a few of these creative treats to include in lunchboxes throughout the month, or as a fun after-school surprise. A little sweet treat is always a simple and wonderful way to show the kids some extra love!
12 Irresistible Halloween Party Treats:
Mini Monster Rolls from Play Party Plan
Pumpkin Patch Brownies from Mom Endeavors
Pumpkin Marshmallow Popcorn Balls from See Vanessa Craft
Fall Pretzel Candy from A Night Owl Blog
Candy Corn Cracker Toffee from Spaceships and Laserbeams
Halloween Snack Mix from Kitchen Fun With My Three Sons
Candy “Bloody” Slides from Ashlee Marie
Spooky Sugar Cookies from Mommy Hates Cooking
Mummy Rice Krispy Treats from Two Twenty One
Spiderweb Cookie Pizzas from Happiness is Homemade
Mummy Pizza Bites from Printable Crush
Halloween Drink from The Idea Room
With this incredible collection of recipes, your Halloween party is sure to be a roaring success. There’s something for everyone, whether you prefer sweet, savory, spooky, or silly. Get ready to bake, decorate, and celebrate the season!
Spooky Sugar Cookies Recipe
Yields: 24 Cookies
Prep Time: 10 minutes | Cook Time: 12 minutes | Chill Time: 1-2 hours | Total Time: Approximately 2 hours 22 minutes
Make a batch of these enchanting Spooky Sugar Cookies, easily adaptable for a delicious gluten-free version!
Ingredients
- 1 Cup Butter, softened
- 2 Cups Granulated Sugar
- 1/4 Cup Brown Sugar, packed
- 2 Eggs
- 1/4 Cup plus 2 Tbsp Milk
- 2 Tsp Vanilla Extract
- 4 Cups All Purpose Flour or Gluten-Free All-Purpose Flour blend
- 2 Tsp Baking Powder
- 1/2 Tsp Salt
- Orange, White, and Black Wilton Candy Melts (or similar brand)
- Candy Eyeballs and festive Sprinkles
Instructions
- In a large mixing bowl, cream together the softened butter until light and fluffy. Gradually add the granulated sugar and packed brown sugar, beating until well combined and fluffy.
- Beat in the eggs one at a time, ensuring each is fully incorporated before adding the next. Stir in the milk and vanilla extract until smooth.
- In a separate bowl, whisk together the flour (or gluten-free flour blend), baking powder, and salt. Gradually add the dry ingredients to the wet ingredients, mixing on low speed until just combined. Be careful not to overmix.
- Cover the cookie dough and chill in the refrigerator for 1 to 2 hours. This step is crucial for preventing the cookies from spreading too much and helps develop flavor.
- Once the dough is chilled, preheat your oven to 350°F (175°C). Line a baking sheet with parchment paper or lightly grease it.
- Roll the chilled dough into 1-2 tablespoon-sized balls. Place them on the prepared cookie sheet about 2 inches apart. Gently press each ball down a bit with the palm of your hand or the bottom of a glass to flatten them slightly. (These cookies will not expand significantly, so shape them close to your desired final size.)
- Bake for 10-12 minutes, or until the edges are lightly golden. Remove from the oven and let them cool on the baking sheet for a few minutes before transferring them to a wire rack to cool completely.
- Once the cookies are thoroughly cooled, prepare the candy melts according to the package instructions. Melt them in separate bowls for different colors (orange, white, black).
- Dip each cooled cookie into the melted candy, coating about half or two-thirds of the cookie. Gently shake off any excess.
- Immediately add candy eyeballs and sprinkles to the wet candy melt before it hardens.
- Continue with all the cookies, placing them on a sheet of parchment paper or a wire rack with parchment underneath to allow the candy melts to fully set and harden.
- Serve your delightful Spooky Sugar Cookies and watch them disappear!
Nutrition Information (per 1 Cookie serving)
Calories: 215kcal | Carbohydrates: 34g | Protein: 3g | Fat: 9g | Saturated Fat: 5g | Polyunsaturated Fat: 0.5g | Monounsaturated Fat: 2g | Trans Fat: 0.3g | Cholesterol: 34mg | Sodium: 152mg | Potassium: 15mg | Fiber: 2g | Sugar: 20g | Vitamin A: 260IU | Calcium: 42mg | Iron: 1mg
Did You Make This Recipe?
We absolutely love seeing your culinary creations! If you whip up a batch of these Spooky Sugar Cookies or any other recipe from our blog, be sure to share your photos on Instagram. Tag #mommyhatescoooking so we can see your fantastic work, and don’t forget to follow us for more delicious recipes and kitchen inspiration @momhatescooking. Happy baking!