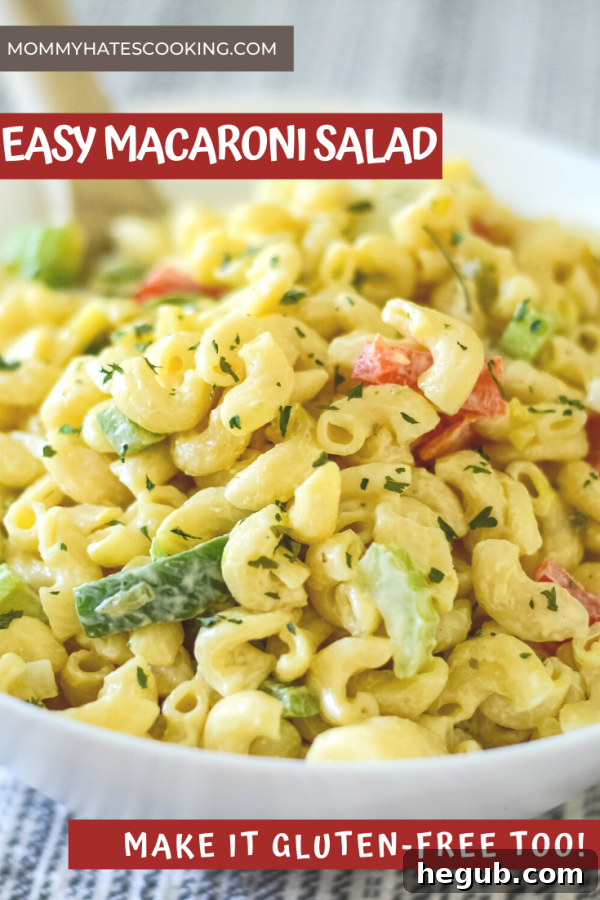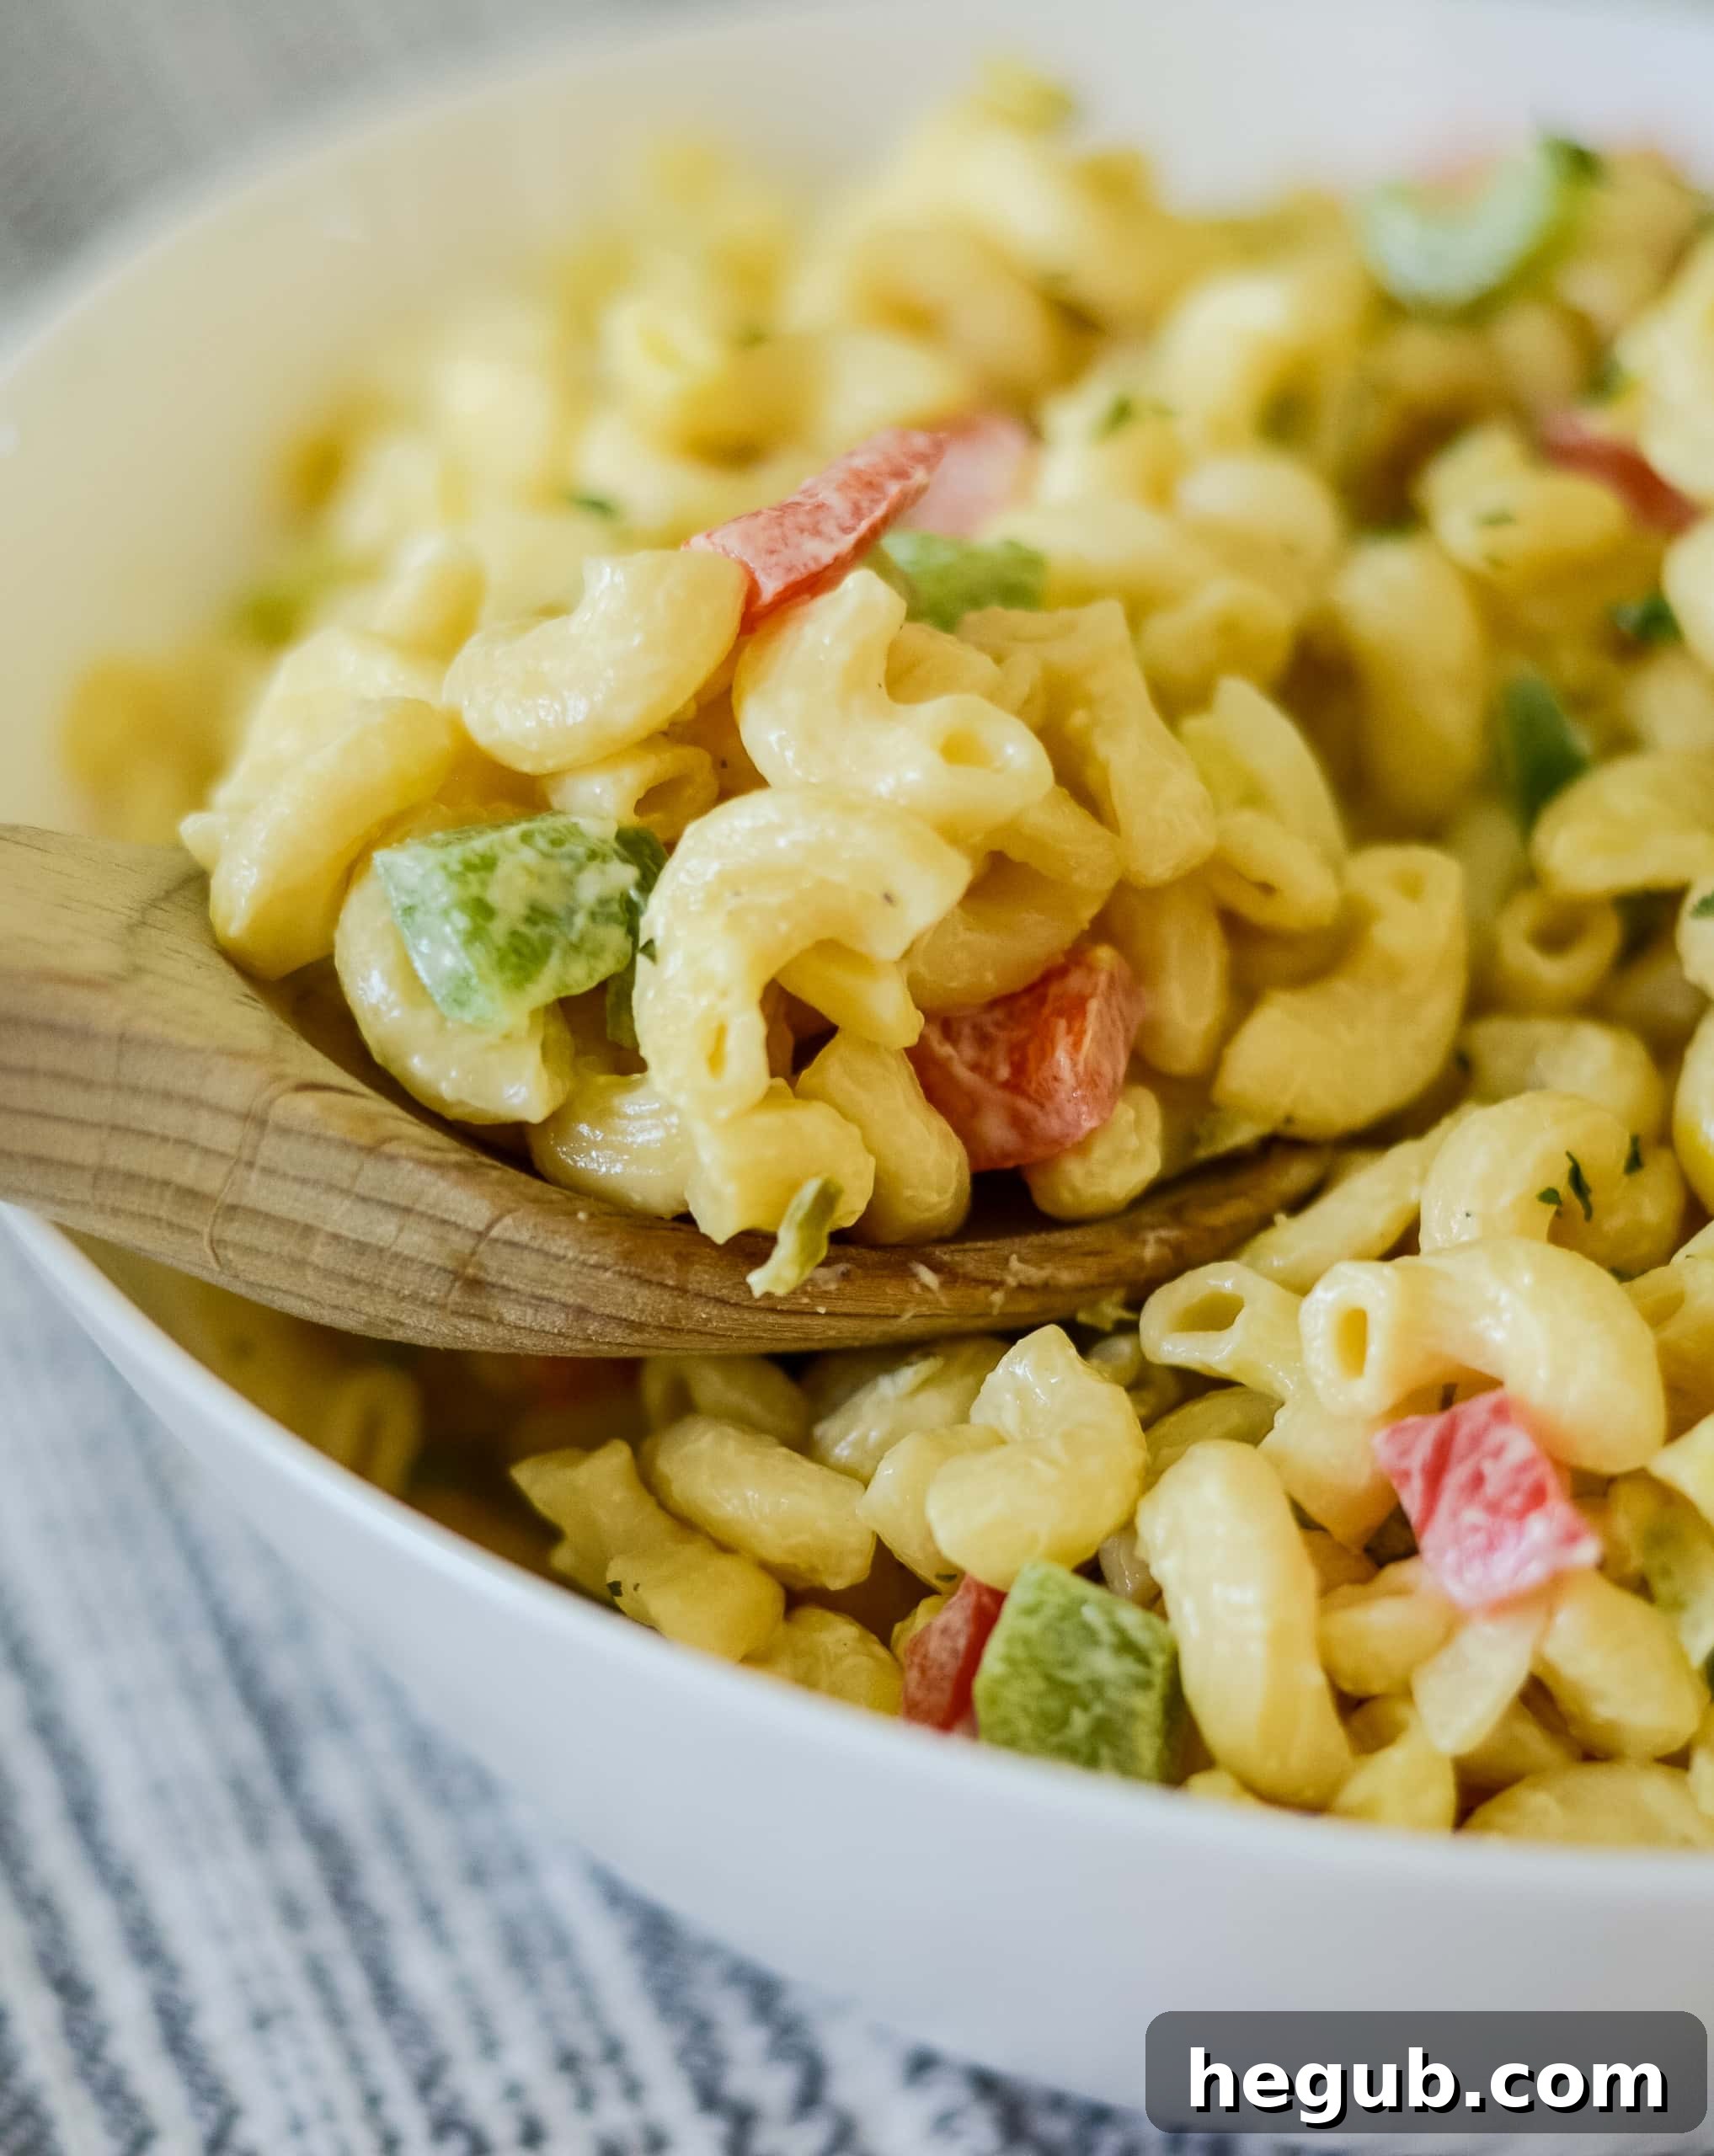
Effortless Macaroni Salad: Your Go-To Recipe for Any Occasion (Ninja Foodi & Gluten-Free Options Available!)
As the weather warms and outdoor gatherings beckon, there’s one side dish that consistently steals the show: creamy, tangy macaroni salad. Perfect for picnics, barbecues, potlucks, or simply as a delightful accompaniment to your weeknight dinner, this classic comfort food is a must-have.
Imagine firing up the grill for delicious Pellet Grill Recipes and then pairing those savory meats with a refreshing, homemade macaroni salad. It’s the ultimate summer duo! Our recipe elevates this beloved staple, offering incredible flexibility for modern kitchens and dietary needs. Whether you’re a fan of traditional stovetop cooking or prefer the speed and efficiency of a Ninja Foodi or Instant Pot, we’ve got you covered. Plus, with a simple pasta swap, you can easily transform this into a delectable gluten-free macaroni salad, ensuring everyone at your table can enjoy a spoonful (or two!) of this crowd-pleasing dish.
This easy macaroni salad recipe is designed for maximum flavor with minimal fuss, allowing you to spend less time in the kitchen and more time enjoying good company and delicious food. Its versatility means it can adapt to your preferences, making it a truly indispensable recipe.
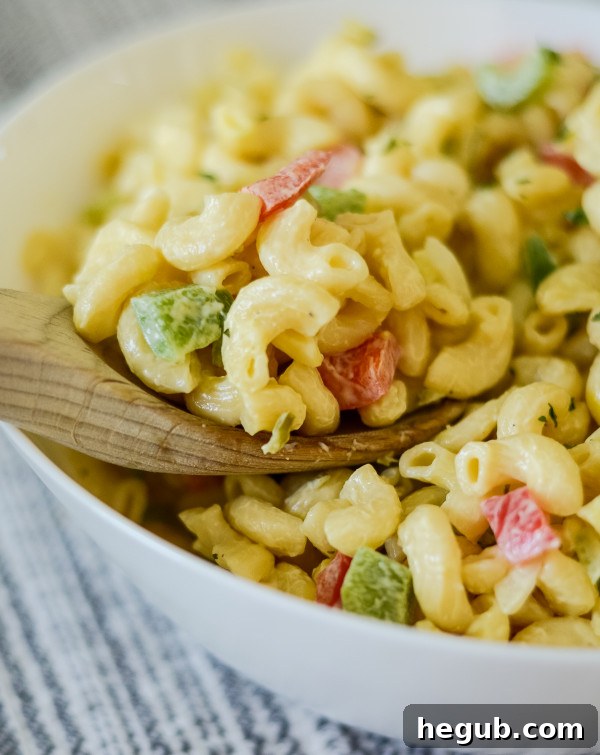
Crafting Delicious Gluten-Free Macaroni Salad
For those managing gluten sensitivities or simply opting for a gluten-free lifestyle, enjoying classic dishes like macaroni salad can sometimes feel challenging. However, creating a fantastic gluten-free macaroni salad is incredibly simple with just one easy adjustment: swapping out traditional wheat pasta for a high-quality gluten-free alternative.
The market for gluten-free pasta has expanded dramatically, offering a wide array of options that truly mimic the texture and taste of their wheat-based counterparts. When it comes to elbow macaroni, many brands now produce excellent gluten-free versions made from corn, rice, quinoa, or a blend of these ingredients. Personally, I’ve found that Barilla offers some of the best gluten-free elbow macaroni, providing a consistent texture that holds up beautifully in salads without becoming mushy. However, don’t hesitate to experiment with your favorite gluten-free pasta brand – the key is finding one you enjoy!
When cooking gluten-free pasta, it’s crucial to follow the package instructions carefully, as cooking times can vary. While some gluten-free pastas cook similarly to regular pasta, others might require slightly more or less time to achieve that perfect al dente bite. For a cold salad like this, it’s also important to rinse the pasta thoroughly with cold water immediately after draining. This step not only halts the cooking process but also removes excess starch, preventing the pasta from clumping together and ensuring a pleasant, firm texture that’s ideal for soaking up the creamy dressing.
Making this macaroni salad gluten-free doesn’t compromise on flavor or texture, allowing everyone to savor this delightful side dish without worry. Just remember to use certified gluten-free ingredients for all other components of the salad if cross-contamination is a concern for severe allergies.
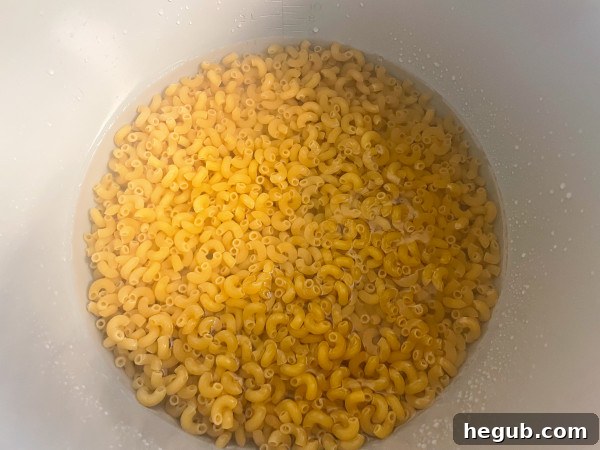
An important tip to remember, especially if you’re using a Ninja Foodi or Instant Pot to cook your pasta, is to adjust the cooking time. For pressure cooker methods, the pasta generally cooks in about half the time specified on the pasta box for traditional boiling. This adjustment is vital for preventing overcooked, mushy pasta, which can ruin the texture of a cold salad.
Effortlessly Cook Pasta for Macaroni Salad in Your Ninja Foodi or Instant Pot
One of the best modern kitchen hacks for busy home cooks is utilizing a multi-cooker like the Ninja Foodi or Instant Pot to streamline meal preparation. This versatile appliance isn’t just for stews and roasts; it excels at cooking pasta quickly and perfectly, making it an ideal tool for preparing the base of your easy macaroni salad.
Cooking pasta in a pressure cooker offers several advantages. It’s faster than boiling on the stovetop, especially when you factor in the time it takes for a large pot of water to come to a rolling boil. It also requires less hands-on attention, freeing you up to prepare the delicious dressing and chop your vegetables while the pasta cooks itself. The result is consistently cooked pasta with minimal effort.
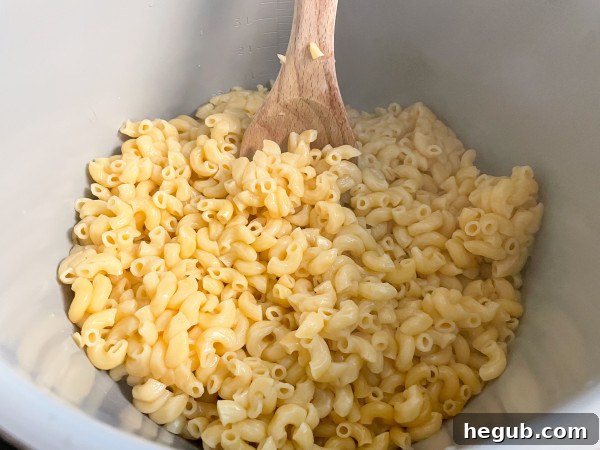
Here’s how to cook your macaroni perfectly in the Ninja Foodi or Instant Pot:
- **Measure Ingredients:** Begin by adding 16 ounces of elbow macaroni (or your chosen gluten-free pasta) directly into the inner pot of your Ninja Foodi.
- **Add Water:** Pour 4 cups of water over the pasta. This is generally the right pasta-to-water ratio for pressure cooking, ensuring enough liquid without diluting flavor or requiring excessive draining.
- **Secure the Lid:** Place the pressure cooker lid on the Ninja Foodi and twist it into the locked position.
- **Seal Valve:** Ensure the pressure release valve (nozzle) is set to the “SEAL” position. This is crucial for the pot to build and maintain pressure.
- **Pressure Cook:** Select the “Pressure Cook” function and set the cooking time to 4 minutes on high pressure. Remember, for most pressure-cooked pasta, you’ll use half the recommended stovetop cooking time listed on the pasta box. For standard elbow macaroni, which typically cooks in 8-10 minutes, 4 minutes under pressure is ideal.
- **Quick Release:** Once the cooking cycle is complete, carefully perform a quick release of the pressure. Move the pressure release valve from “SEAL” to “VENT.” Be cautious of the steam that will rapidly escape.
- **Drain and Rinse:** Once the float valve drops and all pressure has been released, open the lid. Immediately drain the cooked pasta using a colander. Rinse the pasta thoroughly with cold water to stop the cooking process, cool it down, and remove excess starch. This step is essential for any cold pasta salad, as it prevents the pasta from becoming gummy and helps the individual pieces remain distinct.
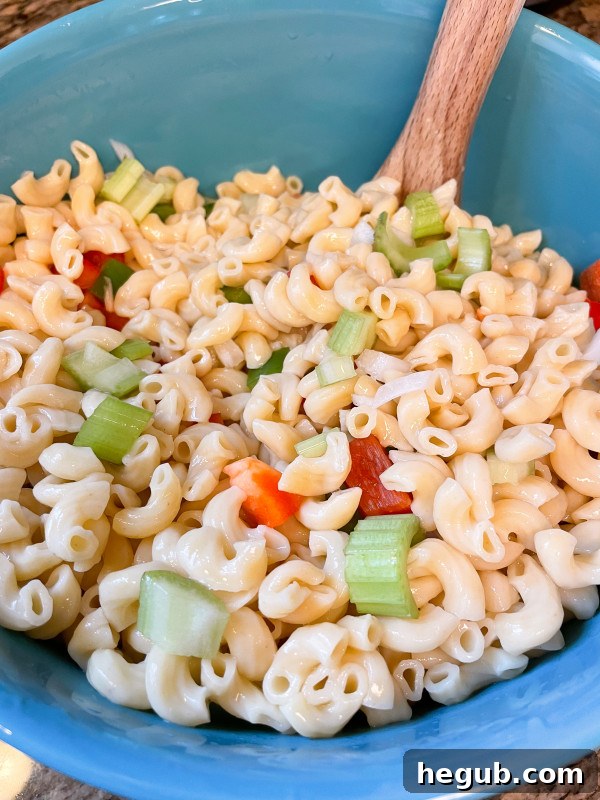
This method provides a wonderfully simple and efficient way to prepare your pasta. If you don’t own a Ninja Foodi or Instant Pot, no worries! You can simply boil the pasta on the stovetop according to the package instructions. Just be sure to rinse it well with cold water after draining, regardless of the cooking method, to achieve that perfect chilled salad texture. Always refer to your pasta’s packaging for specific timing, applying the “half time” rule for pressure cooking to ensure optimal results.
Expert Tips for Crafting the Best Macaroni Salad
Making a truly exceptional macaroni salad goes beyond just boiling pasta and mixing ingredients. With a few key tips and tricks, you can elevate your homemade version from good to absolutely unforgettable. This classic picnic side dish is all about balance: the creaminess of the dressing, the tang of vinegar, the sweetness of sugar, and the crisp bite of fresh vegetables. Here’s how to perfect it:
1. Efficient Prep for Optimal Flavor: While your pasta is cooking, whether on the stovetop or in your Ninja Foodi, maximize your time by preparing the dressing and chopping all your vegetables. This parallel processing ensures that as soon as the pasta is ready and cooled, you can immediately combine everything, allowing the flavors to meld together more quickly. Freshly chopped vegetables like white onion, celery, green bell pepper, and red bell pepper add crucial texture and vibrant flavor that truly define a great macaroni salad.
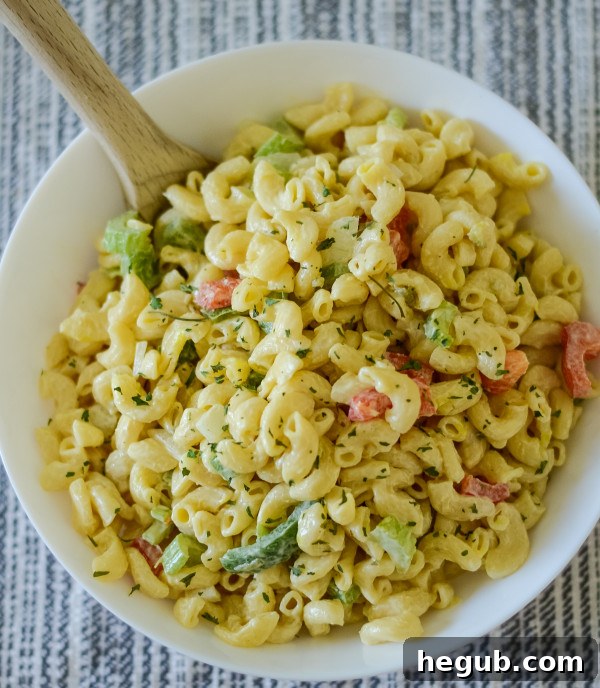
2. The Magic of Chilling: Macaroni salad is a cold picnic salad, and chilling is not just recommended, it’s essential. While it needs to be chilled for at least 4 hours to allow the flavors to properly marry and for the salad to firm up, it truly shines after a longer rest. For the absolute best taste and texture, aim to chill it for 24 hours. This makes it an ideal make-ahead recipe for parties, barbecues, or any event where you want to minimize last-minute stress. Preparing it the day before allows the pasta to fully absorb the dressing, resulting in a more cohesive and flavorful dish.
3. The Perfect Dressing Consistency: The dressing is the heart of your macaroni salad. Before serving, give the entire salad a good mix to ensure that all the pasta and vegetables are fully coated in the creamy dressing. Pasta can absorb a lot of liquid as it sits, so don’t be surprised if the salad appears a bit dry after chilling. A quick stir will redistribute the dressing and revive its creamy texture. If it’s still too dry, you can always add another tablespoon or two of mayonnaise and a splash of vinegar or milk to loosen it up.
4. Serving Size Considerations: This recipe is designed to be generous, serving approximately 12-16 people, depending on the portion size. It makes a fantastic dish for larger gatherings. If you’re hosting a smaller group or simply want leftovers, you can easily halve the recipe. Conversely, it’s simple to double for big events, ensuring there’s plenty for everyone.
5. Ingredient Quality Matters:
- **Mayonnaise:** Use “real” mayonnaise for the best flavor and creaminess. Mayonnaise substitutes or salad dressings tend to be sweeter and thinner, which can alter the classic taste and texture of the salad.
- **Fresh Vegetables:** Always opt for fresh, crisp vegetables. Dicing them uniformly ensures that every bite offers a balanced mix of ingredients. Consider adding finely chopped red onion for a milder flavor, or a touch of finely grated carrot for extra color and sweetness.
- **Sweet Relish:** Sweet relish is traditional, but if you prefer a less sweet and more tangy profile, you can substitute with dill relish, or even add a pinch of celery seeds for a classic deli-style flavor.
6. Customization and Variations: Don’t hesitate to make this recipe your own!
- **Protein Boost:** Add chopped hard-boiled eggs for a richer texture and extra protein. Crispy bacon bits (as suggested in the recipe) are another fantastic addition for a smoky, savory crunch. Cooked shrimp or ham can also be folded in for a more substantial meal.
- **Spice It Up:** A pinch of paprika or a dash of hot sauce can add a subtle kick if you enjoy a little heat.
- **Herbaceous Notes:** Fresh dill, parsley, or chives can brighten the flavors considerably.
- **Tangy Twist:** A teaspoon of Dijon mustard can deepen the savory notes in the dressing.
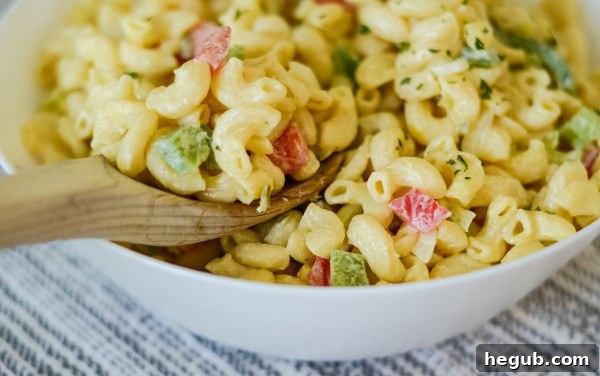
By following these tips, your homemade macaroni salad will be a guaranteed hit, striking the perfect balance of flavors and textures that keep everyone coming back for more. Enjoy the versatility and deliciousness of this timeless side dish!
More Picnic Salad Recipes:
Grab even more picnic salads with these easy recipes!
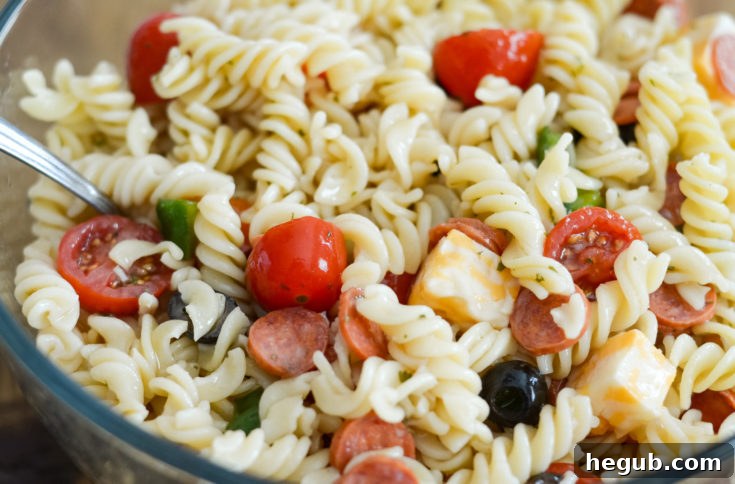
Ninja Foodi Pasta Salad (Gluten-Free)
Make a fabulous and easy pasta salad with this Ninja Foodi Pasta Salad recipe, featuring gluten-free options for everyone to enjoy!
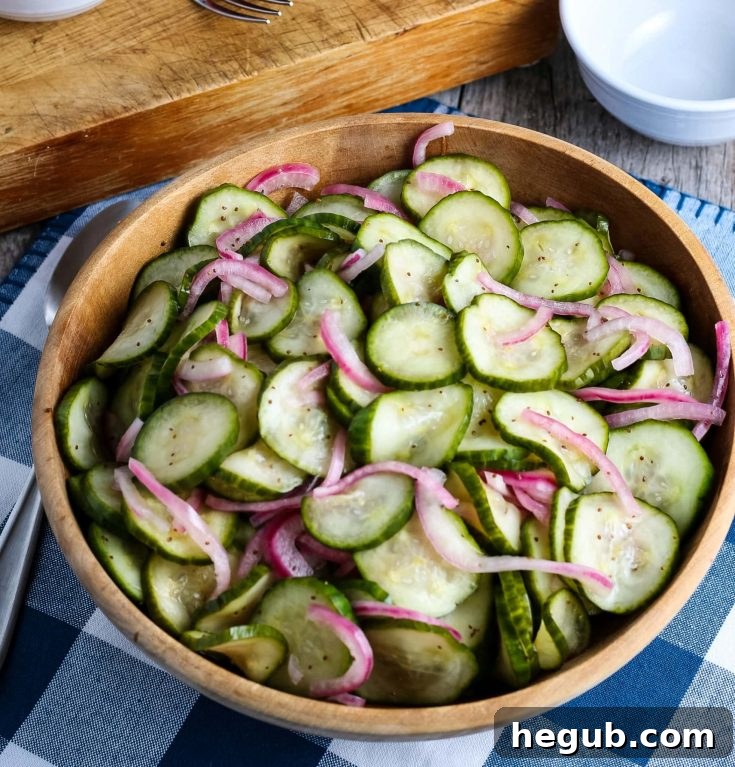
Easy Cucumber Salad
A refreshing and easy cucumber salad, perfect for any summer gathering or light meal!
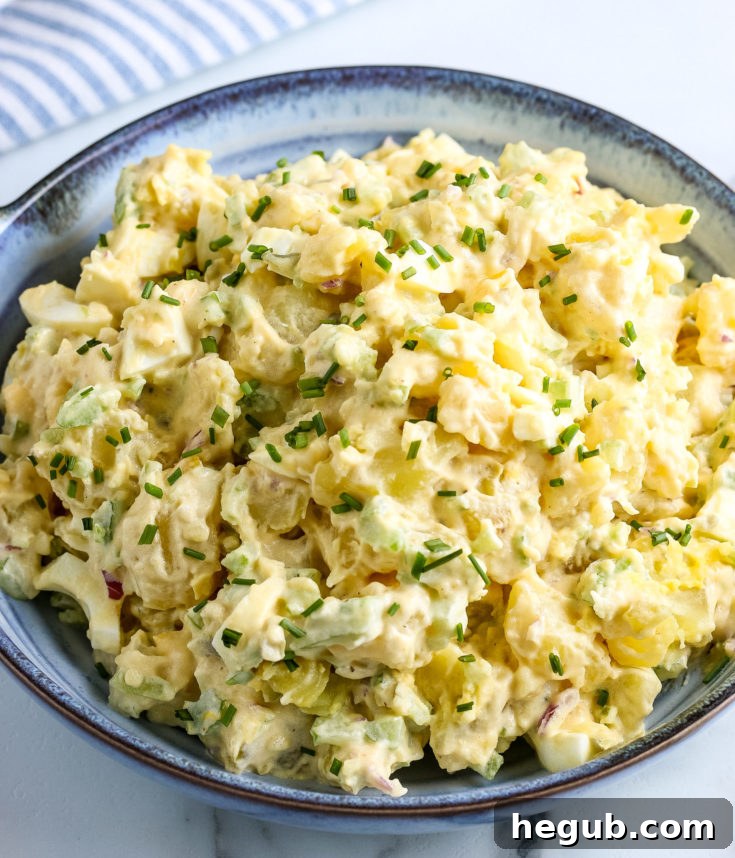
Easy Potato Salad (Gluten-Free)
The best potato salad recipe, perfect for any cookout, offering a delicious gluten-free option for everyone!
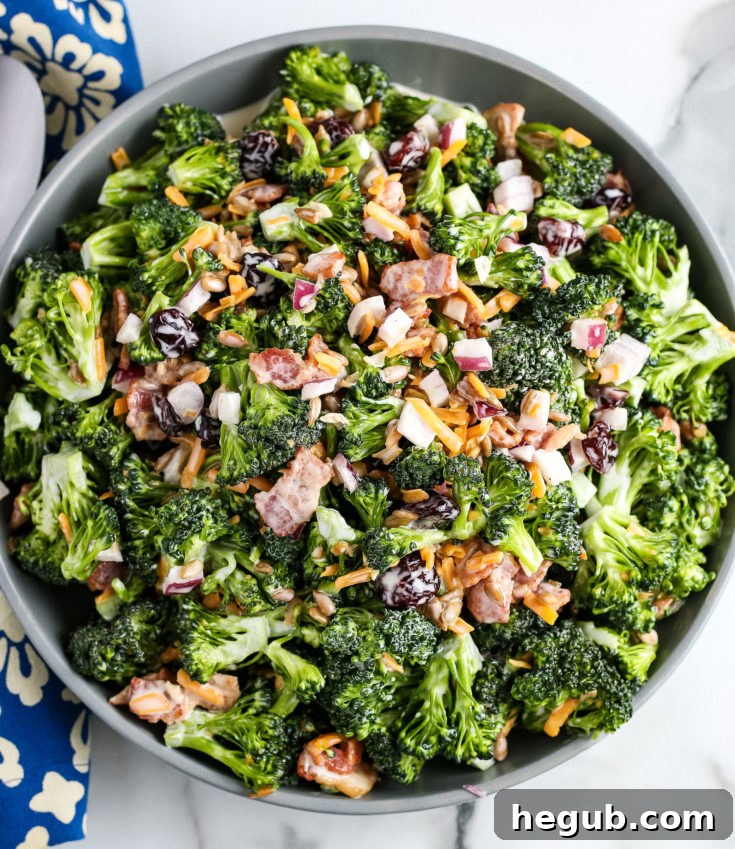
Best Broccoli Salad Recipe (Gluten-Free)
A refreshing, no-bake, no-cook broccoli salad that’s a must-have for any gathering, featuring a delicious gluten-free recipe!
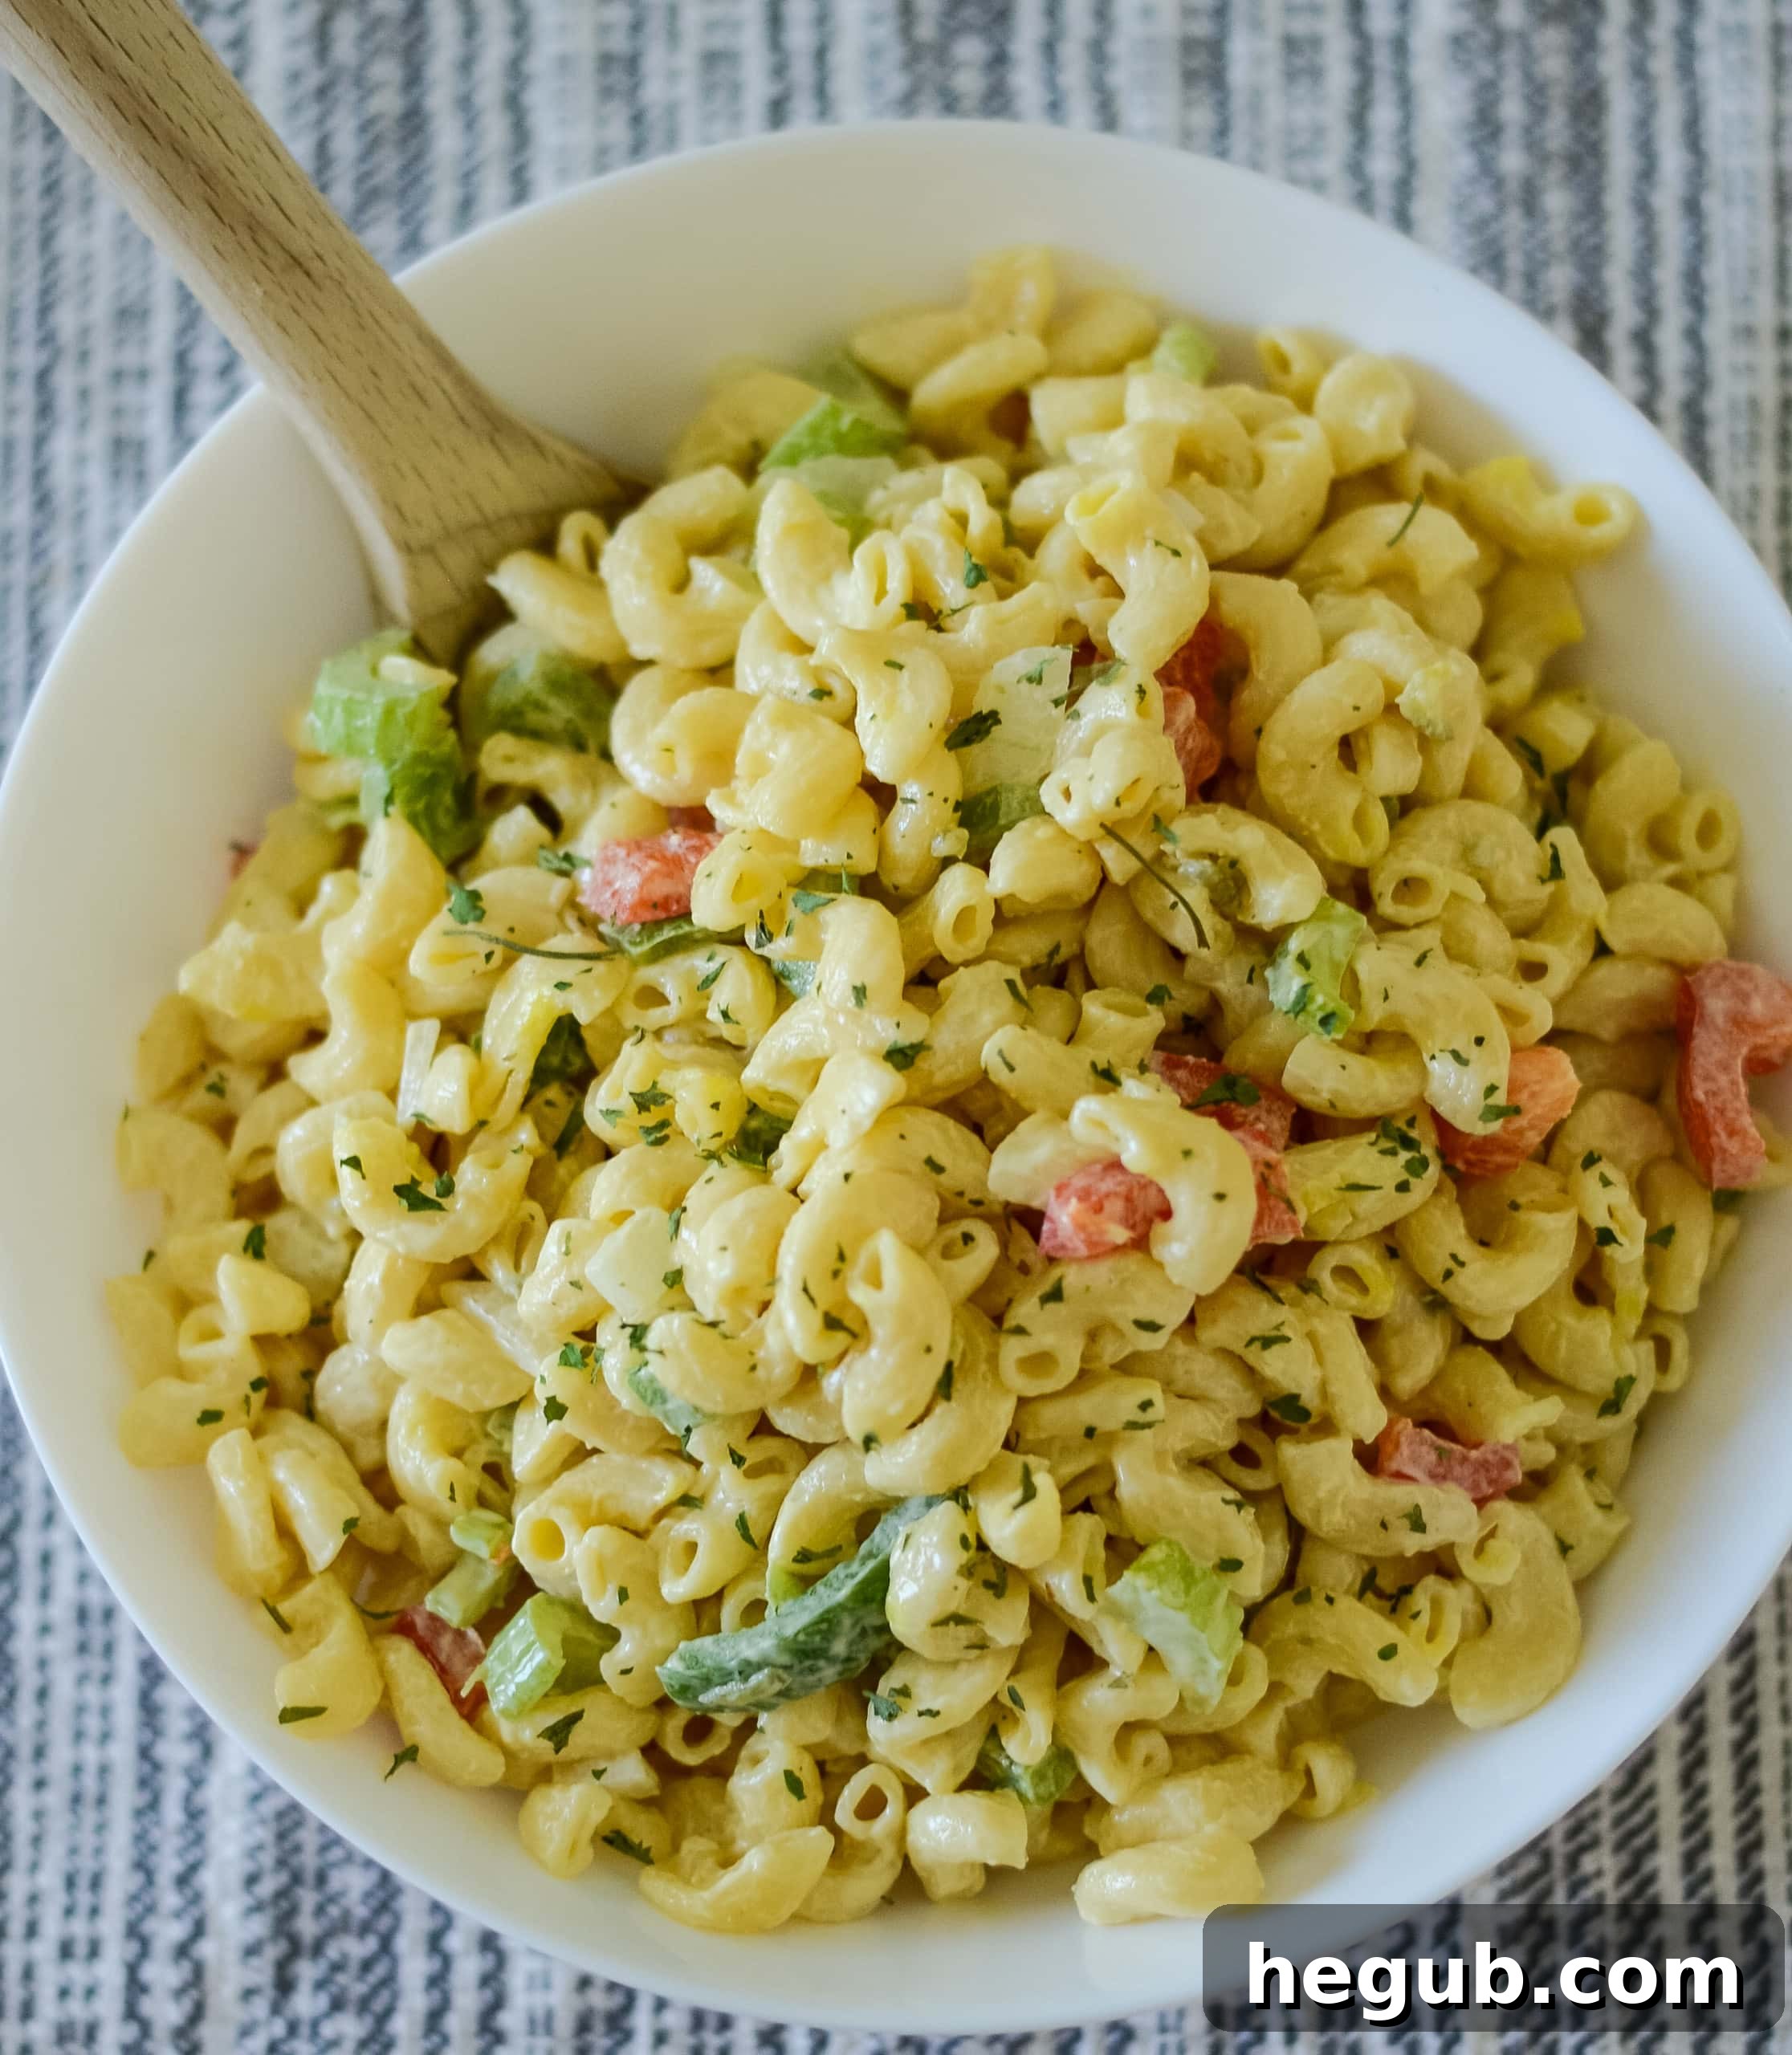
Easy Macaroni Salad
Ingredients
- 16oz Elbow Macaroni Pasta or Gluten-Free Pasta
- 1 Cup Real Mayonnaise
- 1/4 Cup White Vinegar
- 1/3 Cup Granulated Sugar
- 2 Tbsp Sweet Relish
- 2 Tbsp Yellow Mustard
- Dash Black Pepper
- 1/4 Cup Diced White Onion
- 2 Stalks Chopped Celery
- 1 Green Bell Pepper, Chopped
- 1 Red Bell Pepper, Chopped
- 1/4 Cup Chopped Bacon (Optional)
Instructions
-
Refer to the notes section for detailed instructions on cooking pasta in the Ninja Foodi. Otherwise, begin by boiling the pasta according to the package directions on the stovetop.
-
Once cooked, immediately drain the pasta and rinse it thoroughly with cold water to halt the cooking process and cool it down. This prevents mushiness and ensures a perfect texture for your cold salad.
-
While the pasta is cooking and cooling, prepare the creamy dressing. In a small bowl, combine the mayonnaise, white vinegar, granulated sugar, sweet relish, yellow mustard, and a dash of black pepper. Whisk these ingredients together until well combined and smooth.
-
Once the pasta is fully cooked, drained, and cooled, transfer it to a large mixing bowl. Add the diced white onion, chopped celery, chopped green bell pepper, chopped red bell pepper, and the optional chopped bacon to the bowl.
-
Pour the prepared dressing mixture over the pasta and vegetables in the large bowl. Mix everything thoroughly until all the ingredients are evenly coated with the dressing.
-
Cover the bowl tightly and refrigerate the macaroni salad to chill for at least 4 hours. For the best flavor development and ideal texture, chilling it overnight (24 hours) is highly recommended.
-
Before serving, give the salad another good stir. Serve cold. This recipe yields approximately 16 side dish-style servings, making it perfect for gatherings.
Notes
**Ninja Foodi / Instant Pot Pasta Instructions:** Combine 16oz of uncooked elbow macaroni (or gluten-free pasta) with 4 cups of water in the inner pot of your multi-cooker. Secure the pressure cooker lid and ensure the nozzle is set to “SEAL.” Cook on HIGH pressure for 4 minutes. Once the cooking cycle is complete, perform a quick release of the pressure by moving the nozzle to “VENT.”
Immediately remove the pasta from the pot, drain it thoroughly, and rinse with cold water. This crucial step stops the cooking process and prevents the pasta from becoming sticky, ensuring a perfect texture for your cold macaroni salad.
Nutrition
Did you make this recipe?
Make sure to tag #mommyhatescoooking on Instagram and follow for more @momhatescooking
Pin Recipe
Share on Facebook