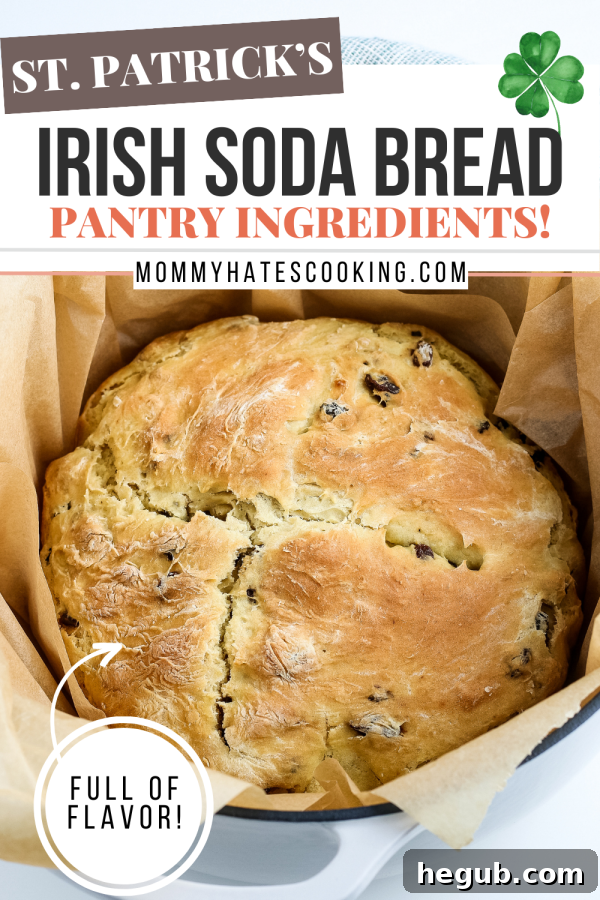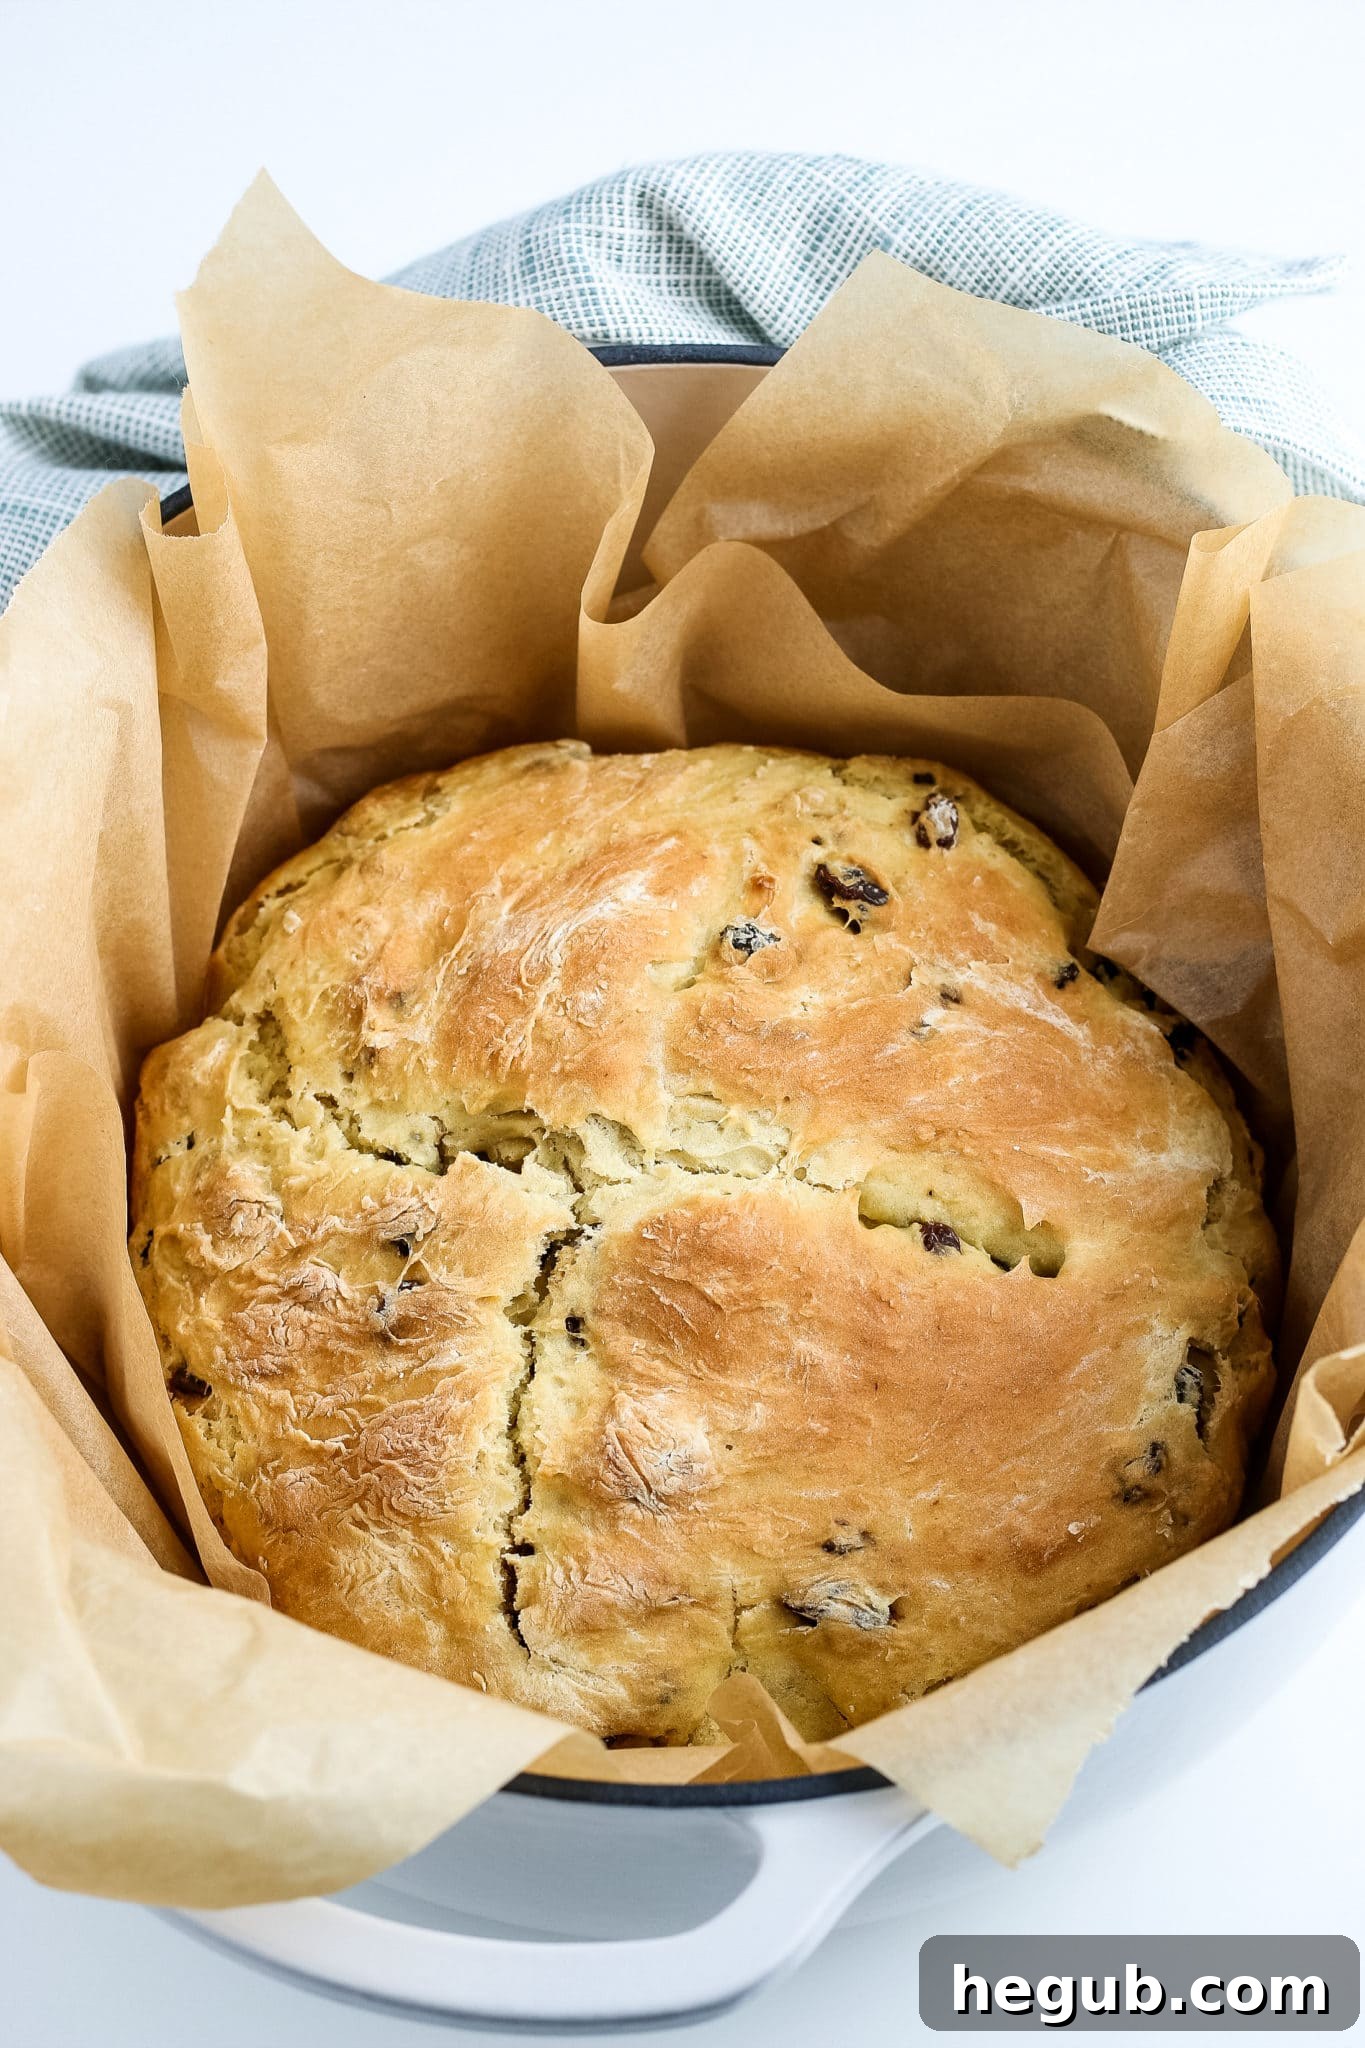
Homemade Irish Soda Bread: A Quick & Delicious Classic Recipe
Irish Soda Bread stands as a beloved culinary tradition, particularly cherished around St. Patrick’s Day. This delightful quick bread artfully combines simple, natural ingredients like acidic buttermilk and alkaline baking soda, along with salt and flour, to create a wonderfully light and tender loaf. Unlike traditional yeast breads that rely on extensive rising times, Irish Soda Bread achieves its characteristic lift through a straightforward chemical reaction between these key components, making it an incredibly accessible and satisfying baking project for anyone, from novice bakers to seasoned chefs. Its ease of preparation and comforting flavor have secured its place as a year-round favorite, perfect for any occasion that calls for a touch of homemade warmth.
The Distinctive Taste and Texture of Irish Soda Bread
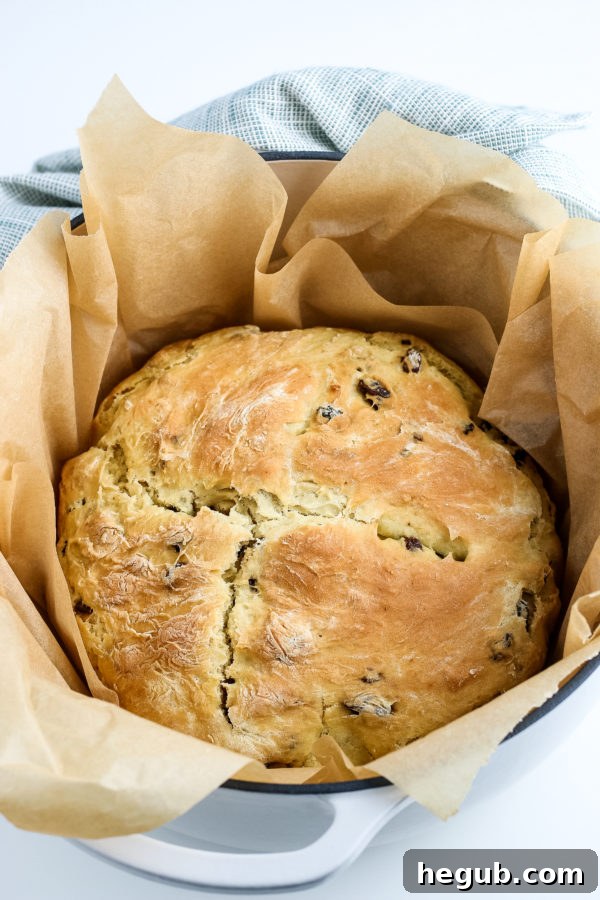
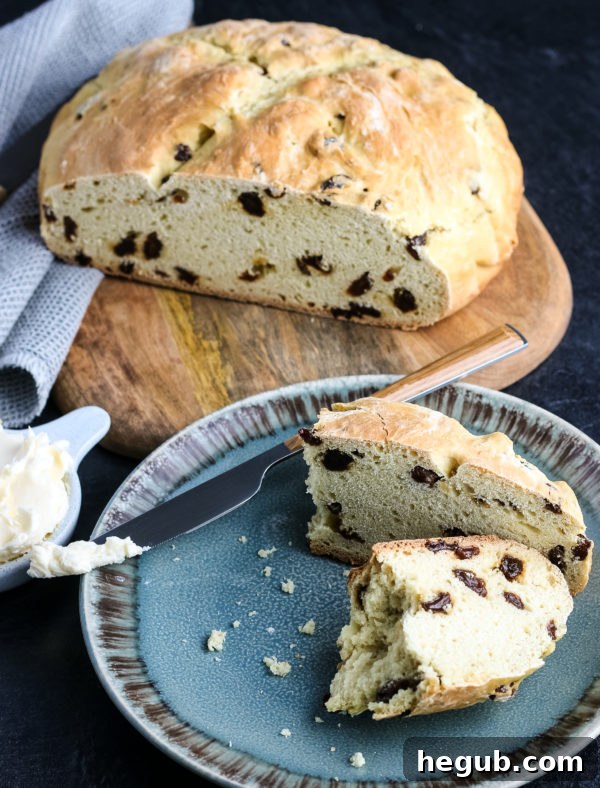
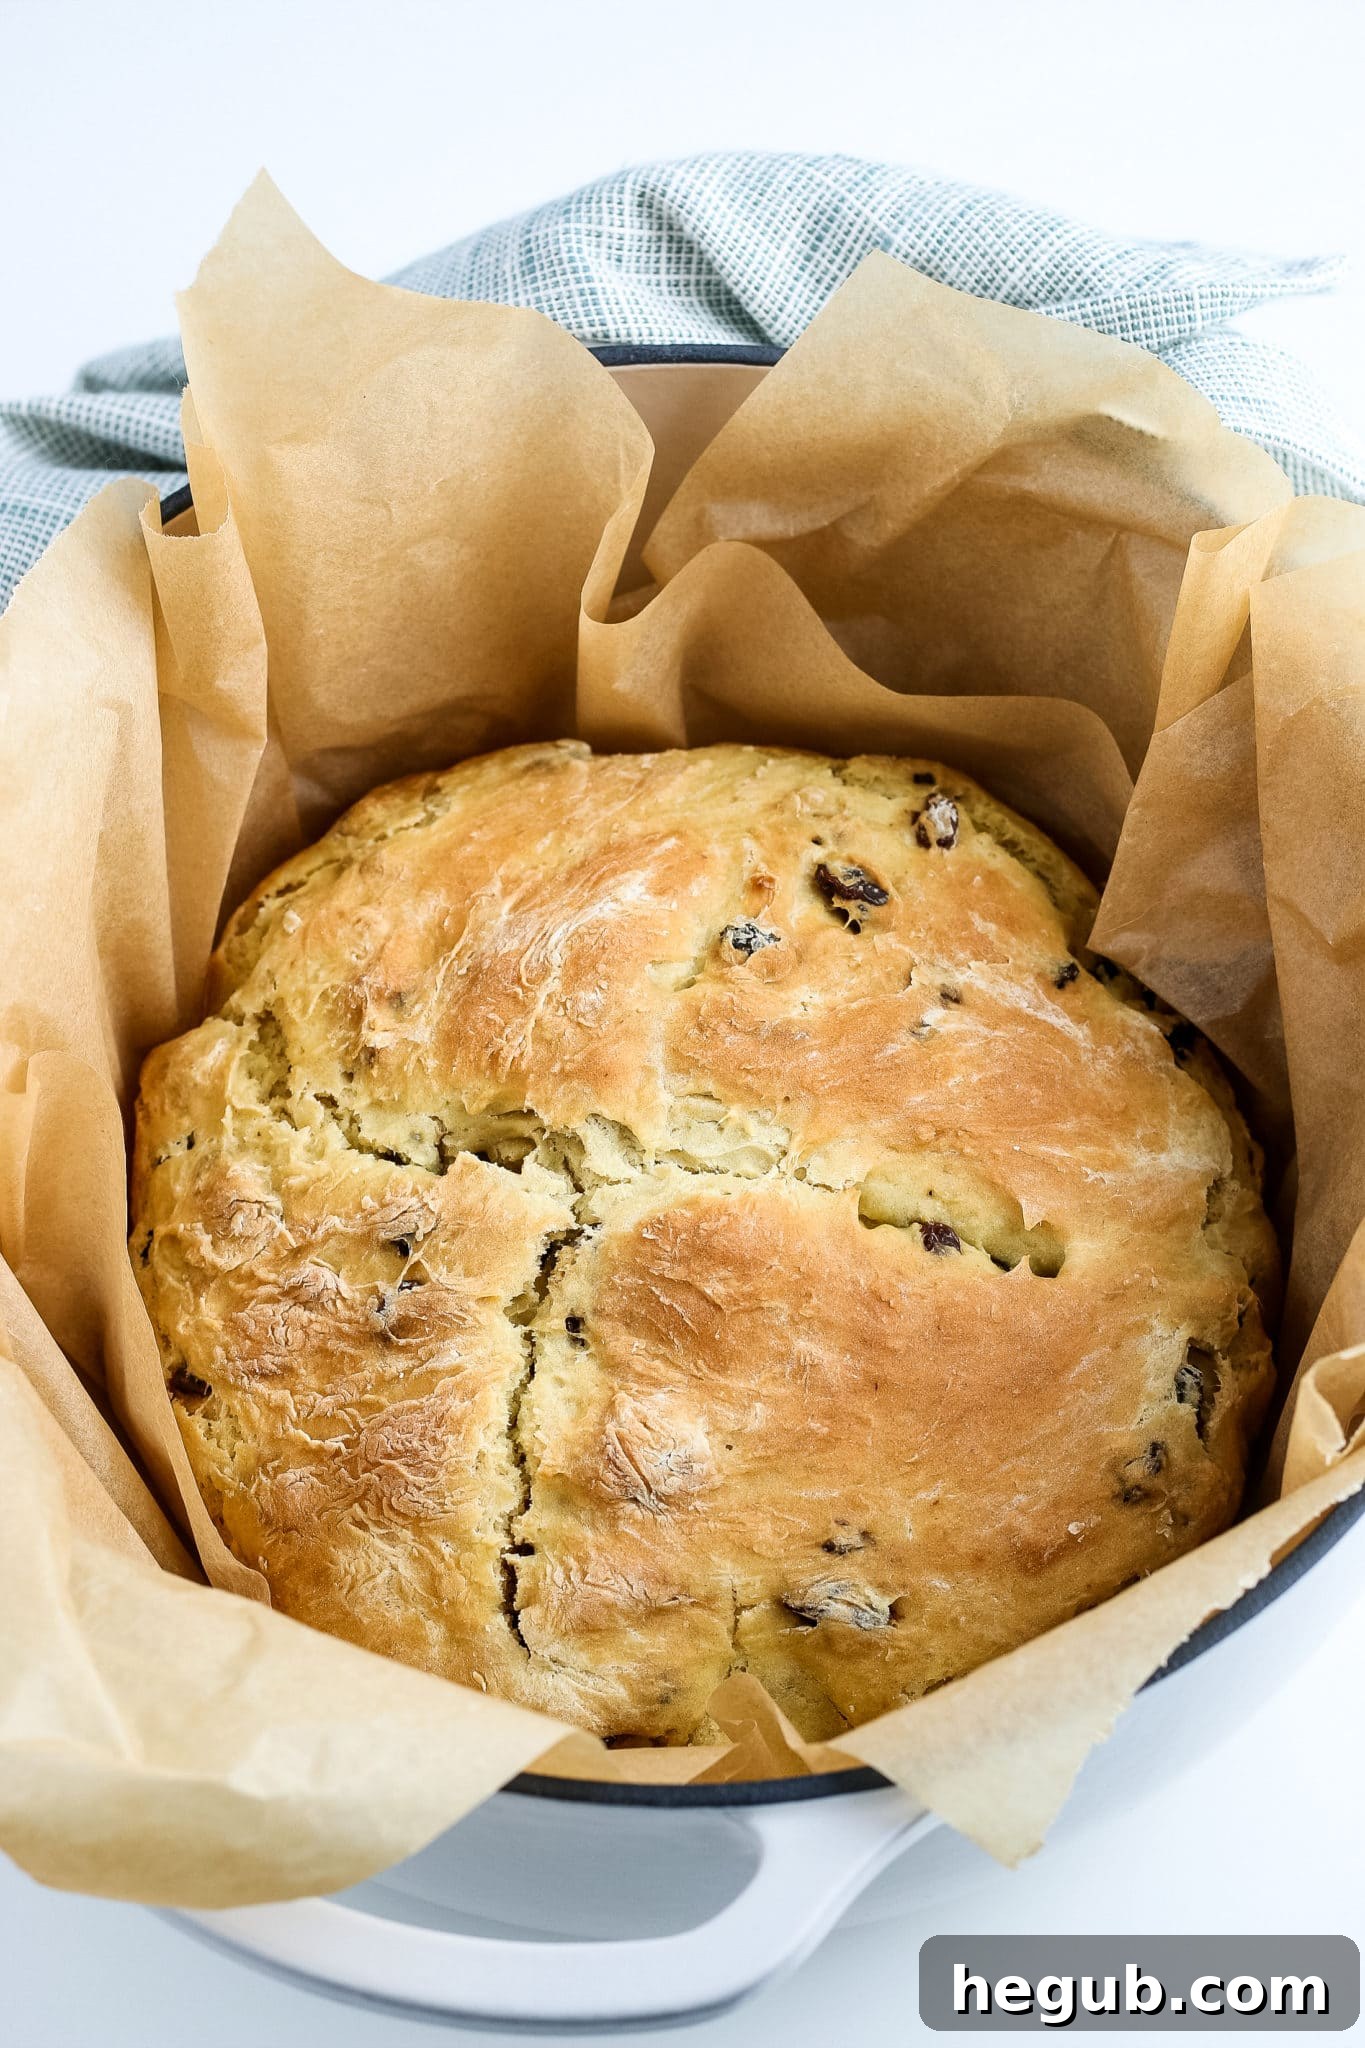
Often described as a comforting blend between a scone and a biscuit, authentic Irish Soda Bread offers a unique sensory experience. Its texture is notably lighter than many traditional yeast breads, contributing to a feeling of less heaviness and, for some, reduced bloating. The crumb is typically dense yet moist, providing a satisfying chew without being overly doughy. While classic versions are plain, many popular recipes, including this one, incorporate raisins, which infuse the bread with subtle pockets of sweetness and a pleasant chewiness. The buttermilk lends a slight tang that beautifully balances the sweetness of the raisins and the richness of butter when served. This versatile bread can also be adapted with whole wheat flour for those preferring a nuttier flavor and an increase in dietary fiber, enriching its profile without compromising its beloved qualities. To truly appreciate its nuanced flavors and tender texture, Irish Soda Bread is ideally served at room temperature or slightly warm, allowing its aromas to fully develop. The crust, often golden and slightly crisp, contrasts wonderfully with the soft interior, providing a delightful culinary experience with every bite.
Delicious Ways to Serve and Enjoy Irish Soda Bread
One of the beauties of Irish Soda Bread lies in its versatility at the table. While it’s particularly popular during St. Patrick’s Day celebrations, its simple, wholesome character makes it a fantastic addition to meals throughout the year. The most classic way to savor this bread is by serving it warm, sliced generously, and slathered with a pat of good quality Irish butter or a dollop of creamy, slightly sweetened cream cheese. The warmth of the bread melts the butter, creating an irresistible pairing that highlights its delicate flavors.
Beyond being a delightful breakfast or snack, Irish Soda Bread also shines as an accompaniment to a variety of savory dishes. It makes an excellent side for hearty soups, rich stews, or a classic Irish boiled dinner. Its ability to soak up flavorful broths and sauces makes it an ideal companion to comforting main courses. For St. Patrick’s Day, it’s an absolute must-have alongside Pellet Grill Smoked Corned Beef or a Ninja Foodi Corned Beef and cabbage, offering a perfect textural contrast and a slight sweetness that complements the savory meats and vegetables. Consider serving it with a variety of artisanal cheeses for a simple yet elegant appetizer, or with fruit preserves and honey for a sweeter treat. Its robust flavor profile also allows it to pair well with a strong cup of tea, echoing traditional Irish customs, or even a glass of stout beer, further enhancing its appeal as a versatile bread for any culinary setting. Don’t hesitate to experiment with different toppings and pairings to discover your favorite way to enjoy this quick and satisfying bread.
The Intriguing Origins: Is Irish Soda Bread Truly Irish?
The question of whether Irish Soda Bread is genuinely Irish is more nuanced than a simple yes or no. In Ireland, it is indeed a staple, frequently enjoyed with breakfast or lunch, often alongside a comforting cup of tea. It’s an integral part of daily life and culinary identity across the island. However, the exact lineage of the “Irish Soda Bread” as we often know it, especially in America, has sparked some debate among culinary historians.
Historically, the concept of leavening bread with alkaline substances rather than yeast originated much earlier, with Native Americans using pearl ash (a natural form of soda). This method then traveled to Europe. In Ireland, baking soda became widely available in the 1830s, offering a revolutionary way to bake bread quickly, especially for households without traditional ovens. In such homes, bread was often cooked in a bastible, a cast-iron pot placed over an open fire. Given Ireland’s mild climate, growing hard wheat varieties suitable for yeast bread was challenging, making soft wheat flours more common. Baking soda, combined with the naturally acidic buttermilk abundant in Irish dairy farming, provided a perfect, efficient leavening solution for these softer flours, resulting in a dense yet tender crumb.
Traditional Irish soda bread is typically very plain, made with just four essential ingredients: flour (often wholemeal or a mix of plain and wholemeal), baking soda, salt, and buttermilk. It is known for its rustic flavor and robust texture. The modern American adaptation, however, frequently includes additions such as sugar, butter, and dried fruits like raisins or caraway seeds, transforming it into a sweeter, richer, and sometimes cake-like loaf. Many culinary purists argue that these additions stray significantly from the austere nature of traditional Irish soda bread, leading to the belief that the version commonly celebrated globally, particularly during St. Patrick’s Day, is more of an “Irish-American” interpretation. This evolution showcases how culinary traditions adapt and flourish as they cross cultural boundaries, creating new beloved classics along the way. You can explore more about the historical context and regional variations of Irish bread in this detailed article.
Storing Your Irish Soda Bread: Maximizing Freshness
One of the practical advantages of Irish Soda Bread is its decent shelf life and excellent freezability, ensuring you can enjoy its fresh taste for longer. To keep your homemade loaf fresh, always allow it to cool completely on a wire rack before storing. This prevents condensation which can make the crust soggy. Once cooled, wrap the bread tightly in plastic wrap or aluminum foil, then place it in an airtight container or a resealable bag. Stored this way at room temperature, Irish Soda Bread will remain fresh, moist, and delicious for approximately 3 to 4 days. If you find yourself with more bread than you can enjoy in a few days, or if you prefer to bake ahead for future convenience, this bread freezes exceptionally well. Simply wrap the cooled loaf (either whole or sliced) securely in plastic wrap, followed by a layer of aluminum foil, and then place it in a freezer-safe bag or container. When properly frozen, Irish Soda Bread can maintain its quality for up to 3 months. To thaw, simply remove it from the freezer and let it come to room temperature on your counter, or gently warm it in a low oven (around 300°F/150°C) for 15-20 minutes to restore its tender texture and delightful aroma.
The Meaning Behind the “X”: Symbolism on Irish Soda Bread
Before baking, it’s customary to score a large “X” or cross into the top of the Irish Soda Bread dough. This simple act carries a rich tapestry of tradition and folklore. While practically, some believe it helps the bread bake more evenly by allowing heat to penetrate the dense dough and steam to escape, the more enchanting explanations are rooted in ancient Irish beliefs and superstitions. Legend has it that the cross is carved to “let the fairies out,” ensuring a lighter, fluffier texture, or, more commonly, to ward off the devil and protect the household from evil spirits. This symbolic blessing is thought to imbue the bread with a layer of good fortune and protection for those who partake in it. This fascinating practice highlights the deep cultural connection between food, faith, and folklore in Ireland, transforming a simple loaf of bread into a vessel of tradition and well-wishes. Delve deeper into the intriguing origins and various interpretations of this legend in this insightful article.
Expert Tips for Baking Perfect Irish Soda Bread at Home
Baking Irish Soda Bread is a rewarding experience, yielding a wonderfully rustic loaf with minimal effort. While the process is straightforward, a few key tips can elevate your homemade bread from good to truly exceptional. Follow these guidelines for a flawless loaf every time:
Ingredient Preparation and Mixing
- **Combine Dry Ingredients Thoroughly:** Start by whisking together all your dry ingredients – all-purpose flour, sugar (if using), baking soda, and salt – in a large mixing bowl. Ensuring these are well combined guarantees even distribution of the leavening agent and flavor throughout the dough.
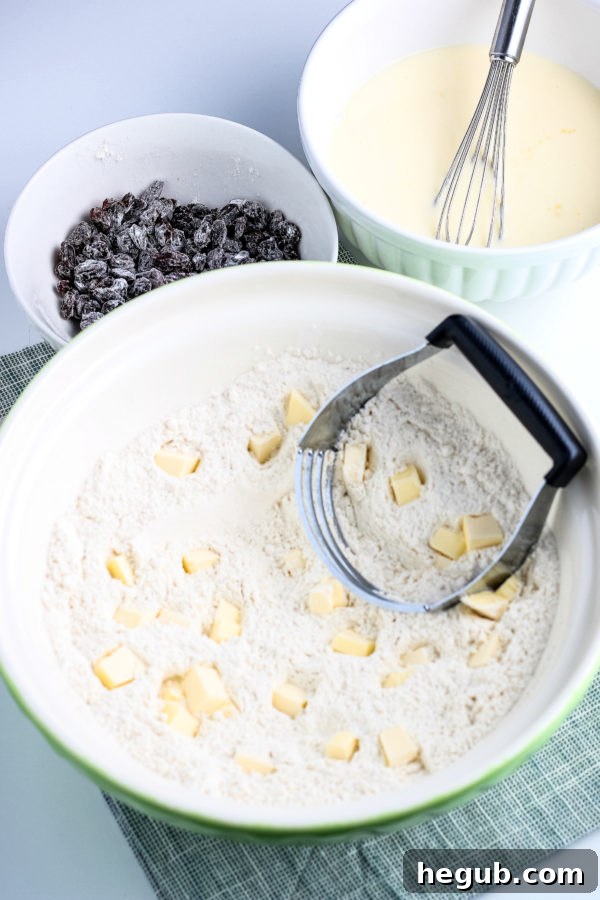
- **Cold Butter is Key:** When incorporating butter, make sure it is very cold and cut into small pieces. Use a pastry blender or your fingertips to quickly cut the butter into the dry ingredients until the mixture resembles coarse crumbs. This technique creates small pockets of butter that melt during baking, contributing to a tender crumb and a delicious richness. Avoid overworking the butter into the flour, as this can lead to a tough bread.
- **Coat Raisins (Optional but Recommended):** If adding raisins or other dried fruits, lightly toss them with about 1-2 tablespoons of the flour mixture before adding them to the main dough. This simple step helps prevent the fruits from sinking to the bottom of the loaf during baking, ensuring they are evenly distributed throughout.
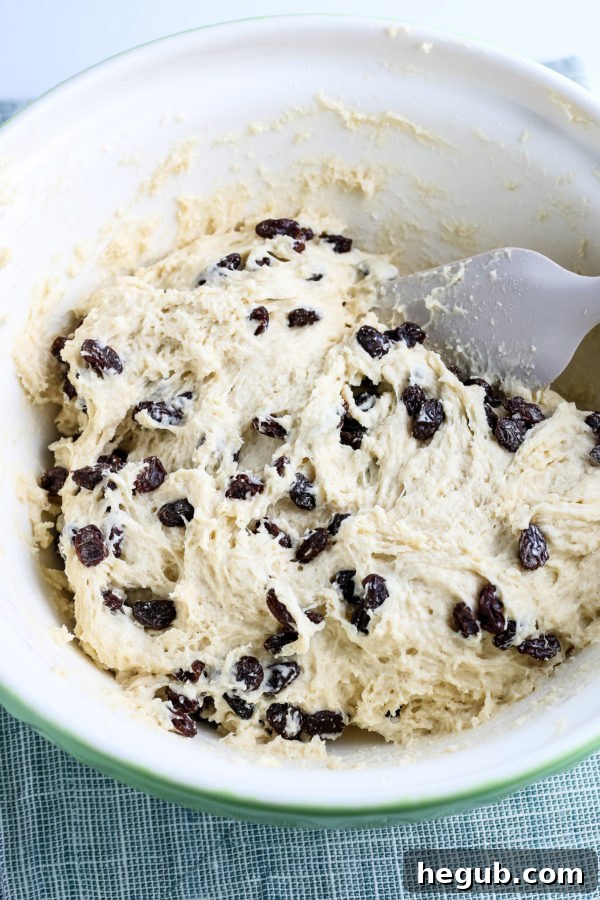
- **Gentle Hand with Wet Ingredients:** In a separate, small bowl, lightly beat your egg (if using) and then combine it with the cold buttermilk. Pour this liquid mixture into the dry ingredients and mix just until everything is combined. Overmixing at this stage will develop the gluten too much, resulting in a tough bread. The dough should be shaggy and sticky.
Kneading and Shaping
- **Flour Your Surface Generously:** Transfer the sticky dough to a heavily floured surface. This is crucial for successful kneading and shaping without the dough adhering excessively to your hands or the countertop.
- **Knead Lightly and Briefly:** Unlike yeast bread, soda bread requires minimal kneading. Gently knead the dough for just a minute or two, adding only small amounts of flour as needed to prevent sticking. The goal is to bring the dough together into a cohesive ball, not to develop gluten. Over-kneading will result in a dry, dense, and tough loaf.
- **Forming the Loaf:** Shape the dough into a round, slightly flattened disc or ball, approximately 6-8 inches in diameter and about 1.5-2 inches thick. Ensure the shape is even for consistent baking.
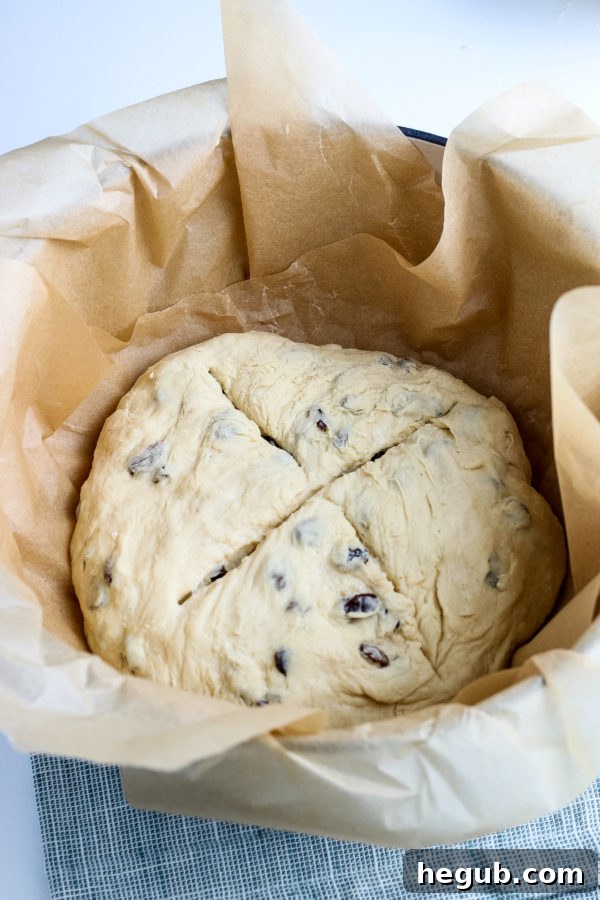
- **The Signature “X” Score:** Before baking, use a very sharp knife to cut a deep “X” into the top of the loaf, extending from edge to edge and about half an inch deep. As mentioned earlier, this is not just for tradition; it also helps the bread bake more evenly and allows steam to escape, contributing to a better rise and texture.
Baking and Doneness
- **Choose the Right Baking Vessel:** While a Dutch oven is often recommended for its ability to create a steamy environment that promotes a beautiful, crisp crust and moist interior, you can absolutely achieve great results with a sturdy baking sheet or a cast iron pan. If using a Dutch oven, preheat it with the oven for at least 30 minutes before placing the dough inside; this ensures a more even bake and a better crust.
- **Prepare Your Pan:** Regardless of the vessel, ensure it’s properly prepared to prevent sticking. Line your Dutch oven or baking sheet with parchment paper or generously spray it with a nonstick cooking spray.
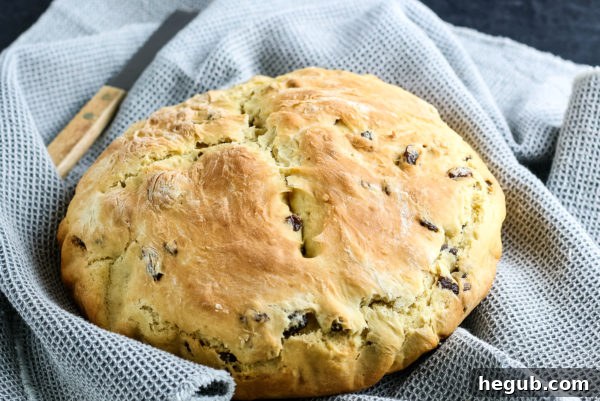
- **Bake to Perfection:** Preheat your oven to the specified temperature (typically around 375°F / 190°C). Bake the bread for 45-60 minutes, or until the crust is deeply golden brown and sounds hollow when tapped on the bottom. The most reliable test for doneness is to insert a wooden skewer or toothpick into the very center of the loaf; it should come out completely clean, with no wet crumbs attached. If the crust is browning too quickly before the inside is cooked through, you can loosely cover the bread with aluminum foil for the last portion of baking.
This simple, rustic bread is a testament to how few, natural ingredients can create something truly wonderful and deeply satisfying. Most of these pantry staples are likely already in your kitchen, making Irish Soda Bread a spontaneous and delightful baking option for any day. For other festive treats, be sure to explore these St. Patrick’s Day Cookies. Enjoy this delicious quick bread recipe, perfect for St. Patrick’s Day celebrations or any day throughout the week!
Kristy Still
Irish Soda Bread
Course
Side Dish
Cuisine
American
Servings
10
Slices
Prep Time
20 minutes
Cook Time
1 hour
Total Time
1 hour
20 minutes
Ingredients
- 4 Cups All-Purpose Flour
- 4 Tbsp Sugar
- 1 tsp Baking Soda
- 1½ tsp Salt
- 4 Tbsp 1/2 stick Cold, Unsalted Butter (Cut into Pieces)
- 1¾ Cups Cold Buttermilk Shaken
- 1 Egg Lightly Beaten
- 1 Cup Raisins
Instructions
-
Combine dry ingredients in a large bowl – flour, sugar, baking soda, and salt.
-
Place raisins in a bowl and add about 2 tsp flour mixture, coat raisins. (This will help them from settling on the bottom.)
-
Using a pastry blender or mixer, cut in cold butter.
-
In a small bowl, combine buttermilk and egg, beat lightly with a fork.
-
Add liquid ingredients to the dry ingredients.
-
Fold raisins into mixture.
-
On a heavily floured surface, knead dough. Work with about half of the dough, you want to add enough flour so it’s not sticky…but not too much.
-
Preheat oven to 375°F.
-
Line Dutch oven with parchment paper or spray with non-stick cooking spray. (Also you can use a cast iron skillet, baking dish, or cookie sheet.)
-
Form dough into a ball and place it in the pan.
-
Using a sharp knife, make an X on top of the bread.
-
Bake for 45-60 minutes, depending on the loaf size. When done if poked with a knife or toothpick it should come out clean.
-
Serve immediately or store in an airtight container.
Notes
Nutrition
Did you make this recipe?
Make sure to tag #mommyhatescoooking on Instagram and follow for more @momhatescooking
Pin Recipe
Share on Facebook