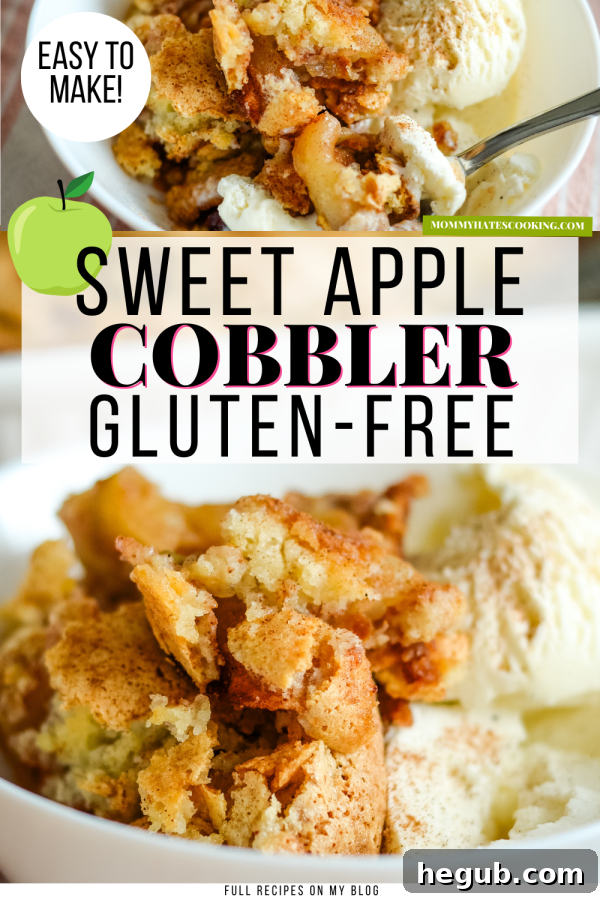
Delicious & Easy Gluten-Free Apple Cobbler: A Perfect Dessert with Granny Smith Apples!
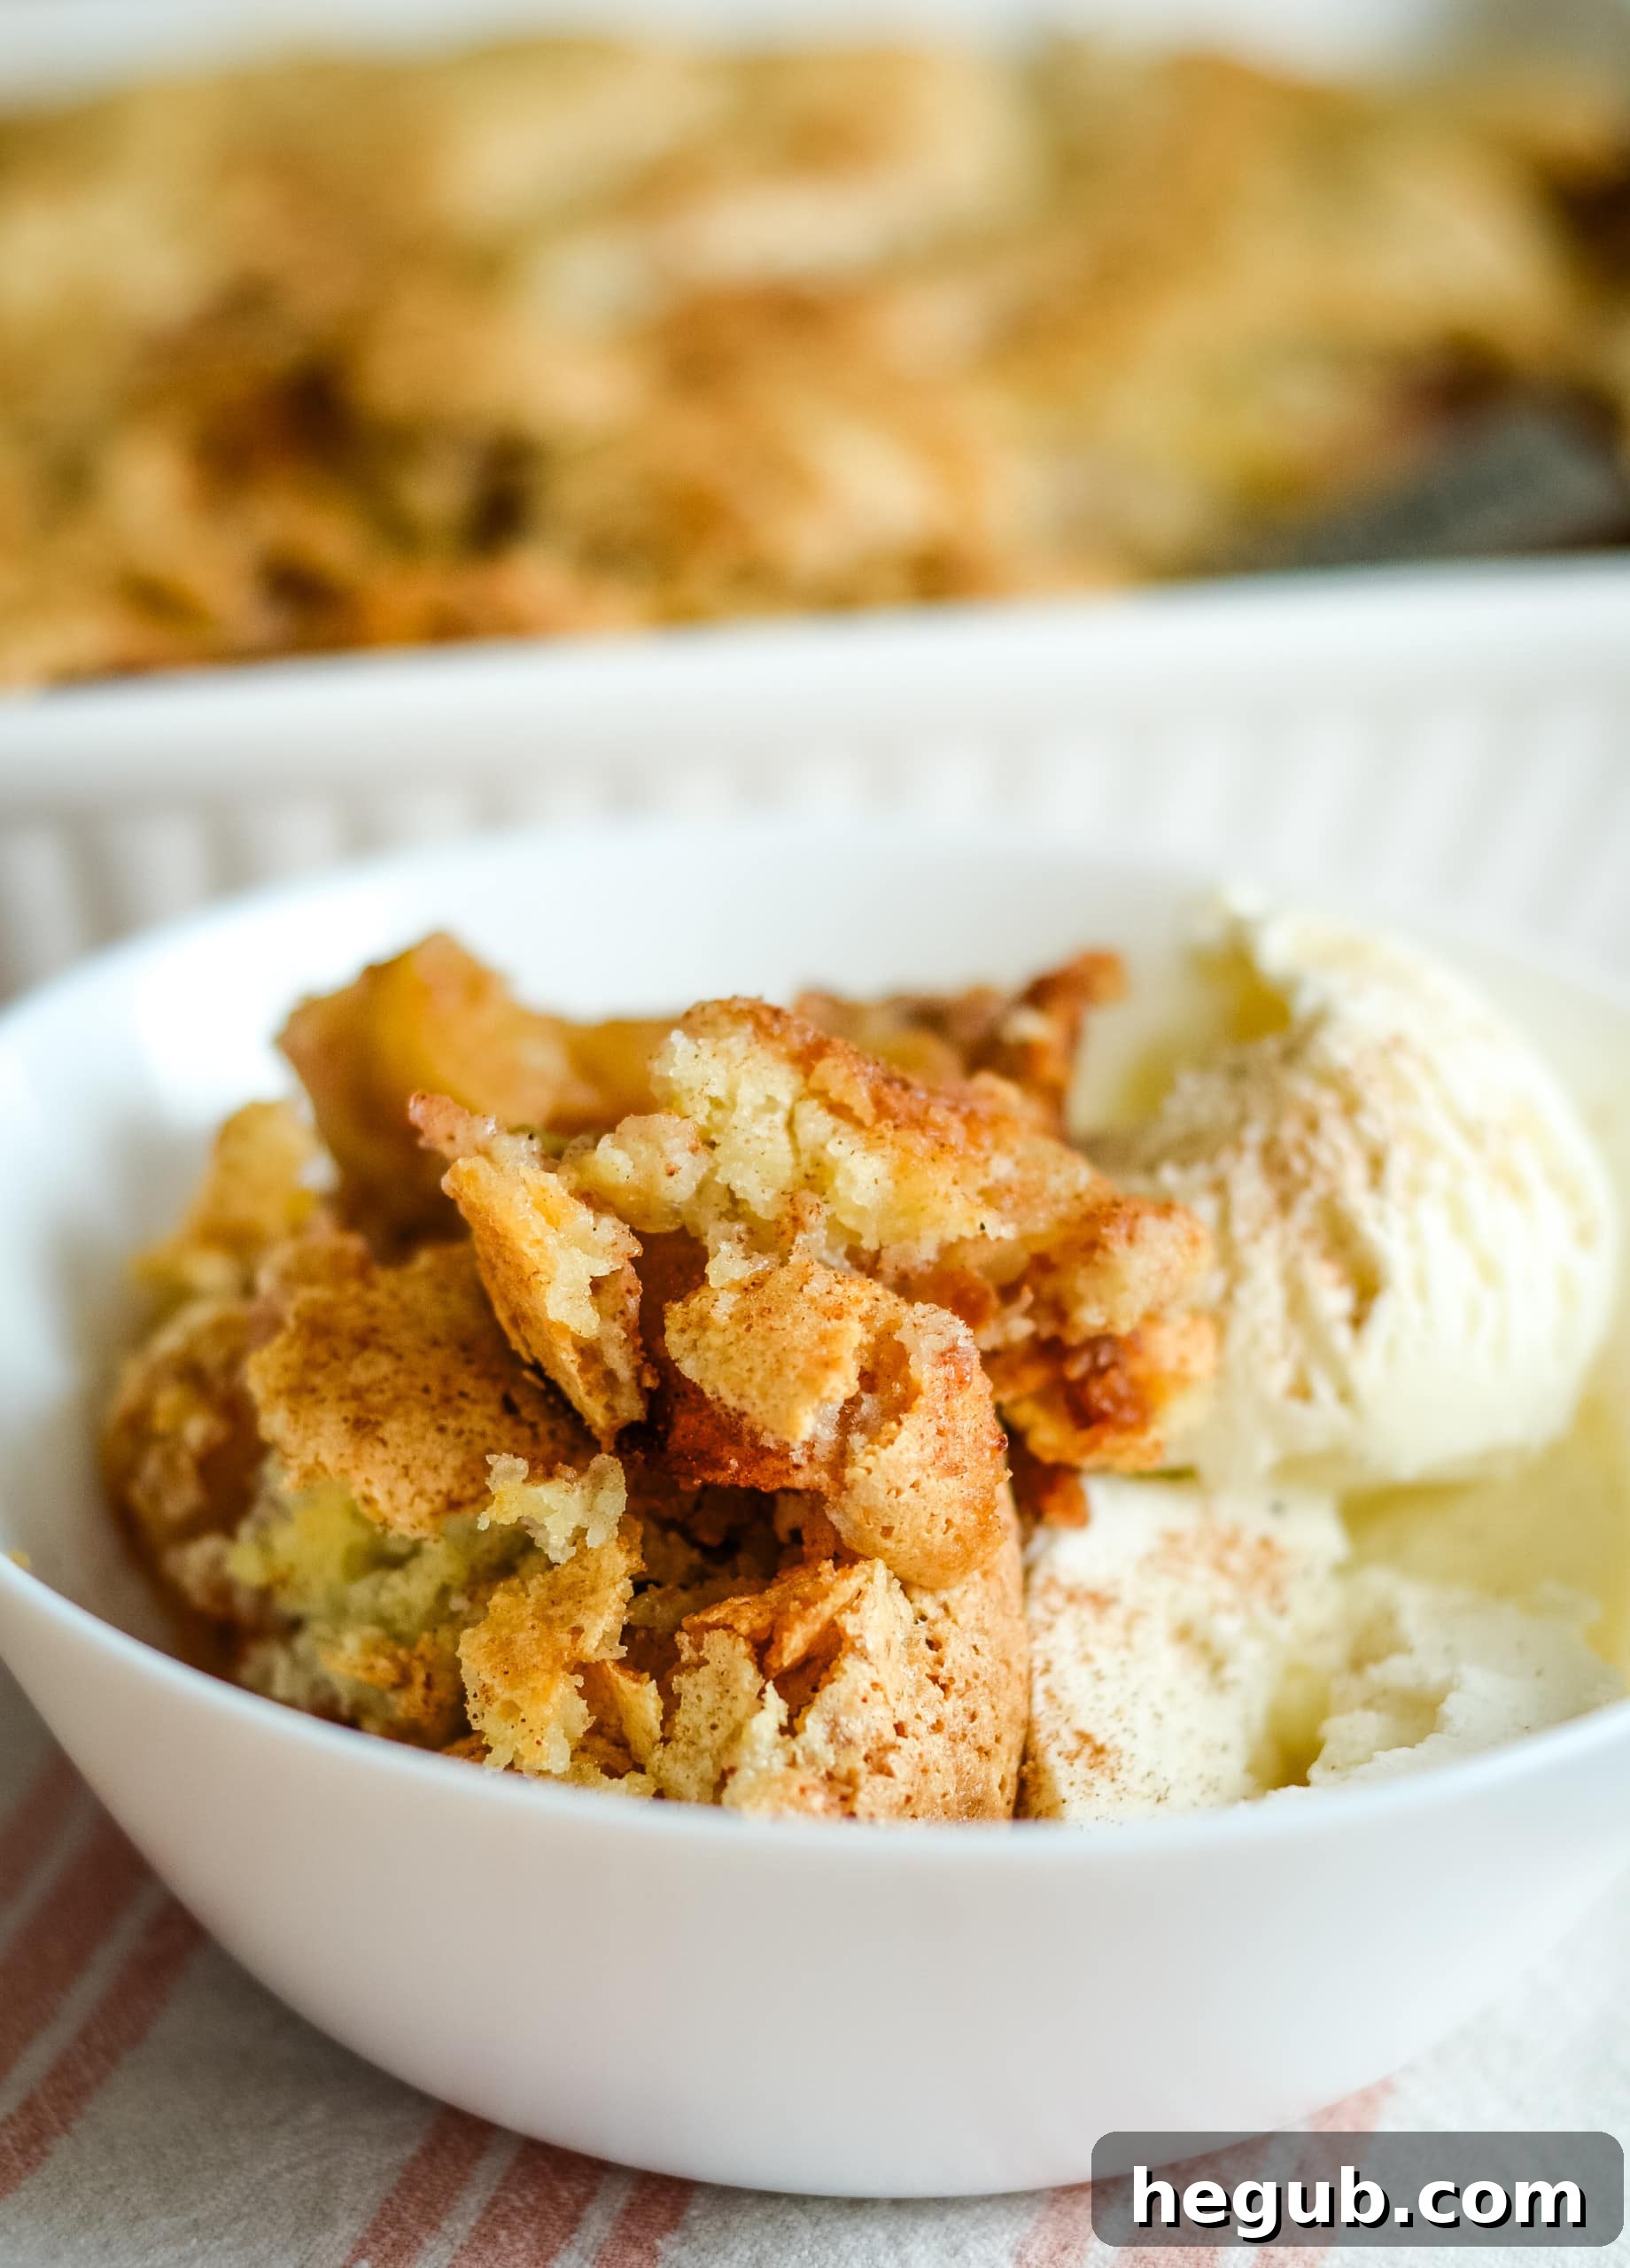
Indulge in the comforting flavors of a classic apple cobbler, now made effortlessly gluten-free! This delightful recipe uses simple, wholesome ingredients you likely already have in your pantry, making it an accessible and satisfying treat for anyone with dietary restrictions or simply looking for a delicious dessert. Featuring crisp Granny Smith apples, a rich brown sugar and cinnamon filling, and a fluffy, golden-brown biscuit topping, this gluten-free apple cobbler promises a warm, inviting experience with every spoonful.
Choosing the Best Apples for Your Gluten-Free Cobbler
The secret to an outstanding apple cobbler lies in selecting the right apples. While many varieties can be used, some are far superior for baking, offering a perfect balance of flavor and texture that holds up beautifully in the oven. For this gluten-free apple cobbler recipe, we highly recommend the following:
- Granny Smith Apples: These are a top choice for a reason. Their distinct tartness provides a wonderful contrast to the sweet cobbler topping, preventing the dessert from becoming overly saccharine. Furthermore, Granny Smiths maintain their firm texture even after baking, ensuring your cobbler isn’t mushy.
- Gala Apples: Known for their mild sweetness and crispness, Gala apples offer a pleasant flavor and soften nicely when baked without losing their structure entirely. They can be a great addition for a slightly sweeter cobbler.
- Honeycrisp Apples: As their name suggests, Honeycrisp apples are incredibly crisp and sweet. They contribute a juicy, vibrant flavor to the cobbler, and their ability to retain some firmness post-baking makes them a popular choice.
Often, the best approach is to use a combination of apples. For instance, pairing the tartness of Granny Smiths with the sweetness of Honeycrisps creates a complex and balanced flavor profile that will delight your taste buds. This blend offers both depth and an appealing contrast, making your apple cobbler truly unforgettable. When choosing, look for firm, unblemished apples for the best results.
Mastering Your Gluten-Free Apple Cobbler: Step-by-Step Guide
Crafting a delicious gluten-free apple cobbler is surprisingly simple, with just one key substitution needed: a high-quality gluten-free all-purpose flour. It’s essential to use a blend specifically designed to be a 1:1 ratio replacement for regular wheat flour. This ensures the biscuit topping achieves the perfect texture and rise.
When it comes to gluten-free flours, not all blends are created equal. We’ve had consistent success with brands like King Arthur Gluten-Free All-Purpose Flour, Better Batter Gluten-Free All-Purpose Flour, Bob’s Red Mill Gluten-Free 1-to-1 Baking Flour, and Cup4Cup Gluten-Free Flour. These blends typically contain a thoughtful combination of rice flour, tapioca starch, potato starch, and often xanthan gum, which helps mimic the elasticity of gluten, resulting in superior baked goods. Using a reliable blend is crucial for a light and tender biscuit topping that complements the soft, spiced apples below.
Once you’ve secured your preferred gluten-free flour, you’re ready to embark on this delightful baking journey. This recipe breaks down into two main components: preparing the spiced apple filling and mixing the luscious biscuit topping.
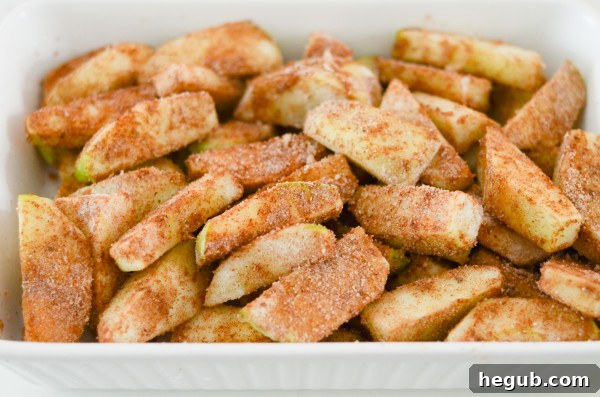
Preparing the Apple Filling:
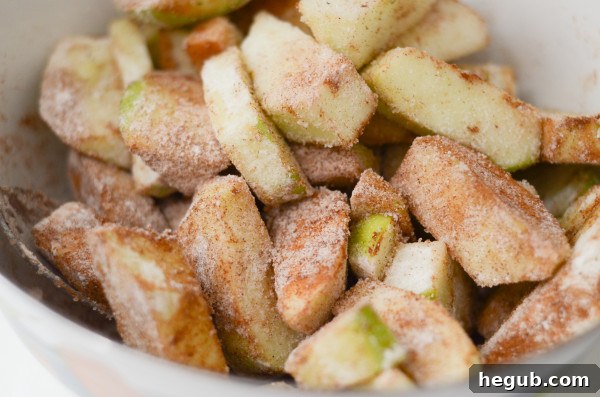
Begin by creating a fragrant cinnamon-sugar mixture, which will be the heart of your apple filling. In a large bowl, combine granulated sugar, brown sugar, cinnamon, nutmeg, and a tablespoon of gluten-free all-purpose flour. This flour helps to thicken the juices released by the apples during baking, preventing a watery filling and ensuring a rich, gooey consistency.
Next, prepare your apples. For this recipe, we recommend using approximately six medium to large Granny Smith apples, or a blend of your favorite baking apples. Start by peeling, coring, and then slicing them. The thickness of your apple slices is a matter of personal preference; thinner slices will cook down more quickly and offer a softer texture, while larger chunks will retain more bite. Many prefer to peel the apples for a smoother texture, but leaving the peel on adds fiber and a rustic charm. Once sliced, toss the apples thoroughly with the cinnamon-sugar-flour mixture until every piece is evenly coated. This step ensures maximum flavor distribution and helps the apples caramelize beautifully as they bake.
After your apples are perfectly coated, transfer them into your chosen baking dish. An 8×6-inch dish is ideal for a thicker cobbler, while a 9×13-inch pan will yield a slightly thinner layer of apples and topping, which might reduce baking time slightly. An 8-inch round pan also works wonderfully, giving the cobbler a traditional look. Arrange the apple slices evenly; it’s perfectly fine if they are layered on top of each other, as they will soften and settle during baking.
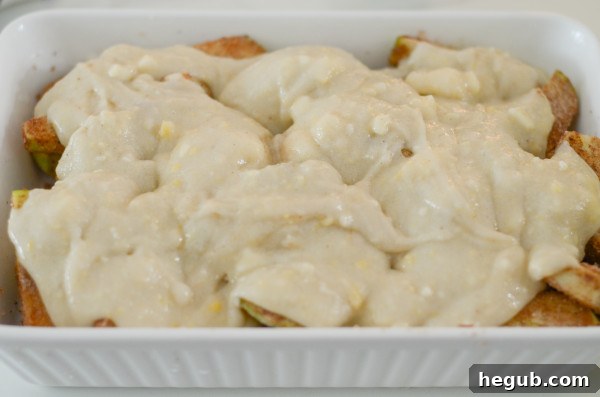
Crafting the Biscuit Topping:
With the apple filling ready, it’s time to prepare the signature biscuit topping that sets cobbler apart from other fruit desserts. This topping is made from a combination of dry and wet ingredients that come together to form a tender, scone-like crust.
In a separate large mixing bowl, combine your gluten-free all-purpose flour, granulated sugar, baking powder, and a pinch of salt. The crucial step for a flaky biscuit topping is to “cut in” cold butter into these dry ingredients. Using a pastry cutter, two knives, or even your fingertips, work the cold butter into the flour mixture until it resembles coarse crumbs or small peas. The cold butter creates pockets of steam during baking, which results in a light and airy texture.
Once the butter is incorporated, add the wet ingredients: a whole egg and half a cup of buttermilk or cream. Buttermilk is highly recommended as its acidity reacts with the baking powder to create extra lift and tenderness, contributing to a wonderfully soft and slightly tangy biscuit. Mix these ingredients until they are just combined. Overmixing gluten-free dough can sometimes lead to a tougher texture, so mix until the batter forms a thick, spreadable consistency.
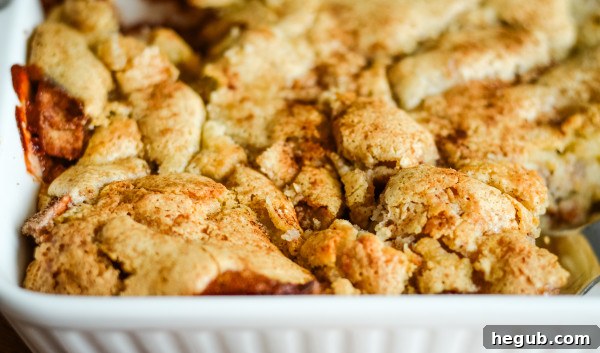
Gently dollop and spread the biscuit batter over the prepared apples in your baking dish. Don’t worry if the topping doesn’t completely cover the entire surface or appears somewhat uneven; the batter will naturally spread and puff up as it bakes, creating a beautiful, cohesive crust. This rustic appearance is part of the charm of a homemade cobbler.
Finally, place your assembled gluten-free apple cobbler into a preheated oven at 350°F (175°C) and bake for approximately 1 hour. The cobbler is ready when the topping turns a gorgeous golden brown, and the apple filling beneath is visibly bubbly and tender when pierced with a fork. Keep an eye on it during the last 15-20 minutes to ensure the topping doesn’t brown too quickly.
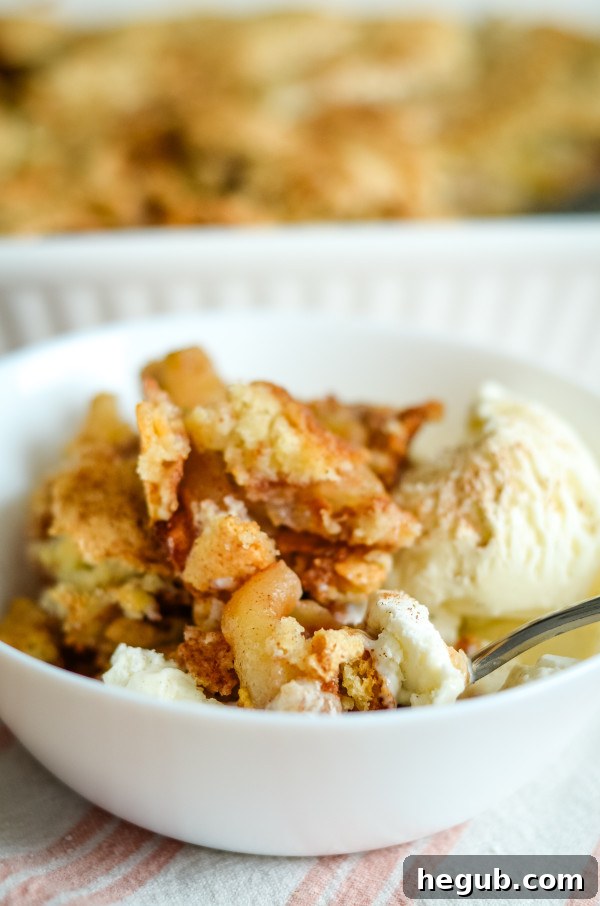
Allow the cobbler to cool for about 5-10 minutes after removing it from the oven. This brief resting period allows the filling to set slightly, making it easier to serve and preventing it from being too runny. The aroma filling your kitchen will be irresistible!
Serving and Enjoying Your Gluten-Free Apple Cobbler
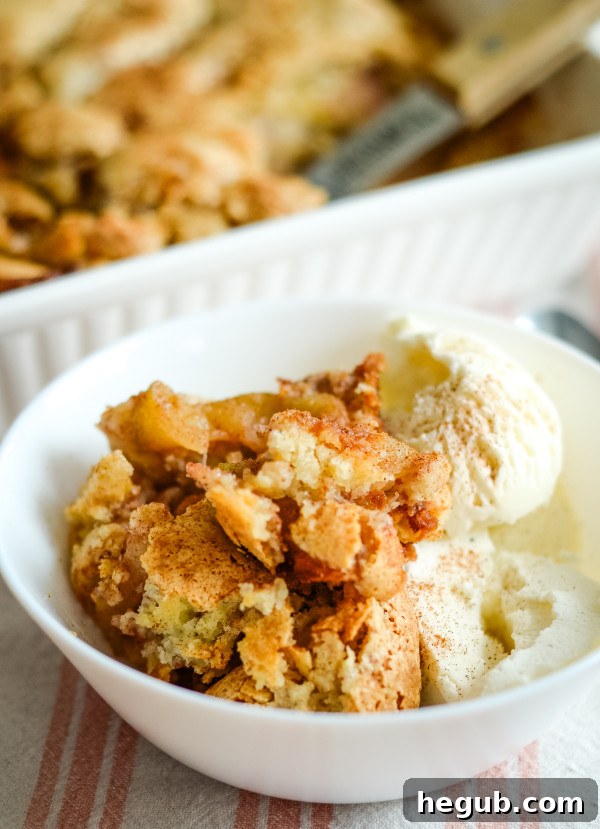
The ultimate way to enjoy your freshly baked gluten-free apple cobbler is warm, straight from the oven. A generous scoop of creamy vanilla ice cream melting over the warm, spiced apples and tender biscuit topping is an absolute dream. The contrast between the hot cobbler and cold ice cream creates a heavenly experience. For an extra touch of indulgence, consider adding a drizzle of rich homemade caramel sauce, a sprinkle of additional cinnamon or nutmeg, or even a dollop of fresh whipped cream.
If you prefer a dessert with a different texture, one that features a crumbly, oat-based topping rather than a biscuit, you might enjoy a Gluten-Free Apple Crisp. While both are fantastic fruit desserts, the distinction lies in their toppings: cobblers feature a cake-like or biscuit-like dough, whereas crisps traditionally have a streusel topping made with oats, flour, sugar, and butter, creating a satisfying crunch.
Storing Leftover Apple Cobbler for Future Enjoyment
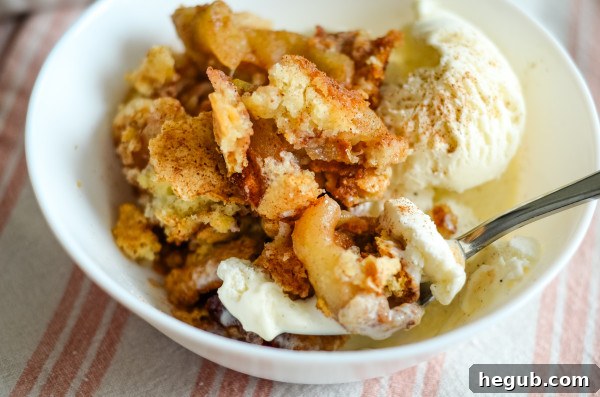
While apple cobbler is undeniably at its best when served warm and fresh, any leftovers can be stored and enjoyed later. To keep your gluten-free apple cobbler fresh, allow it to cool completely to room temperature. Then, transfer it to an airtight container and store it in the refrigerator for up to 3 days. This helps to maintain its flavor and prevent it from drying out.
When you’re ready to enjoy your leftover cobbler, reheating it is simple. For individual portions, place a serving on a microwave-safe dish and microwave for 1-2 minutes, or until thoroughly warmed through. The microwave method is quick and convenient, though it might soften the biscuit topping. If you prefer a crispier topping, reheat the cobbler in a preheated oven at 325°F (160°C) for about 15-20 minutes, or until warmed through and the topping has regained some of its crispness. Serve reheated cobbler with another scoop of vanilla ice cream for a delicious reprise.
Remember that the unique texture and warmth of the biscuit topping are most pronounced right out of the oven, so fresh is always the ultimate experience!
Explore More Irresistible Gluten-Free Desserts
If you’ve fallen in love with this gluten-free apple cobbler, you’ll be thrilled to discover other fantastic gluten-free dessert recipes perfect for any occasion. Expanding your repertoire of safe and delicious treats has never been easier:
- Crockpot Apple Cobbler: Enjoy the same comforting flavors with minimal effort, perfect for busy days or when your oven is occupied.
- Gluten-Free Apple Crisp: For those who adore a crunchy, oat-based streusel topping, this crisp delivers a delightful textural contrast.
- Gluten-Free Blueberry Crisp: A vibrant and tangy alternative, perfect for summer berries or a refreshing twist.
- Ninja Foodi Blueberry Crisp: Quick and easy, this recipe is ideal for modern kitchen appliances.
- Grilled Apple Crisp: Take your dessert outdoors with this unique and smoky grilled version, perfect for BBQ season.
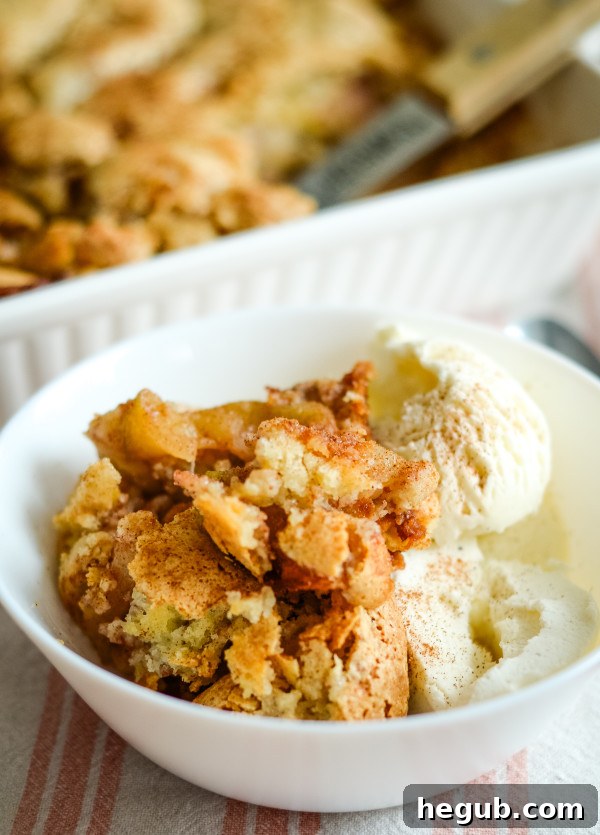
This easy gluten-free apple cobbler is more than just a recipe; it’s a gateway to enjoying classic comfort desserts without compromise. Its juicy, tender apples, perfectly spiced, and crowned with a golden, pillowy biscuit topping make it an ideal sweet treat for family gatherings, holiday meals, or simply a cozy evening at home. Get ready to add this to your collection of favorite apple desserts!
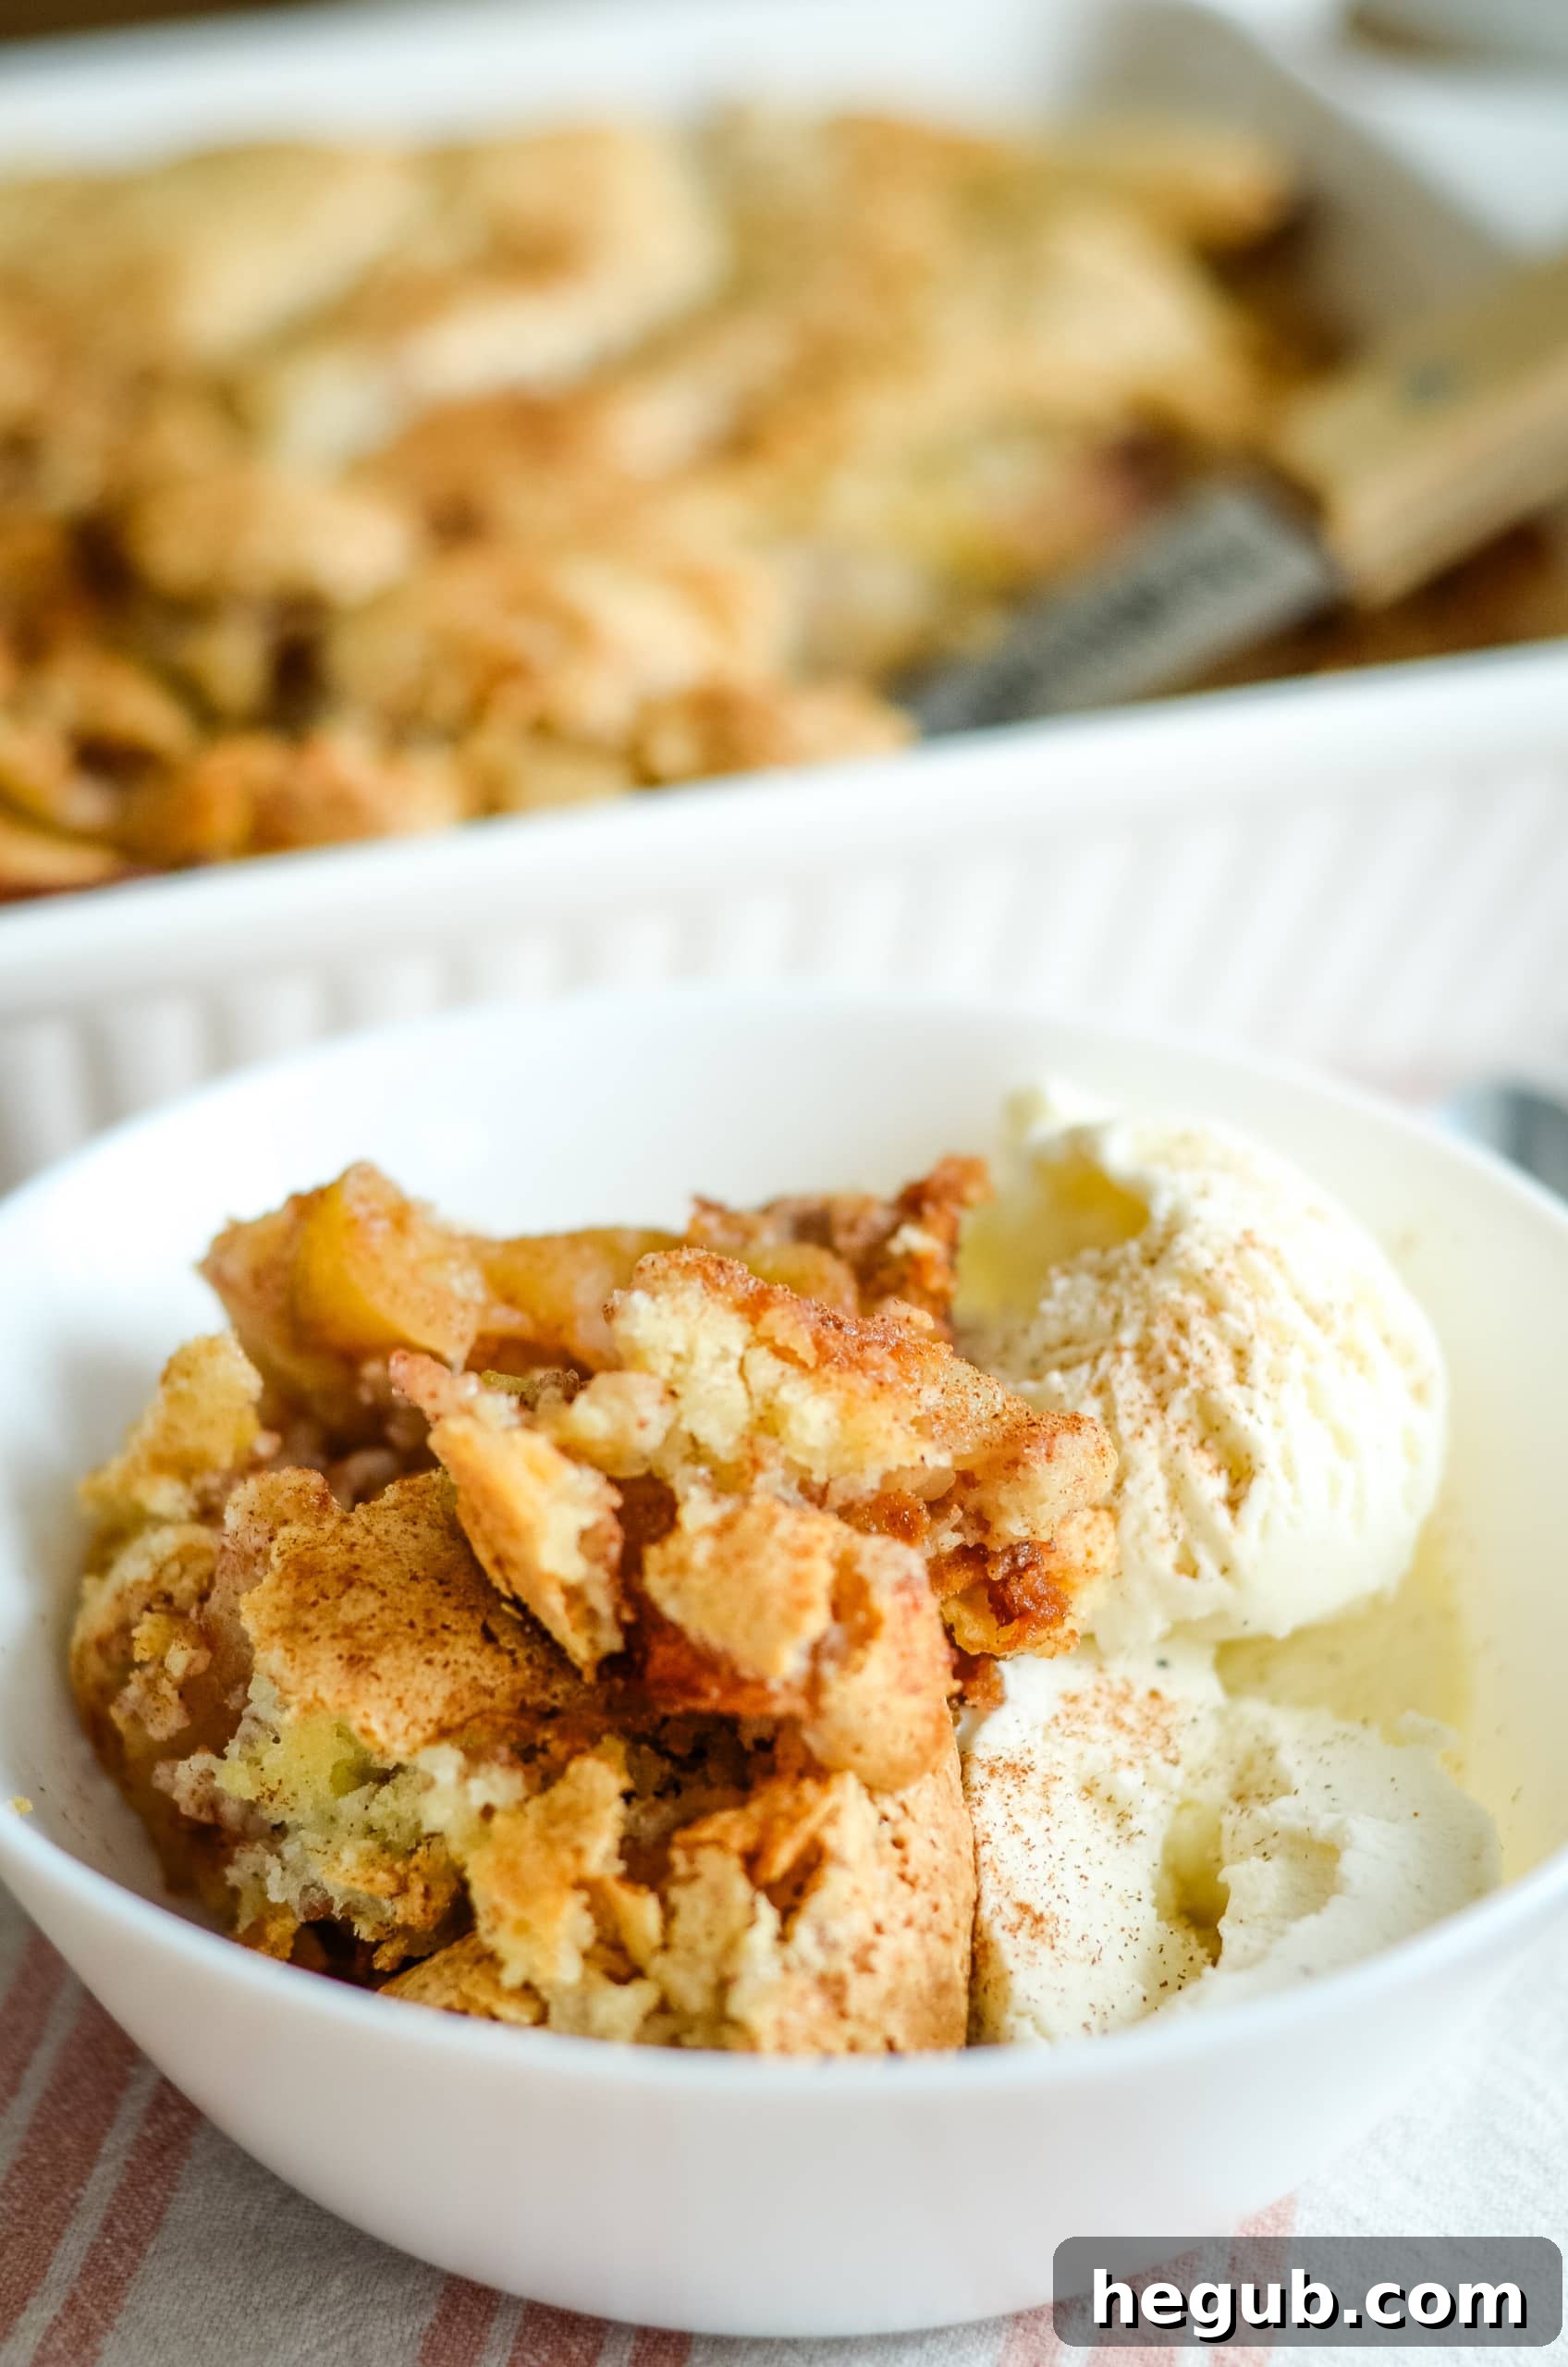
Gluten-Free Apple Cobbler
Ingredients
Apples
- 6 Granny Smith Apples (Peeled, Cored, and Sliced)
- 1 tsp Ground Cinnamon
- 1/2 tsp Ground Nutmeg
- 1/4 Cup Granulated Sugar
- 2 Tbsp Brown Sugar, Packed
- 1 Tbsp Gluten-Free All-Purpose Flour
Biscuit Topping
- 1 Tbsp Cold Butter
- 1 Cup Granulated Sugar
- 1 Cup Gluten-Free All-Purpose Flour
- 1 tsp Baking Powder
- Pinch of Salt
- 1 Whole Egg
- 1/2 Cup Buttermilk or Cream
- Vanilla Ice Cream (Optional)
Instructions
-
Preheat the oven to 350°F (175°C).
-
In a large bowl, combine the peeled, cored, and sliced apples with cinnamon, nutmeg, brown sugar, granulated sugar, and 1 tablespoon of gluten-free all-purpose flour. Mix well until the apples are fully coated.
-
Lightly coat an 8×6, 9×13, or 8-inch round baking dish with nonstick baking spray. Pour the coated apples into the dish, spreading them evenly. They can be layered if necessary.
-
In a separate bowl, use a pastry cutter to cut the cold butter into the remaining 1 cup of gluten-free all-purpose flour, granulated sugar, and baking powder until the mixture resembles small, pea-sized crumbs.
-
Mix in the pinch of salt, the whole egg, and buttermilk (or cream) until a thick but spreadable batter forms. Avoid overmixing.
-
Using a spoon or spatula, lightly spread the biscuit batter over the apples. It’s perfectly fine if it doesn’t cover the entire surface evenly; the topping will expand and spread during baking.
-
Bake in the preheated oven at 350°F (175°C) for approximately 1 hour, or until the topping is golden brown and the apple filling is bubbly and tender.
-
Allow to cool for 5 minutes before serving warm, preferably with a scoop of vanilla ice cream.
Notes
Nutritional information provided does not include any optional toppings such as ice cream or caramel sauce.
Nutrition
Did you make this recipe?
Make sure to tag #mommyhatescooking on Instagram and follow for more @momhatescooking
Pin Recipe
Share on Facebook