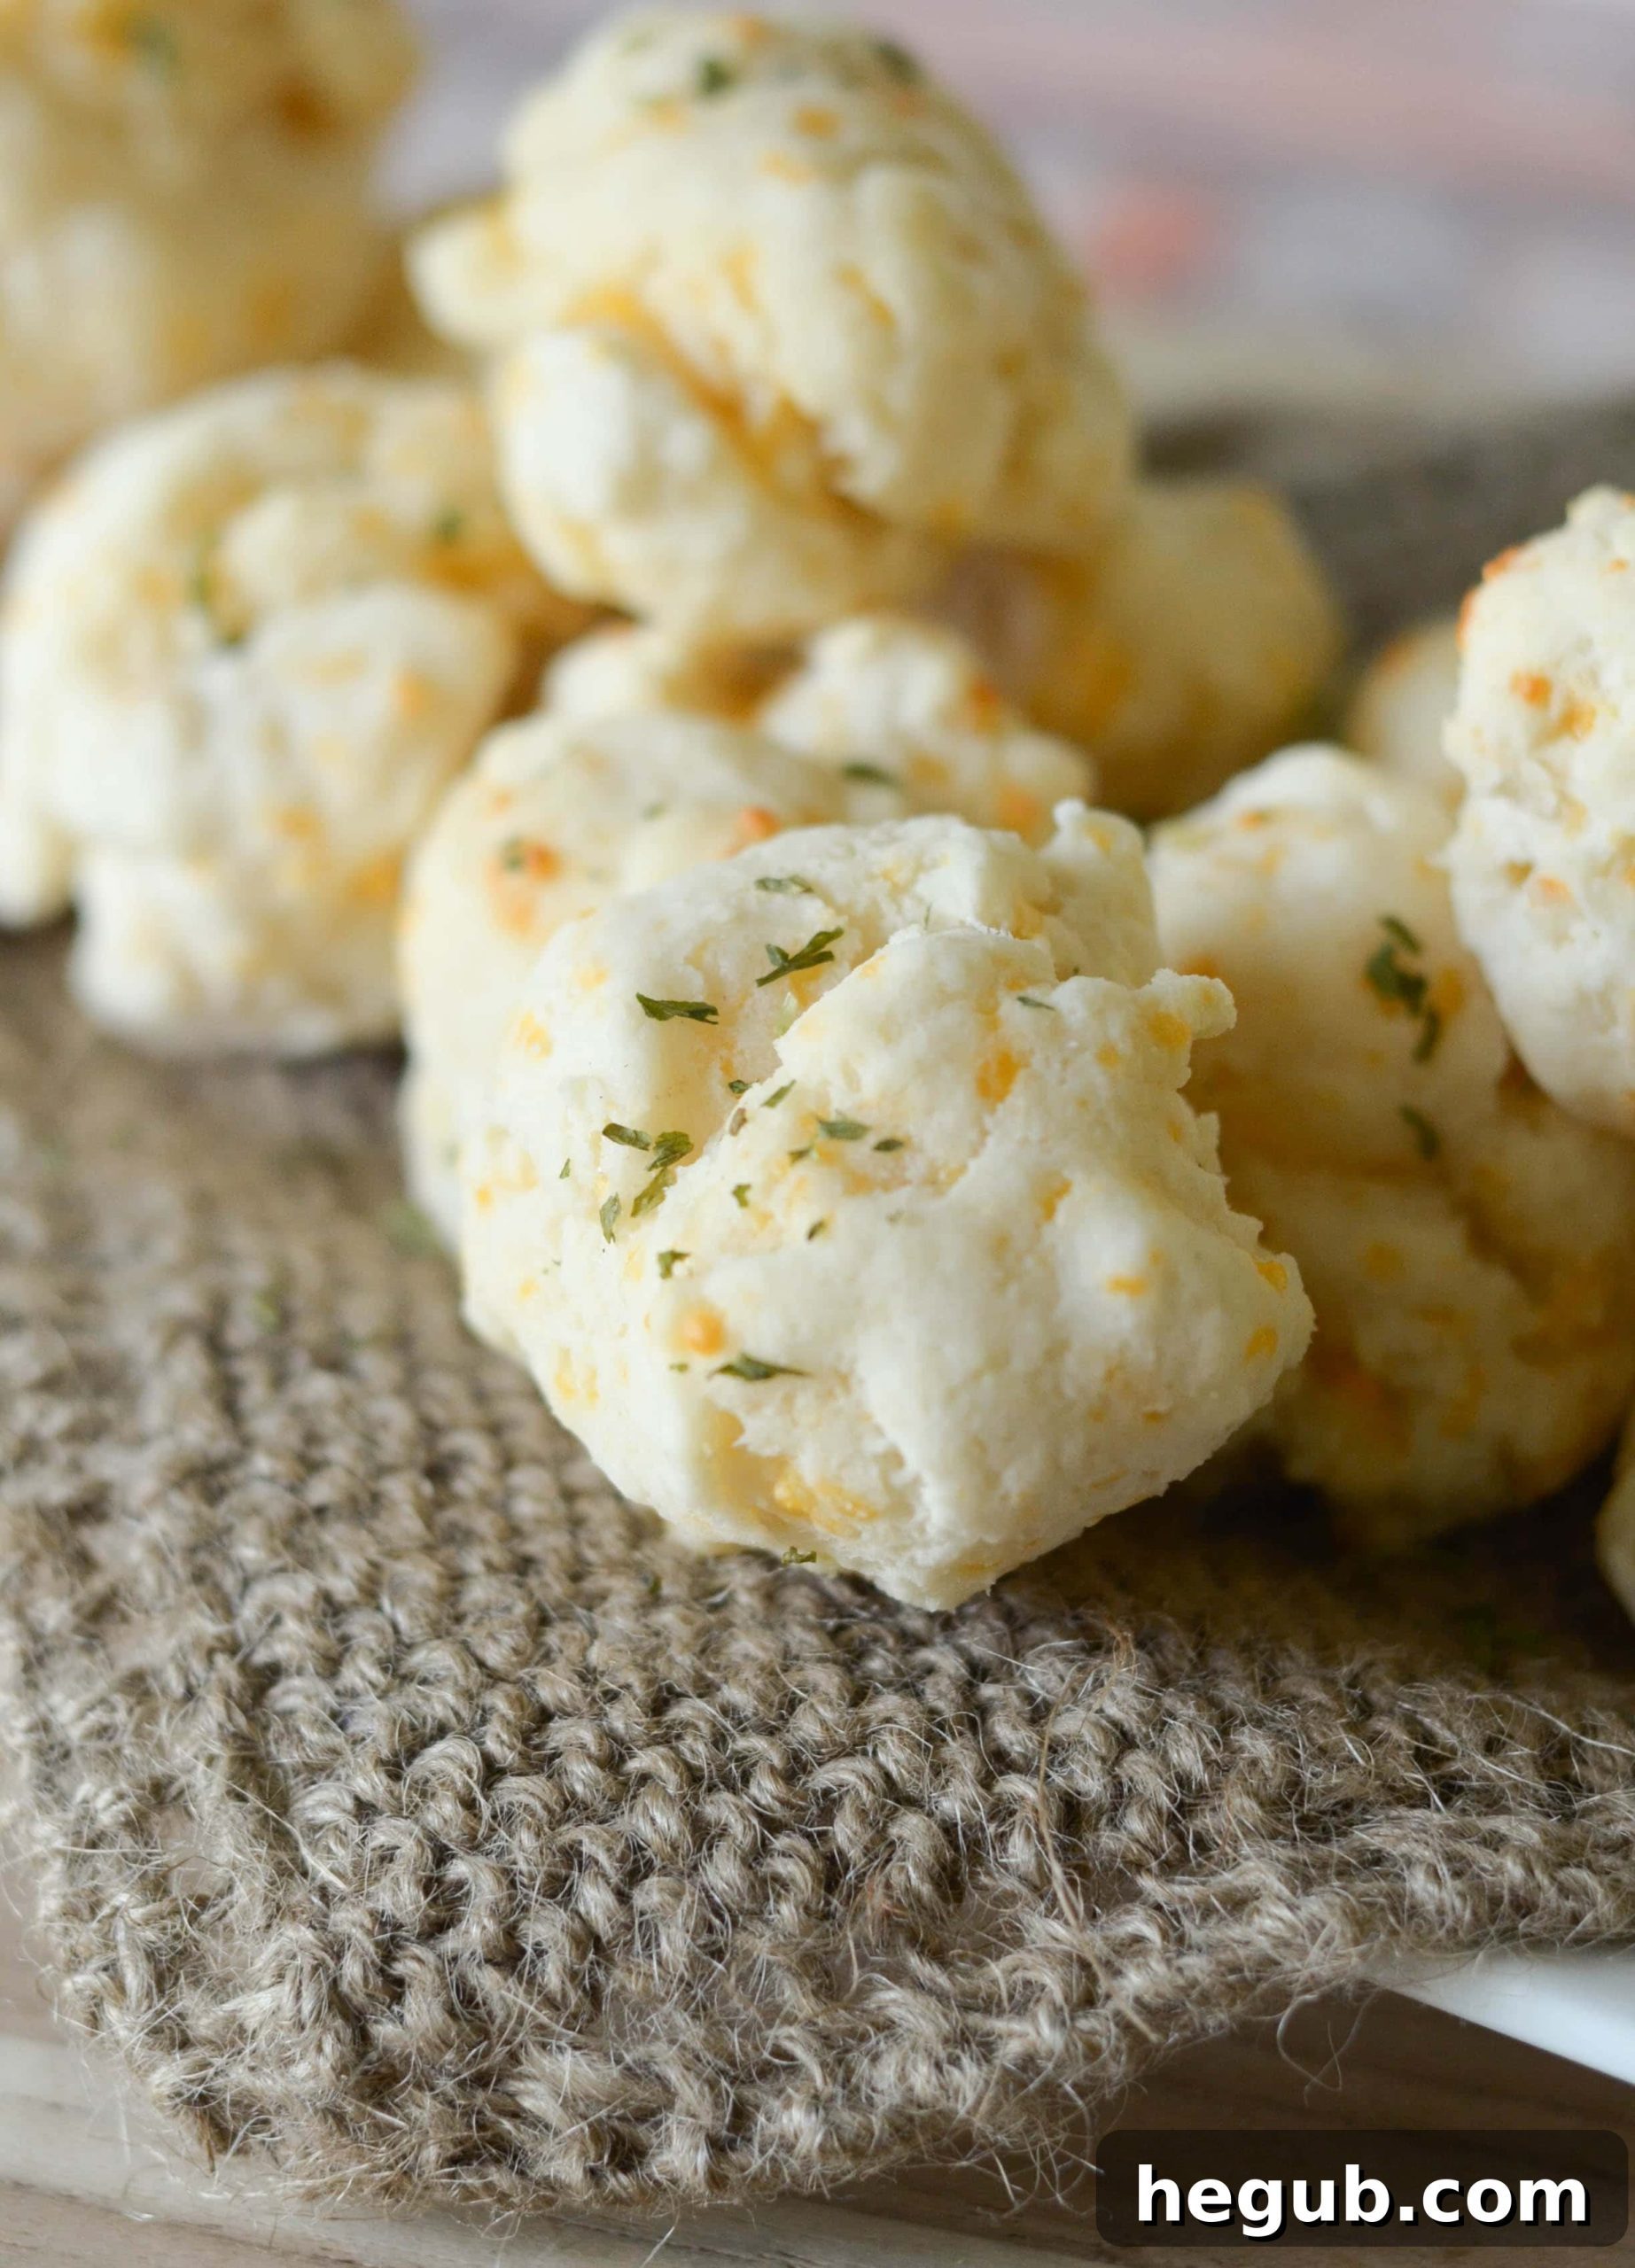
Irresistibly Delicious Gluten-Free Cheddar Bay Biscuits: A Homemade Copycat Recipe
Craving those famous, melt-in-your-mouth Cheddar Bay Biscuits from Red Lobster but need a gluten-free option? You’re in luck! This comprehensive guide will show you how to create delectable gluten-free cheddar bay biscuits right in your own kitchen using simple pantry staples. Get ready to experience the same buttery, garlicky, cheesy goodness without compromising your dietary needs.
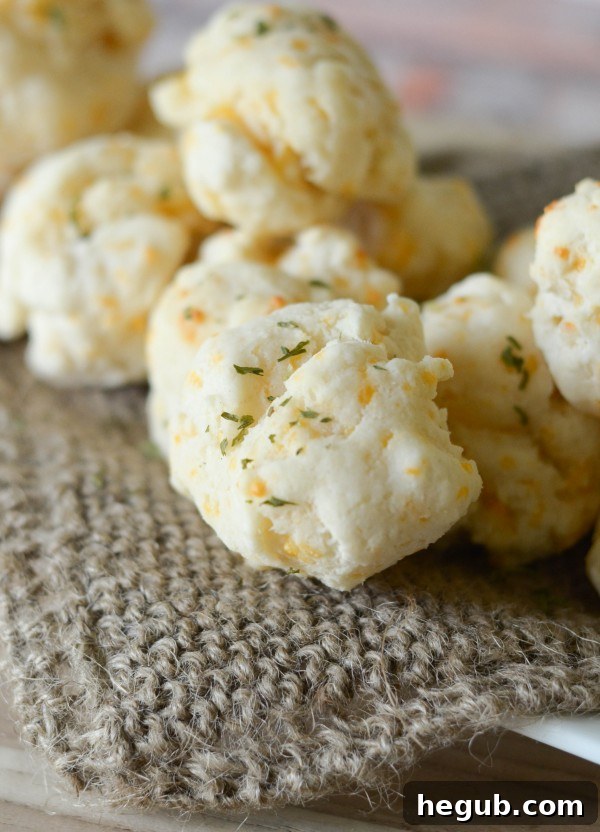
Why You’ll Love These Homemade Gluten-Free Cheddar Bay Biscuits
For many, the mention of Cheddar Bay Biscuits conjures up memories of delightful restaurant meals and irresistible flavors. Their unique combination of rich butter, sharp cheddar, and aromatic garlic creates a savory side dish that is hard to resist. However, finding a truly satisfying gluten-free version can be a challenge. Our recipe directly addresses this, ensuring that those with gluten sensitivities or celiac disease can still indulge in this beloved treat without any compromise on taste or texture.
This recipe isn’t just about being gluten-free; it’s about delivering a biscuit that stands tall in flavor and texture, closely mimicking the original. We’ve meticulously crafted it to replicate the savory profile and tender crumb that made the Red Lobster version so famous. Plus, making them at home gives you full control over the ingredients, allowing you to use fresh, high-quality components and experience the immense satisfaction of a homemade creation. The aroma that fills your kitchen while these bake is simply divine, promising a comforting and delicious experience.
Essential Ingredients for Perfect Gluten-Free Cheddar Bay Biscuits
Achieving the ideal texture and iconic flavor for these copycat biscuits relies on a few key ingredients. Each component plays a vital role in creating that signature experience. Here’s what you’ll need to gather to bring these buttery, cheesy delights to life:
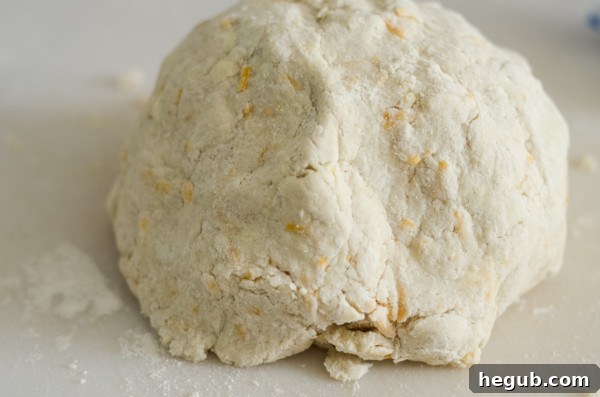
- Gluten-Free Flour Blend: The foundation of any good biscuit is its flour. For our gluten-free version, a reliable all-purpose gluten-free flour blend is crucial. We recommend using a homemade gluten-free baking mix, which is incredibly similar to traditional Bisquick but ensures a truly gluten-free product. This blend is easy to prepare from scratch and guarantees the right balance of texture and rise for your biscuits, avoiding the dryness or gumminess often associated with gluten-free baked goods.
- Sharp Cheddar Cheese: The “cheddar” in Cheddar Bay Biscuits is non-negotiable! Sharp cheddar cheese is the optimal choice as it imparts a rich, tangy, and robust flavor that truly shines through. The intensity of sharp cheddar ensures every bite is packed with cheesy goodness, providing that distinct savory element that complements the other flavors so well. Freshly shredded cheese is always preferable to pre-shredded, as it melts more smoothly and offers a better flavor.
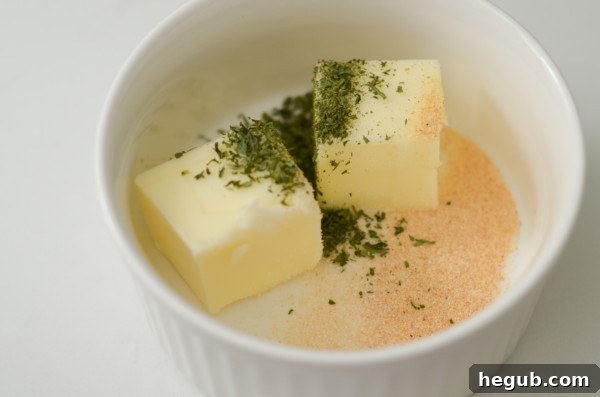
- Signature Seasonings: To capture that wonderful, iconic taste, a thoughtful blend of seasonings is essential. Garlic powder provides the characteristic pungent aroma that is central to the Cheddar Bay experience, while onion powder adds a subtle yet complex depth. Dried parsley offers a fresh, herbaceous note, and a touch of salt enhances all the flavors, balancing the richness of the cheese and butter. These spices work in harmony to elevate the biscuits from plain to extraordinary, creating that irresistible savory appeal.
- Abundant Butter: It wouldn’t be a Cheddar Bay Biscuit without plenty of butter! Butter is incorporated into the homemade baking mix to create a tender, flaky crumb, contributing to the biscuit’s internal structure and richness. Beyond that, a generous brushing of melted butter, infused with additional garlic and herbs, is drizzled over the hot biscuits immediately after baking. This crucial step delivers that irresistible glossy, golden top, prevents drying, and adds another layer of rich, savory flavor that makes these biscuits truly unforgettable.
Choosing the Right Gluten-Free All-Purpose Flour
The success of these gluten-free biscuits hinges significantly on your choice of gluten-free flour. This recipe specifically calls for a Homemade Gluten-Free Baking Mix, which in turn utilizes a high-quality gluten-free all-purpose flour. It is vital that the gluten-free all-purpose flour you choose is a 1:1 (cup-for-cup) replacement for traditional wheat flour. This ensures that the recipe proportions remain accurate and delivers the desired dough consistency and biscuit texture without extensive modifications.
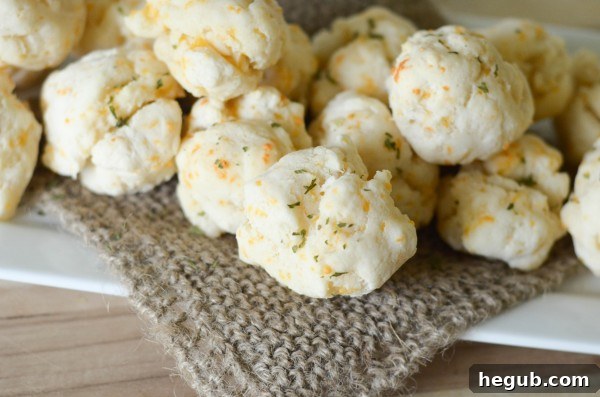
Several brands offer excellent 1:1 gluten-free all-purpose flour blends that work beautifully for this recipe. Highly recommended options include King Arthur Gluten-Free All-Purpose Flour, Better Batter Gluten-Free Flour, Cup4Cup Gluten-Free Flour, and Bob’s Red Mill Gluten-Free 1-to-1 Baking Flour. These brands are meticulously formulated with a balanced mix of gluten-free grains (like rice flour, sorghum flour) and starches (like potato starch, tapioca starch), often including xanthan gum. Xanthan gum is a critical ingredient in gluten-free baking as it helps mimic the elasticity and binding properties of gluten, preventing baked goods from becoming crumbly. Always double-check the label to confirm it’s a 1:1 ratio blend. Using a blend that is not specifically designed for cup-for-cup substitution may alter the final texture, potentially making the biscuits too crumbly, dry, or excessively dense.
Expert Tips for Crafting Perfect Gluten-Free Cheddar Bay Biscuits
Making delicious gluten-free biscuits is not only possible but enjoyable with a few insider tips and careful attention to detail. The key to these Cheddar Bay Biscuits lies in the homemade baking mix and precise dough handling.
- The Homemade Baking Mix is Your Secret Weapon: This custom blend, created from gluten-free all-purpose flour, baking powder, salt, and cold butter, is specifically designed to provide the ideal structure and tenderness that gluten-free baking often lacks. It’s the closest you’ll get to a homemade gluten-free Bisquick.
- Dough Consistency is Key: When combining your baking mix with cheddar cheese and water, aim for a soft, cohesive dough. It should be pliable enough to form into balls but not excessively sticky or dry. If preparing your baking mix in a food processor, ensure the butter is very cold and pulsed until it resembles coarse cornmeal with visible, small pea-sized pieces of butter. These butter pieces will create steam during baking, leading to delightfully flaky layers within the biscuit.
- Gentle Mixing Methods: Whether you prefer using your hands for a tactile approach or a Danish Dough Whisk for efficient blending, the goal is to gently work the dough until it just comes together. Overworking gluten-free dough, even without gluten, can sometimes lead to a tougher texture due to over-developing starches or incorporating too much air. Work it for just 1-2 minutes until a manageable ball forms.
- Forming the Biscuits: Once your dough is ready, you’ll typically drop tablespoon-sized pieces onto a prepared cookie sheet. This “drop biscuit” method is incredibly simple and helps maintain a rustic, tender texture. Ensure you leave enough space between each biscuit, approximately 2 inches, to allow for proper expansion and even baking. Crowding the biscuits can lead to uneven cooking and less browning.
- Precise Baking Temperature and Time: Bake your biscuits in a preheated oven at 375°F (190°C) for 15 to 20 minutes. Keep a close eye on them; they should develop a beautiful, light golden-brown color on top and be cooked through. Over-baking can quickly lead to dry and crumbly biscuits, while under-baking might leave them doughy in the center. An oven thermometer can be a valuable tool to verify your oven’s accuracy.
- The Signature Butter Drizzle: This step is absolutely critical for replicating the authentic Red Lobster Cheddar Bay experience. Immediately after removing the hot biscuits from the oven, generously brush and drizzle them with the melted butter combined with garlic powder, salt, onion powder, and dried parsley. The hot biscuits will eagerly absorb this flavorful butter, imparting a rich aroma, enhancing the savory taste, and leaving them with that characteristic glossy, golden finish.
- Embrace the Density: It’s important to remember that all gluten-free biscuits, by nature, will be slightly denser than their wheat-based counterparts. This is due to the absence of gluten, which provides elasticity and a very light, airy structure. Embrace this textural difference, as these biscuits are still wonderfully tender, moist, and packed with flavor, making them incredibly satisfying.
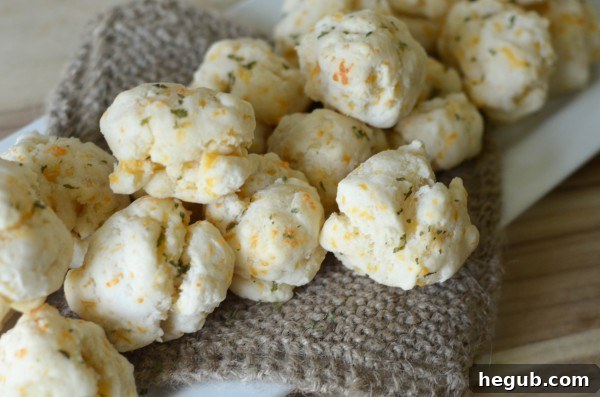
For the absolute best flavor and texture, serve these biscuits fresh and warm, straight from the oven. The combination of their warmth, the melted cheese, and the garlic butter topping is truly irresistible.
Storing Leftovers and Reheating Advice
While these biscuits are undeniably best enjoyed fresh, warm, and straight from the oven, you can certainly store any leftovers for later enjoyment. Proper storage ensures they retain as much of their delightful flavor and texture as possible, making them a convenient treat for days to come.
To store, allow the biscuits to cool completely to room temperature. Once cool, place them in an airtight container to prevent them from drying out. Keep the container at room temperature, where they will remain fresh for up to 2-3 days. For slightly longer storage, you can refrigerate them for up to a week. The key is to keep air exposure to a minimum.
For reheating, a quick zap in the microwave for about 30 seconds per biscuit is usually sufficient to warm them through, restoring some of their initial tenderness. If you prefer a slightly crisper exterior, especially if they’ve lost some crunch, you can reheat them in a preheated oven at 300°F (150°C) for 5-7 minutes, or until warmed through and lightly re-crisped. Avoid high heat in the microwave as it can make them tough.
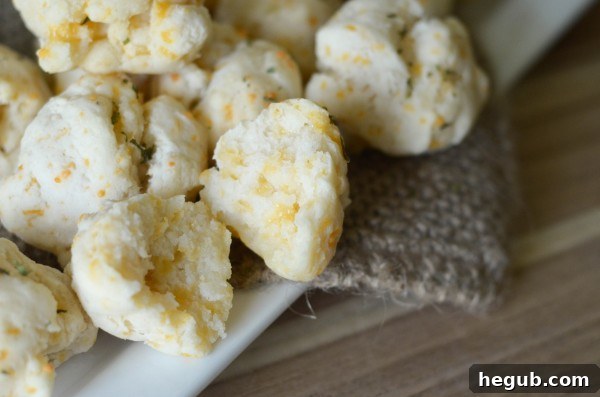
These Gluten-Free Cheddar Bay Biscuits make a fantastic accompaniment to a wide variety of meals. They pair perfectly with hearty soups, robust stews, roasted chicken, or any seafood dish, just like the original. Our personal favorite pairing is with a comforting Potato Soup – the rich, creamy flavors complement each other beautifully for a truly satisfying meal.
Frequently Asked Questions (FAQs) About Gluten-Free Cheddar Bay Biscuits
- Can I make these biscuits dairy-free?
- Yes, with a few substitutions! You would need to use a high-quality dairy-free butter alternative (ensure it’s suitable for baking) and a dairy-free shredded cheddar cheese substitute. The texture might vary slightly depending on the brands chosen, but the core flavor profile can still be achieved effectively. Look for plant-based butters that cream well.
- Can I freeze the raw dough or baked biscuits?
- You can absolutely freeze baked biscuits! Allow them to cool completely after baking, then place them in a freezer-safe airtight container or heavy-duty freezer bag. They will keep well for up to 2-3 months. Reheat directly from frozen in a preheated 300°F (150°C) oven for about 10-15 minutes, or until warmed through. Freezing raw biscuit dough is not typically recommended for drop biscuits as the leavening agents might lose potency, affecting the final rise and texture.
- What if my biscuits turn out dry or crumbly?
- Dry or crumbly biscuits are often a sign of too much flour or over-baking. Gluten-free flours can be very absorbent, so ensuring precise measurements is crucial. Ideally, measure your gluten-free flour by weight if possible (a kitchen scale is highly recommended), although cup-for-cup works well for 1:1 blends. Also, keep a close eye on your baking time and oven temperature. An oven thermometer can help verify your oven’s accuracy, as many ovens can vary significantly from their set temperature.
- How do these compare to the original Red Lobster Cheddar Bay Biscuits?
- While no homemade copycat can be 100% identical, this gluten-free version comes remarkably close in flavor and overall experience. The buttery, cheesy, garlicky profile is definitely present and incredibly satisfying. As mentioned, gluten-free biscuits will naturally have a slightly denser texture compared to their wheat-based counterparts due to the absence of gluten, but they are still wonderfully tender, rich, and flavorful.
- Can I add other herbs or spices to the biscuits?
- Absolutely! While our recipe sticks to the classic flavor profile, you can certainly experiment to suit your preferences. A pinch of cayenne pepper or a dash of smoked paprika could add a nice subtle kick and depth. A mix of Italian herbs could offer a different aromatic profile, or finely chopped fresh chives or dill could be folded into the dough for a fresh, vibrant touch. Feel free to customize and make them your own!
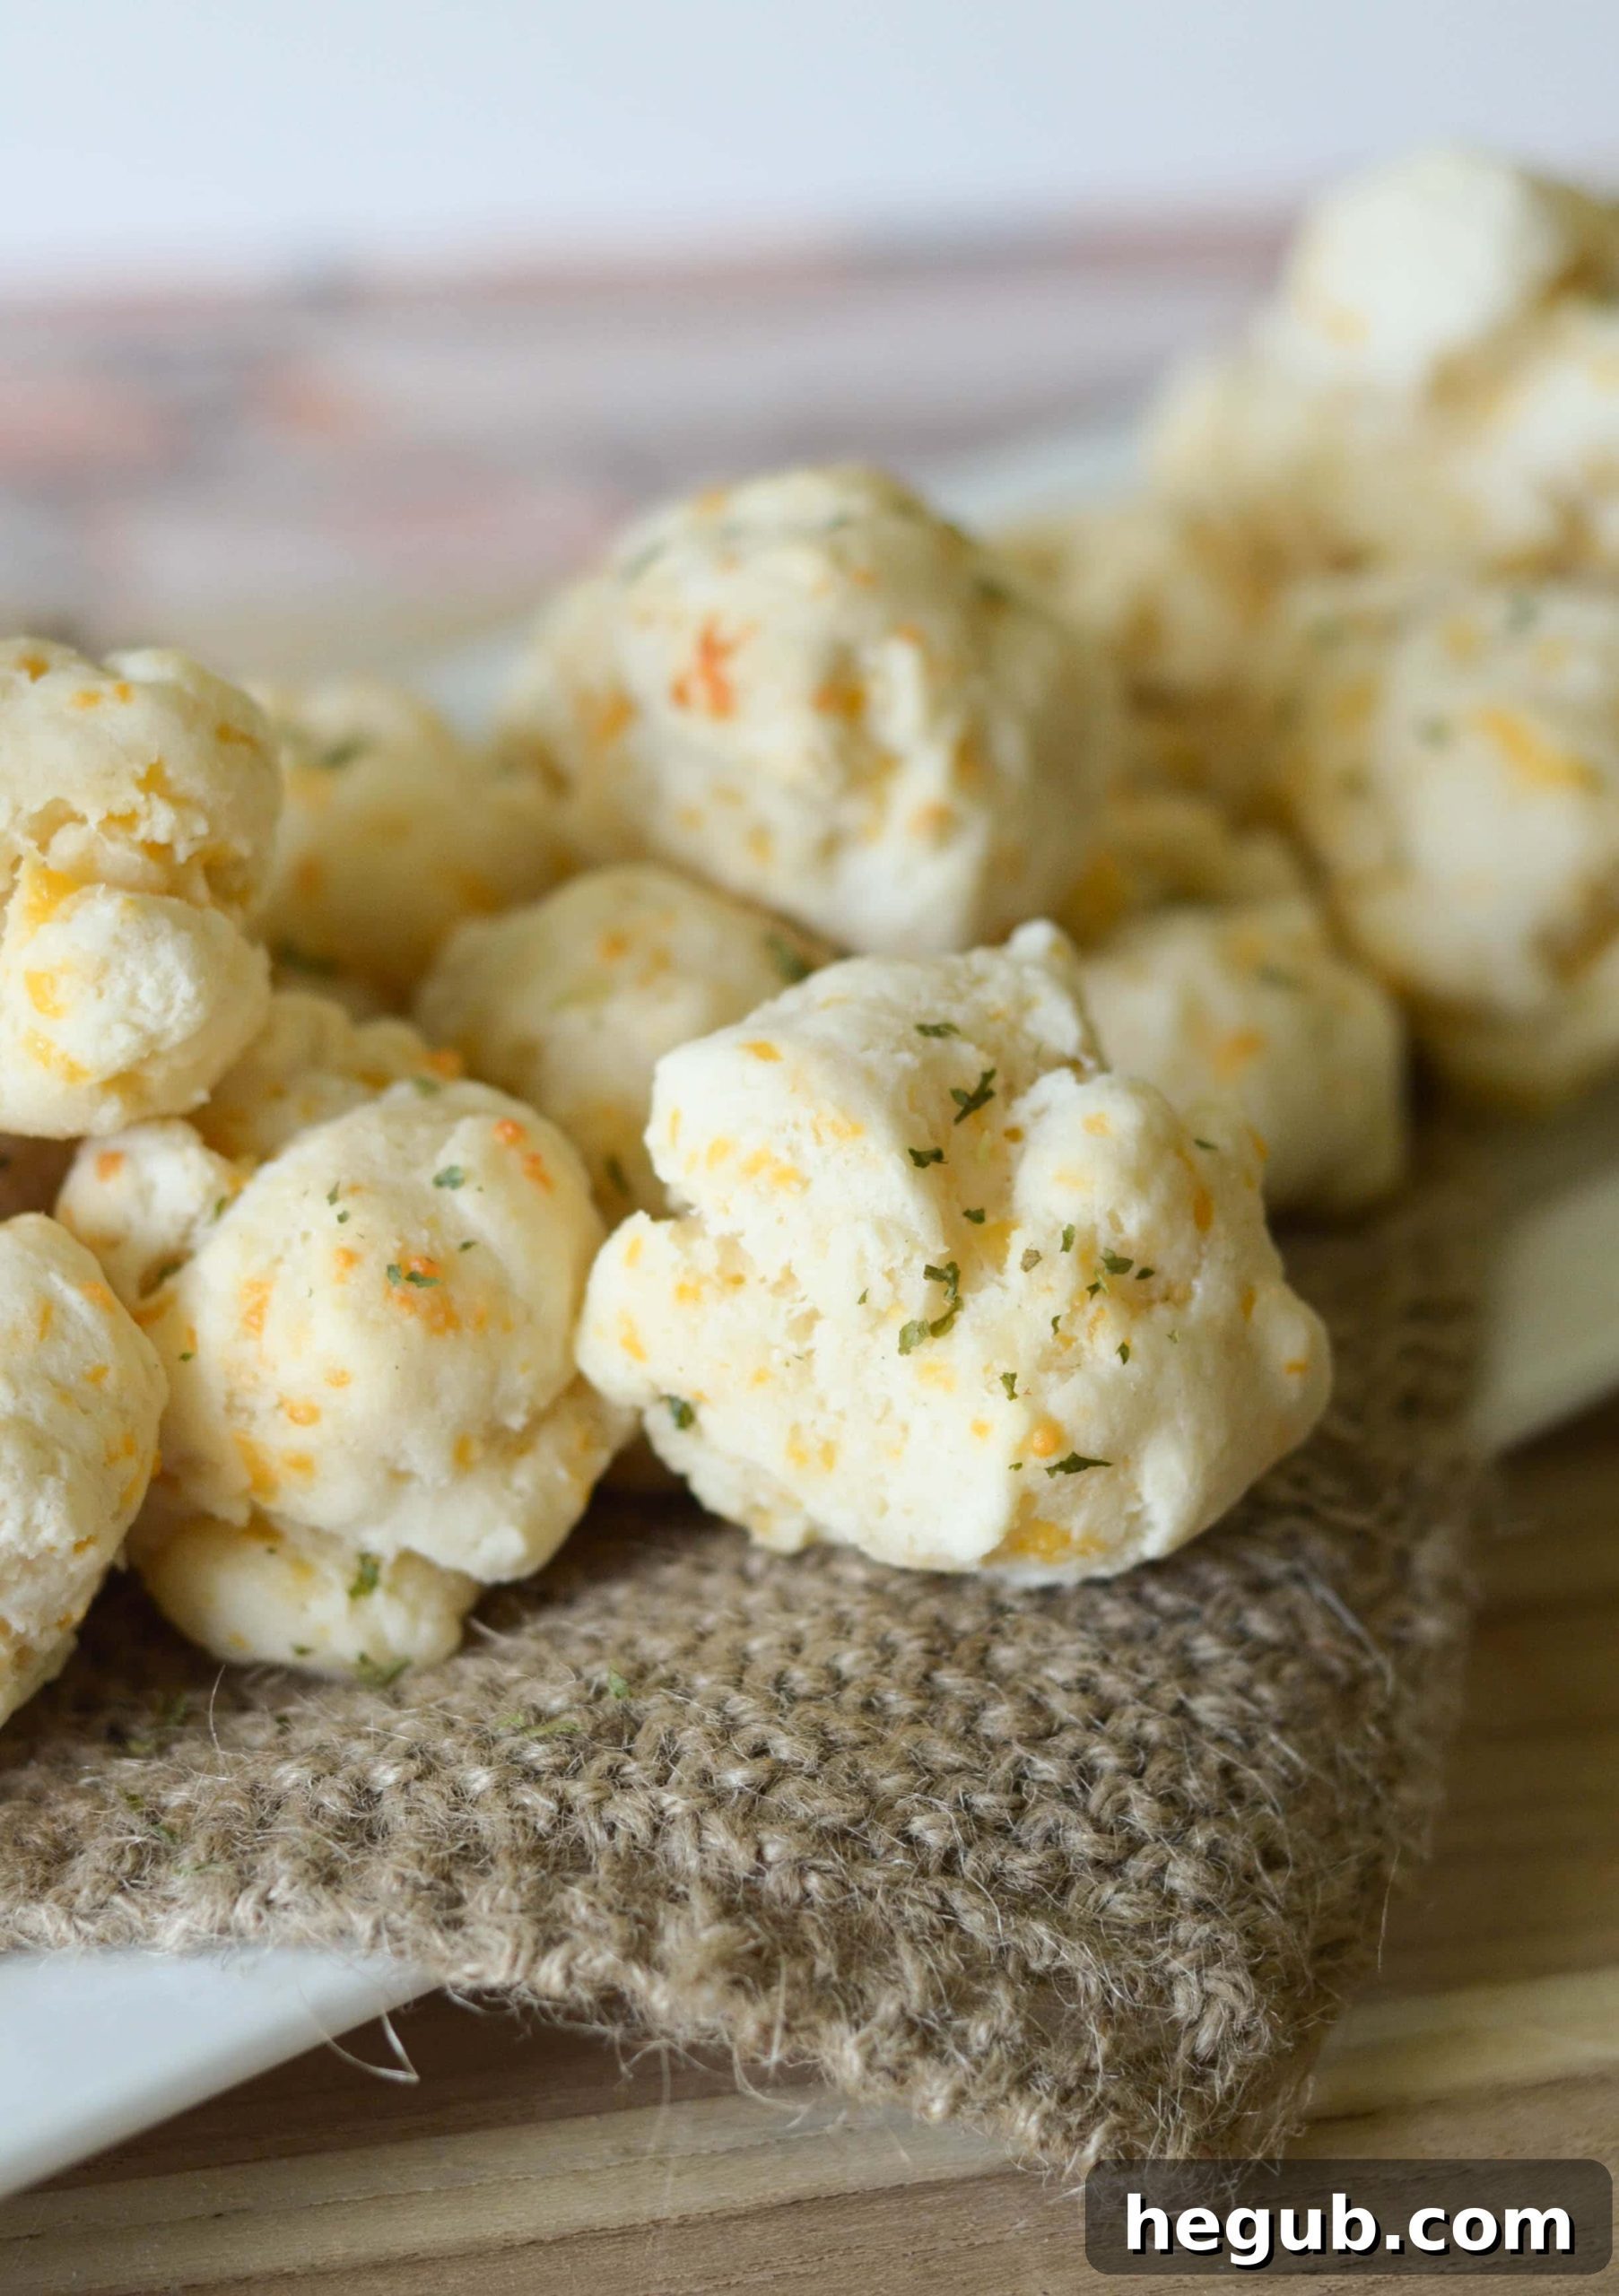
Kristy Still
Gluten-Free Cheddar Bay Biscuits
Course
Side Dish
Cuisine
American
Servings
18
Servings
Pin Recipe
Prep Time
15
mins
Cook Time
20
mins
Total Time
35
mins
Ingredients
For the Gluten-Free Cheddar Bay Biscuits:
- 3 Cups Gluten-Free Baking Mix
- 1/3 Cup Shredded Sharp Cheddar Cheese
- 1 1/2 Cups Water
- 1/3 Cup Butter (melted, for brushing)
- 3/4 tsp Garlic Powder (for brushing)
- Dash Salt (for brushing)
- Dash Onion Powder (for brushing)
- Dash Dried Parsley (for brushing)
For the Homemade Gluten-Free Baking Mix:
- 3 Cups Gluten-Free All-Purpose Flour (1:1 blend)
- 1 1/2 Tbsp Baking Powder
- 1 1/2 tsp Salt
- 1/2 Cup Unsalted Butter, Cold & Cubed (1 Stick)
Instructions
To Prepare Your Homemade Gluten-Free Baking Mix:
-
Add the gluten-free all-purpose flour, baking powder, and salt to a food processor.
-
Pulse briefly to ensure all dry ingredients are well combined.
-
Add the cold, cubed butter to the food processor. Pulse until the mixture is coarse and resembles the texture of cornmeal, with small pea-sized pieces of butter remaining.
-
Measure out 3 cups of this freshly made gluten-free baking mix for your cheddar bay biscuits. Store any remaining mix in an airtight container in the refrigerator for up to 3 months for future use.
To Make the Gluten-Free Cheddar Bay Biscuits:
-
Preheat your oven to 375°F (190°C). Prepare a large cookie sheet by coating it with nonstick cooking spray or lining it with parchment paper for easy cleanup.
-
In a large mixing bowl, combine the 3 cups of homemade gluten-free baking mix with the shredded sharp cheddar cheese. Toss gently to distribute the cheese evenly.
-
Gradually add the water to the dry ingredients, mixing it in. Use a Danish dough whisk or your hands to gently work the dough until it comes together and forms a cohesive ball. This process should take about 1-2 minutes; avoid overworking the dough to ensure tender biscuits.
-
Using a tablespoon, drop individual portions of dough onto the prepared baking sheet. Ensure there is about 2 inches of space between each biscuit to allow for proper expansion and even baking.
-
Bake in the preheated oven for 15-20 minutes, or until the tops are lightly golden brown and the biscuits are cooked through.
-
While the biscuits are baking, prepare the flavorful butter topping. In a small microwavable dish, melt 1/3 cup of butter. This typically takes 10-15 seconds in the microwave.
-
Once the butter is melted, stir in the garlic powder, salt, onion powder, and dried parsley until well combined.
-
As soon as the biscuits are removed from the oven, immediately brush and generously drizzle the warm, seasoned butter mixture over each hot biscuit. The hot surface will readily absorb the delicious topping.
-
Allow the biscuits to cool for about 5 minutes before serving. This brief cooling period helps them set and intensifies their flavor.
-
To store any leftovers, place them in an airtight container at room temperature for up to 2-3 days, or refrigerate for longer as detailed in our storage section above.
Nutrition Information
Nutritional values are estimates and may vary based on ingredients used and preparation methods.
- Serving Size: 1 Biscuit
- Calories: 221 kcal
- Carbohydrates: 30g
- Protein: 4g
- Fat: 10g
- Saturated Fat: 6g
- Polyunsaturated Fat: 0.5g
- Monounsaturated Fat: 2g
- Trans Fat: 0.3g
- Cholesterol: 25mg
- Sodium: 512mg
- Potassium: 6mg
- Fiber: 2g
- Sugar: 2g
- Vitamin A: 284 IU
- Vitamin C: 0.002mg
- Calcium: 110mg
- Iron: 1mg
Did you make this recipe?
We’d love to see your creations! Make sure to tag #mommyhatescooking on Instagram and follow us for more delicious recipes @momhatescooking.
Pin Recipe
Share on Facebook