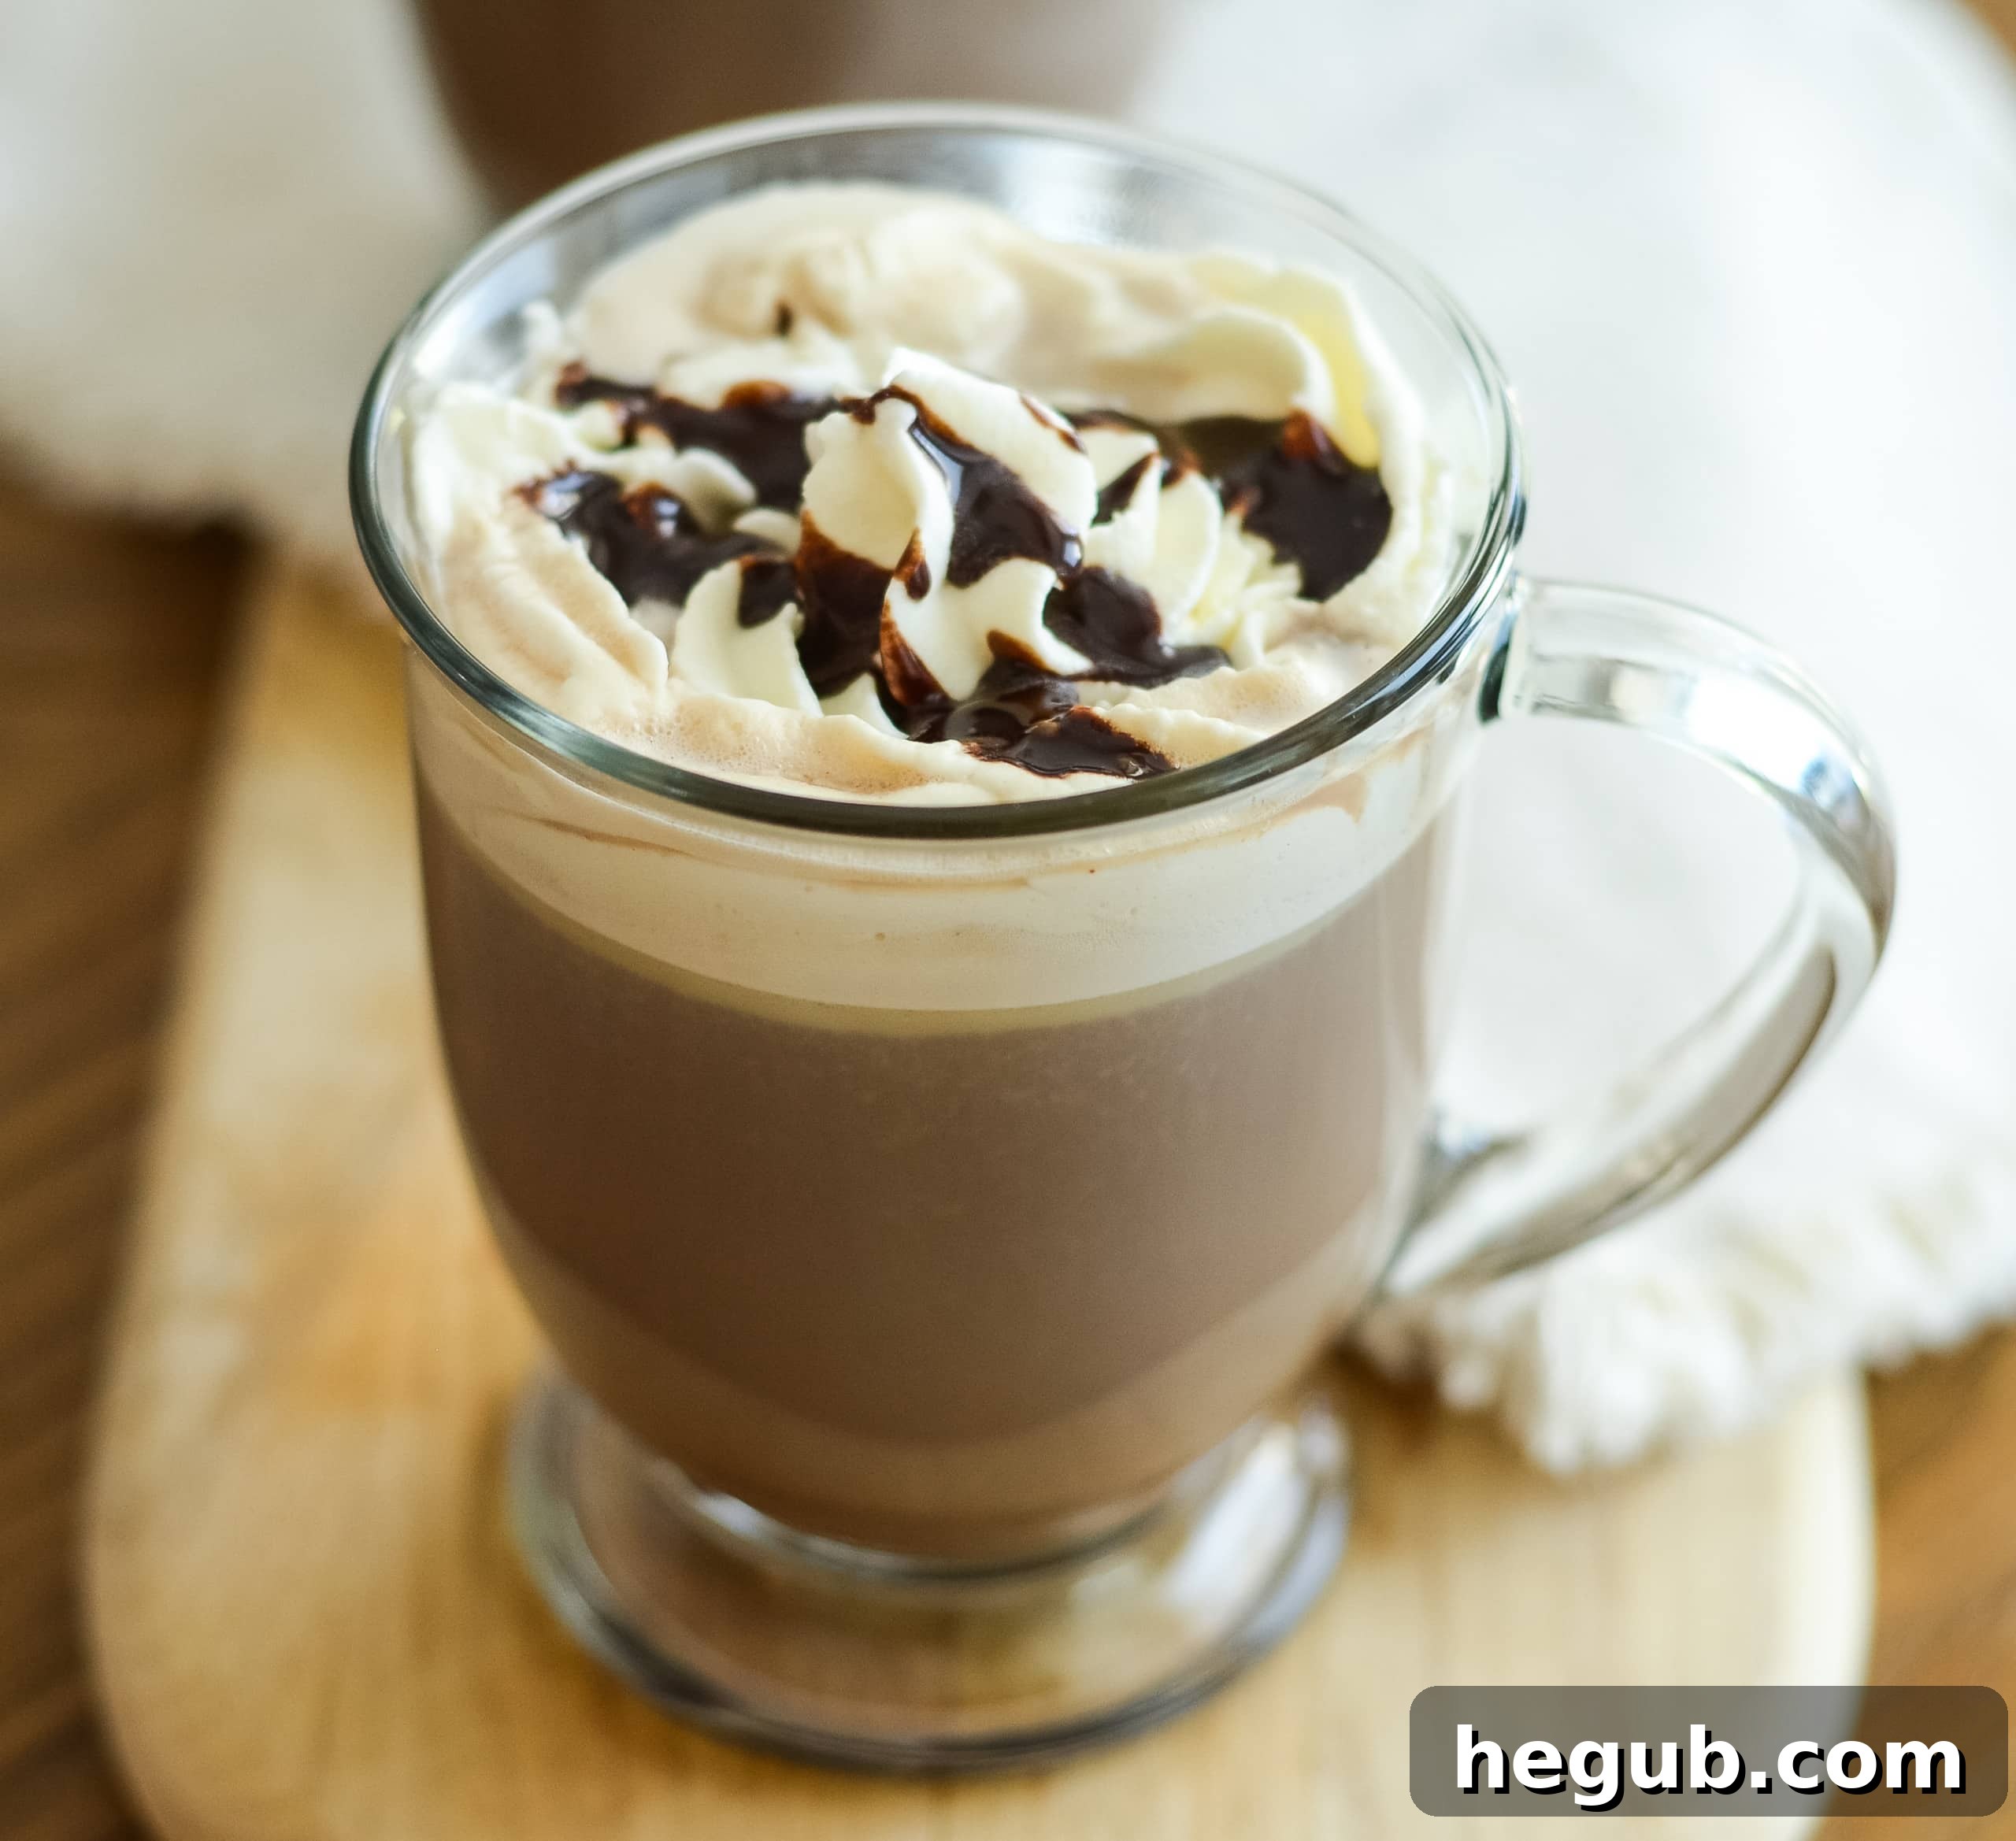
Master the Art of Homemade Cafe Mocha Lattes: Your Guide to Barista-Quality Coffee at Home
There’s a special kind of magic that comes with a perfectly crafted cup of coffee. For many years, I’ve had the privilege of working within the vibrant coffee shop scene, witnessing firsthand the delight a well-made beverage can bring. Among the countless concoctions I’ve prepared, the classic Cafe Mocha Latte consistently stands out. It’s more than just a drink; it’s a rich, comforting experience that combines the boldness of espresso with the sweet embrace of chocolate and the velvety texture of steamed milk.
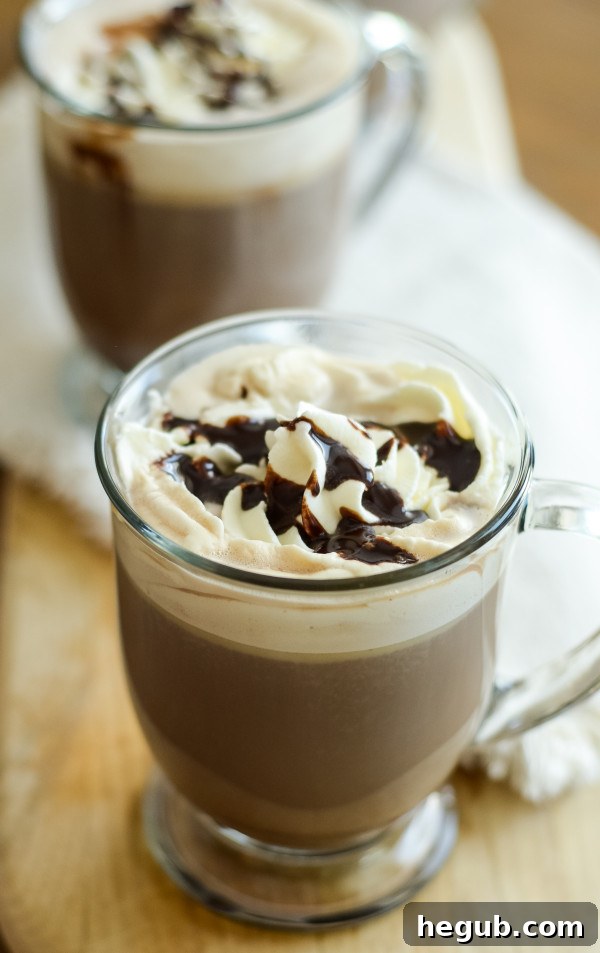
While the thought of recreating such a sophisticated drink at home might seem daunting, I assure you, it’s far simpler than you imagine. This guide is designed to empower you to bypass those expensive coffee shop lines and craft an exquisite Cafe Mocha Latte right in your own kitchen. Imagine the satisfaction of sipping a custom-made, warm, chocolate-infused coffee without stepping out your door. Not only will you save money, but you’ll also gain the rewarding skill of a home barista, allowing you to tailor every aspect of your drink to your exact preferences.
The beauty of many popular coffee drinks lies in their foundational simplicity. At their core, they often share a similar structure, varying only in flavorings, ratios, or specific preparation techniques. Once you grasp the basic principles, a world of coffee customization opens up to you. A Cafe Mocha is a prime example of this: a harmonious blend of strong coffee, decadent chocolate, and luscious milk, all brought together to create a truly timeless beverage. Let’s embark on this journey to perfect your homemade mocha.
Essential Ingredients for Your Perfect Cafe Mocha
Creating an authentic Cafe Mocha requires surprisingly few ingredients, making it an accessible indulgence for any coffee enthusiast. The core components are universally available, and you might even have them in your pantry already. To craft this delightful beverage, you’ll need just three main elements, each playing a crucial role in achieving that rich, balanced flavor profile.
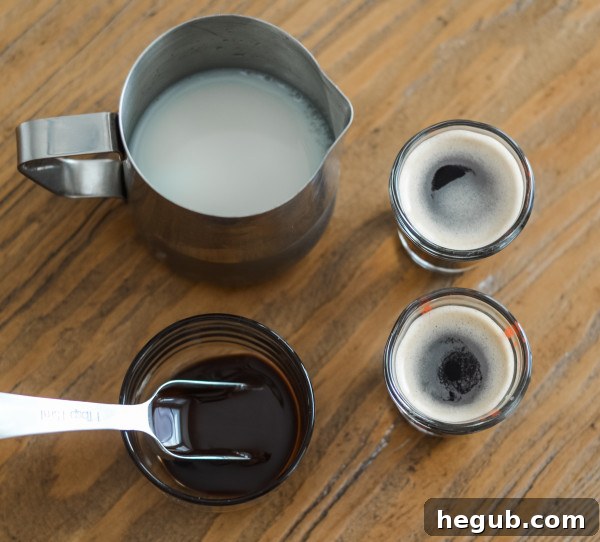
- Espresso
- Chocolate Sauce
- Milk
Yes, that’s truly all it takes! The simplicity of these ingredients belies the complexity of flavor they create when combined correctly. What truly elevates a Cafe Mocha from a simple hot chocolate or a regular coffee is the quality and balance of these foundational elements. Let’s delve deeper into each one to ensure your homemade mocha is nothing short of perfection.
The Foundation: Espresso
Espresso is the heart of any true mocha. Its concentrated flavor and aromatic intensity provide the essential coffee kick that balances the sweetness of the chocolate. For the best results, always aim for freshly ground coffee beans and a proper espresso extraction. This means a fine grind, adequate tamping, and brewing under the right pressure. The resulting shot should have a beautiful layer of crema on top, indicating a well-pulled shot.
If you don’t own a dedicated espresso machine, don’t worry! You still have options. A Moka pot (stovetop espresso maker) can produce a strong, concentrated coffee similar to espresso. An AeroPress is another excellent alternative for a robust brew. Alternatively, you can use a very strong, dark roast brewed coffee. A general rule of thumb is to use about 1/4 cup of dark brewed hot coffee as a substitute for a standard double shot of espresso. While it won’t be exactly the same, it will still yield a delicious and satisfying mocha.
The Sweet Soul: Chocolate Sauce
This is where many homemade mochas go wrong. The key to an authentic Cafe Mocha is to use **chocolate sauce**, not just a chocolate syrup. While syrups are thinner and often used for general flavoring, chocolate sauce provides a richer, thicker consistency and a more profound chocolate flavor that beautifully marries with the coffee and milk. This is precisely what most high-end coffee shops use to achieve their signature mocha taste.
Look for brands like Hershey’s Chocolate Syrup (the classic thick kind, not the thin flavoring syrup) or Ghirardelli Chocolate Sauce. These provide a deep, consistent chocolate flavor and the right viscosity to blend seamlessly into your drink. While you could make your own chocolate sauce from scratch, store-bought options are perfectly acceptable and widely used by professionals for their convenience and consistent quality. This ensures that every sip delivers a creamy, chocolatey coffee experience.
The Creamy Canvas: Milk
The type of milk you choose significantly impacts the texture and overall creaminess of your mocha. For an undeniably rich and velvety result, **whole milk** is always the top recommendation. Its higher fat content creates a luxurious mouthfeel and exceptional microfoam when steamed correctly, which is crucial for a barista-style latte.
Choosing the Right Milk for Your Mocha
While whole milk is king for its creamy texture and frothing capabilities, a variety of milk alternatives can also produce excellent results, allowing you to cater to dietary preferences or explore different flavor profiles:
- Oat Milk: Often considered the best plant-based alternative for coffee drinks, especially barista blends. It steams beautifully, creating a silky microfoam and adding a subtle, naturally sweet, and slightly nutty flavor.
- Almond Milk: A lighter option that adds a delicate nutty note. It can be a bit trickier to froth as effectively as whole or oat milk but can still create a pleasant, lighter foam.
- Soy Milk: Another popular choice that froths reasonably well, thanks to its protein content. It offers a slightly richer texture than almond milk and a distinctive, mild flavor.
- Coconut Milk: For those who enjoy a hint of tropical flavor, coconut milk can be an interesting option. It froths to a stable foam but can sometimes separate if not heated and handled carefully.
No matter which milk you choose, remember that whole milk will consistently deliver the richest, most decadent texture for this Cafe Mocha recipe. Experiment with alternatives to find your personal favorite, keeping in mind that achieving a perfect foam might require slight adjustments in technique depending on the milk’s fat and protein content.
Mastering Your Cafe Mocha Latte: Step-by-Step Tips for Barista-Quality Results
Crafting a perfect Cafe Mocha at home involves a few key steps and techniques. Paying attention to these details will elevate your drink from good to extraordinary, ensuring a coffee shop quality experience every time. An espresso machine with a steam frothing wand is ideal for achieving the best milk texture, but we’ll cover alternatives too.
1. Preparation is Key
Before you begin, gather all your ingredients and equipment. This includes your espresso machine (if using), milk frothing pitcher, chocolate sauce, milk, and your serving cup. A pre-warmed cup can make a big difference in maintaining the temperature of your mocha. Simply fill your mug with hot water and let it sit while you prepare your drink, then empty it just before pouring.
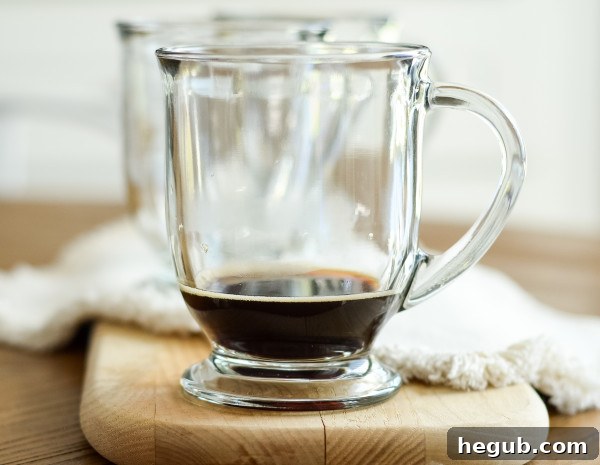
Begin by preparing your espresso shots. A typical Cafe Mocha uses a double shot (approximately 2 ounces) of freshly brewed espresso. If you’re using an espresso machine, this process usually takes around 25-30 seconds per shot, producing a rich, concentrated coffee with a delicate layer of crema on top.
2. Preparing the Milk and Chocolate
Pour about 1/2 cup of your chosen milk into your milk frothing pitcher. The exact amount may vary slightly depending on the size of your cup and how much foam you prefer. Then, add your 2 tablespoons of chocolate sauce directly into the milk pitcher. Stir the chocolate sauce thoroughly into the cold milk until it’s well combined. This ensures an even chocolate flavor throughout your mocha, preventing the chocolate from settling at the bottom or being unevenly distributed.
3. Steaming and Frothing the Milk
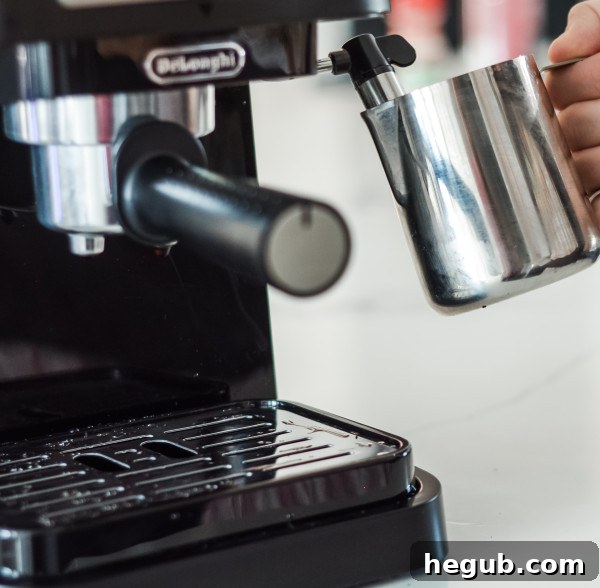
This step is crucial for achieving that characteristic velvety texture. If using an espresso machine with a steam wand, position the tip just below the surface of the milk. Turn on the steam wand. You should hear a gentle “ripping” sound, indicating that you’re introducing air into the milk to create foam (the “stretching” phase). Keep the wand at this position for a few seconds to build a good volume of foam.
Once you have enough foam, submerge the wand deeper into the milk to heat it (the “texturing” phase). You’ll want to heat the milk to an ideal temperature between 140°F and 150°F. If you go too far towards 160°F, the milk can start to scald, losing its sweetness and developing an unpleasant taste. A food thermometer that clips to your frothing pitcher can be incredibly helpful here for precise temperature control. When done, turn off the steam and wipe the wand clean immediately.
Tap the pitcher gently on the counter to eliminate any large air bubbles, then swirl the milk vigorously. This integrates the foam and warm milk, creating a smooth, glossy microfoam that is essential for a delicious latte.
4. Combining the Elements
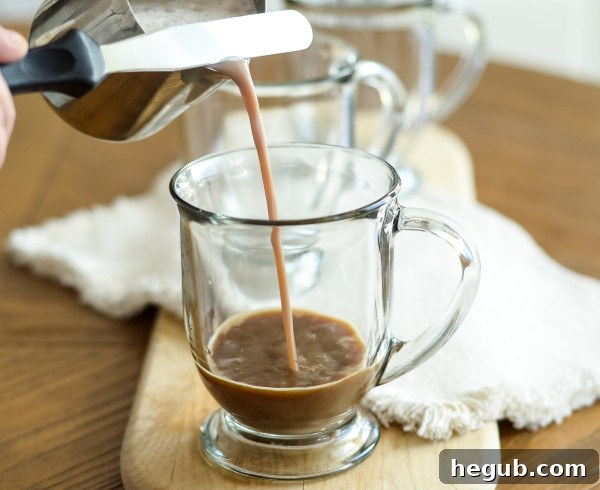
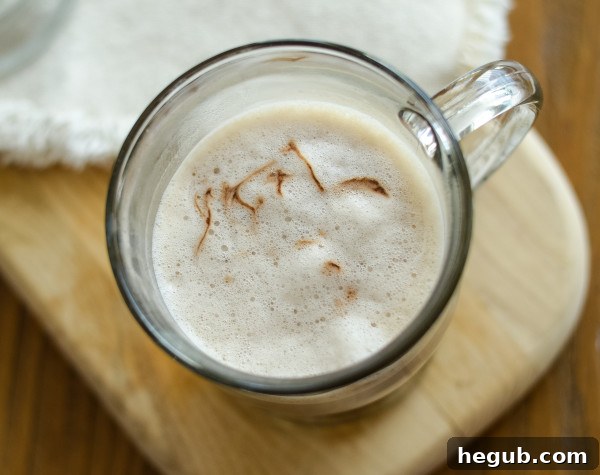
Now, it’s time to bring it all together. Pour your freshly brewed espresso shots into your pre-warmed serving cup. Next, holding the frothing pitcher, gently pour the steamed chocolate milk into the cup. As you pour, use a spatula or a spoon to hold back the thicker foam at the top of the pitcher, allowing the smooth, velvety milk to integrate with the espresso first. Once the cup is almost full, then release the foam, letting it settle on top of your drink to create a lovely, inviting layer.
5. The Finishing Touches
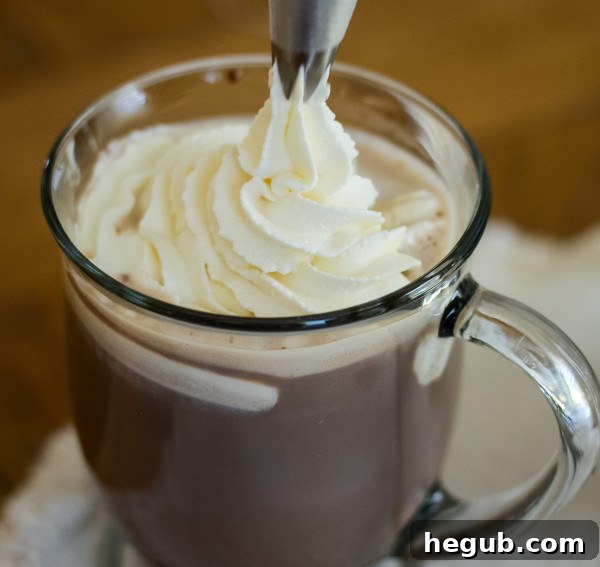
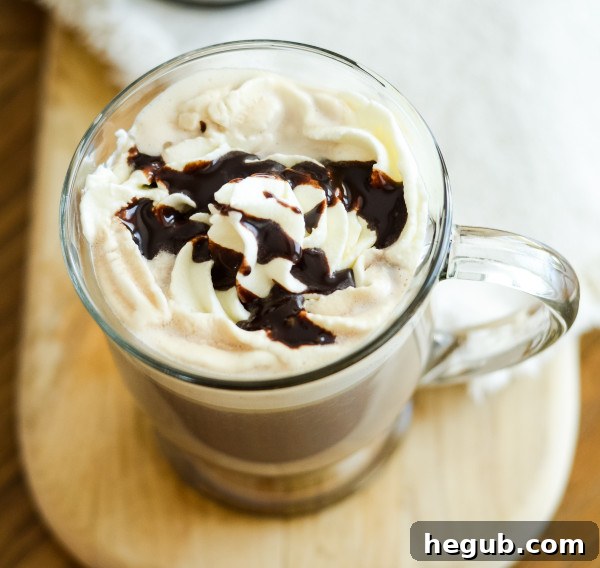
A Cafe Mocha is wonderful on its own, but toppings can elevate it to an even higher level of indulgence. Consider finishing your drink with a dollop of fresh whipped cream, a generous drizzle of extra chocolate sauce, a sprinkle of cocoa powder, or even a few delicate chocolate shavings. These not only add visual appeal but also enhance the overall flavor and texture, making your homemade mocha truly irresistible.
Unleash Your Creativity: Customizing Your Cafe Mocha with Flavored Syrups
One of the greatest advantages of making coffee drinks at home is the endless possibility for customization. As mentioned earlier, many classic coffee shop recipes are essentially a base coffee drink to which various flavorings are added. The Cafe Mocha is no exception. This means you have complete control over creating a personalized beverage that perfectly suits your mood and taste preferences.
Want a festive Peppermint Mocha during the holidays? Simply add about a tablespoon of peppermint syrup to your milk and chocolate sauce before steaming. Craving a rich and sweet Caramel Mocha? A swirl of caramel syrup will do the trick. The possibilities are truly vast!
Beyond peppermint and caramel, consider experimenting with other popular syrup flavors such as:
- Vanilla: For a classic, subtly sweet aroma.
- Hazelnut: Adds a warm, nutty depth.
- Toasted Marshmallow: For a campfire-inspired treat.
- Pumpkin Spice: Perfect for autumn vibes.
- Gingerbread: Another excellent choice for seasonal warmth.
You can find a wide variety of flavored syrups online or at specialty grocery stores. My personal favorite flavored syrups are Skinny Syrups, which offer delicious taste with fewer calories, but feel free to explore and find brands that you love. Don’t be afraid to mix and match flavors or even add a pinch of ground cinnamon or nutmeg for an extra layer of complexity. The more you experiment, the closer you’ll get to discovering your ultimate custom mocha blend!
Explore More of Your Favorite Coffee Drink Recipes
Once you’ve mastered the art of the Cafe Mocha, you’ll be well-equipped to tackle other popular coffeehouse beverages. The fundamental techniques of brewing, steaming, and flavoring are often transferable, opening the door to an exciting world of home-brewed delights. Here are a few more recipes to inspire your inner barista:
- Iced Mocha Latte
- Frozen Mocha
- Pumpkin Spice Latte
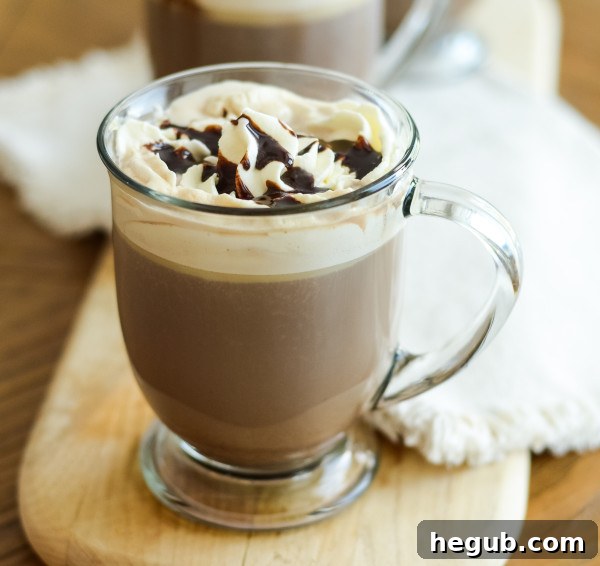
With minimal ingredients and a little practice, this Cafe Mocha recipe transforms your morning coffee routine into a luxurious ritual. You’ll be cozying up with a gourmet, chocolate-infused masterpiece in no time, skipping the queue and enjoying barista-quality results right in the comfort of your home. It’s an easy, rewarding way to elevate your coffee experience!
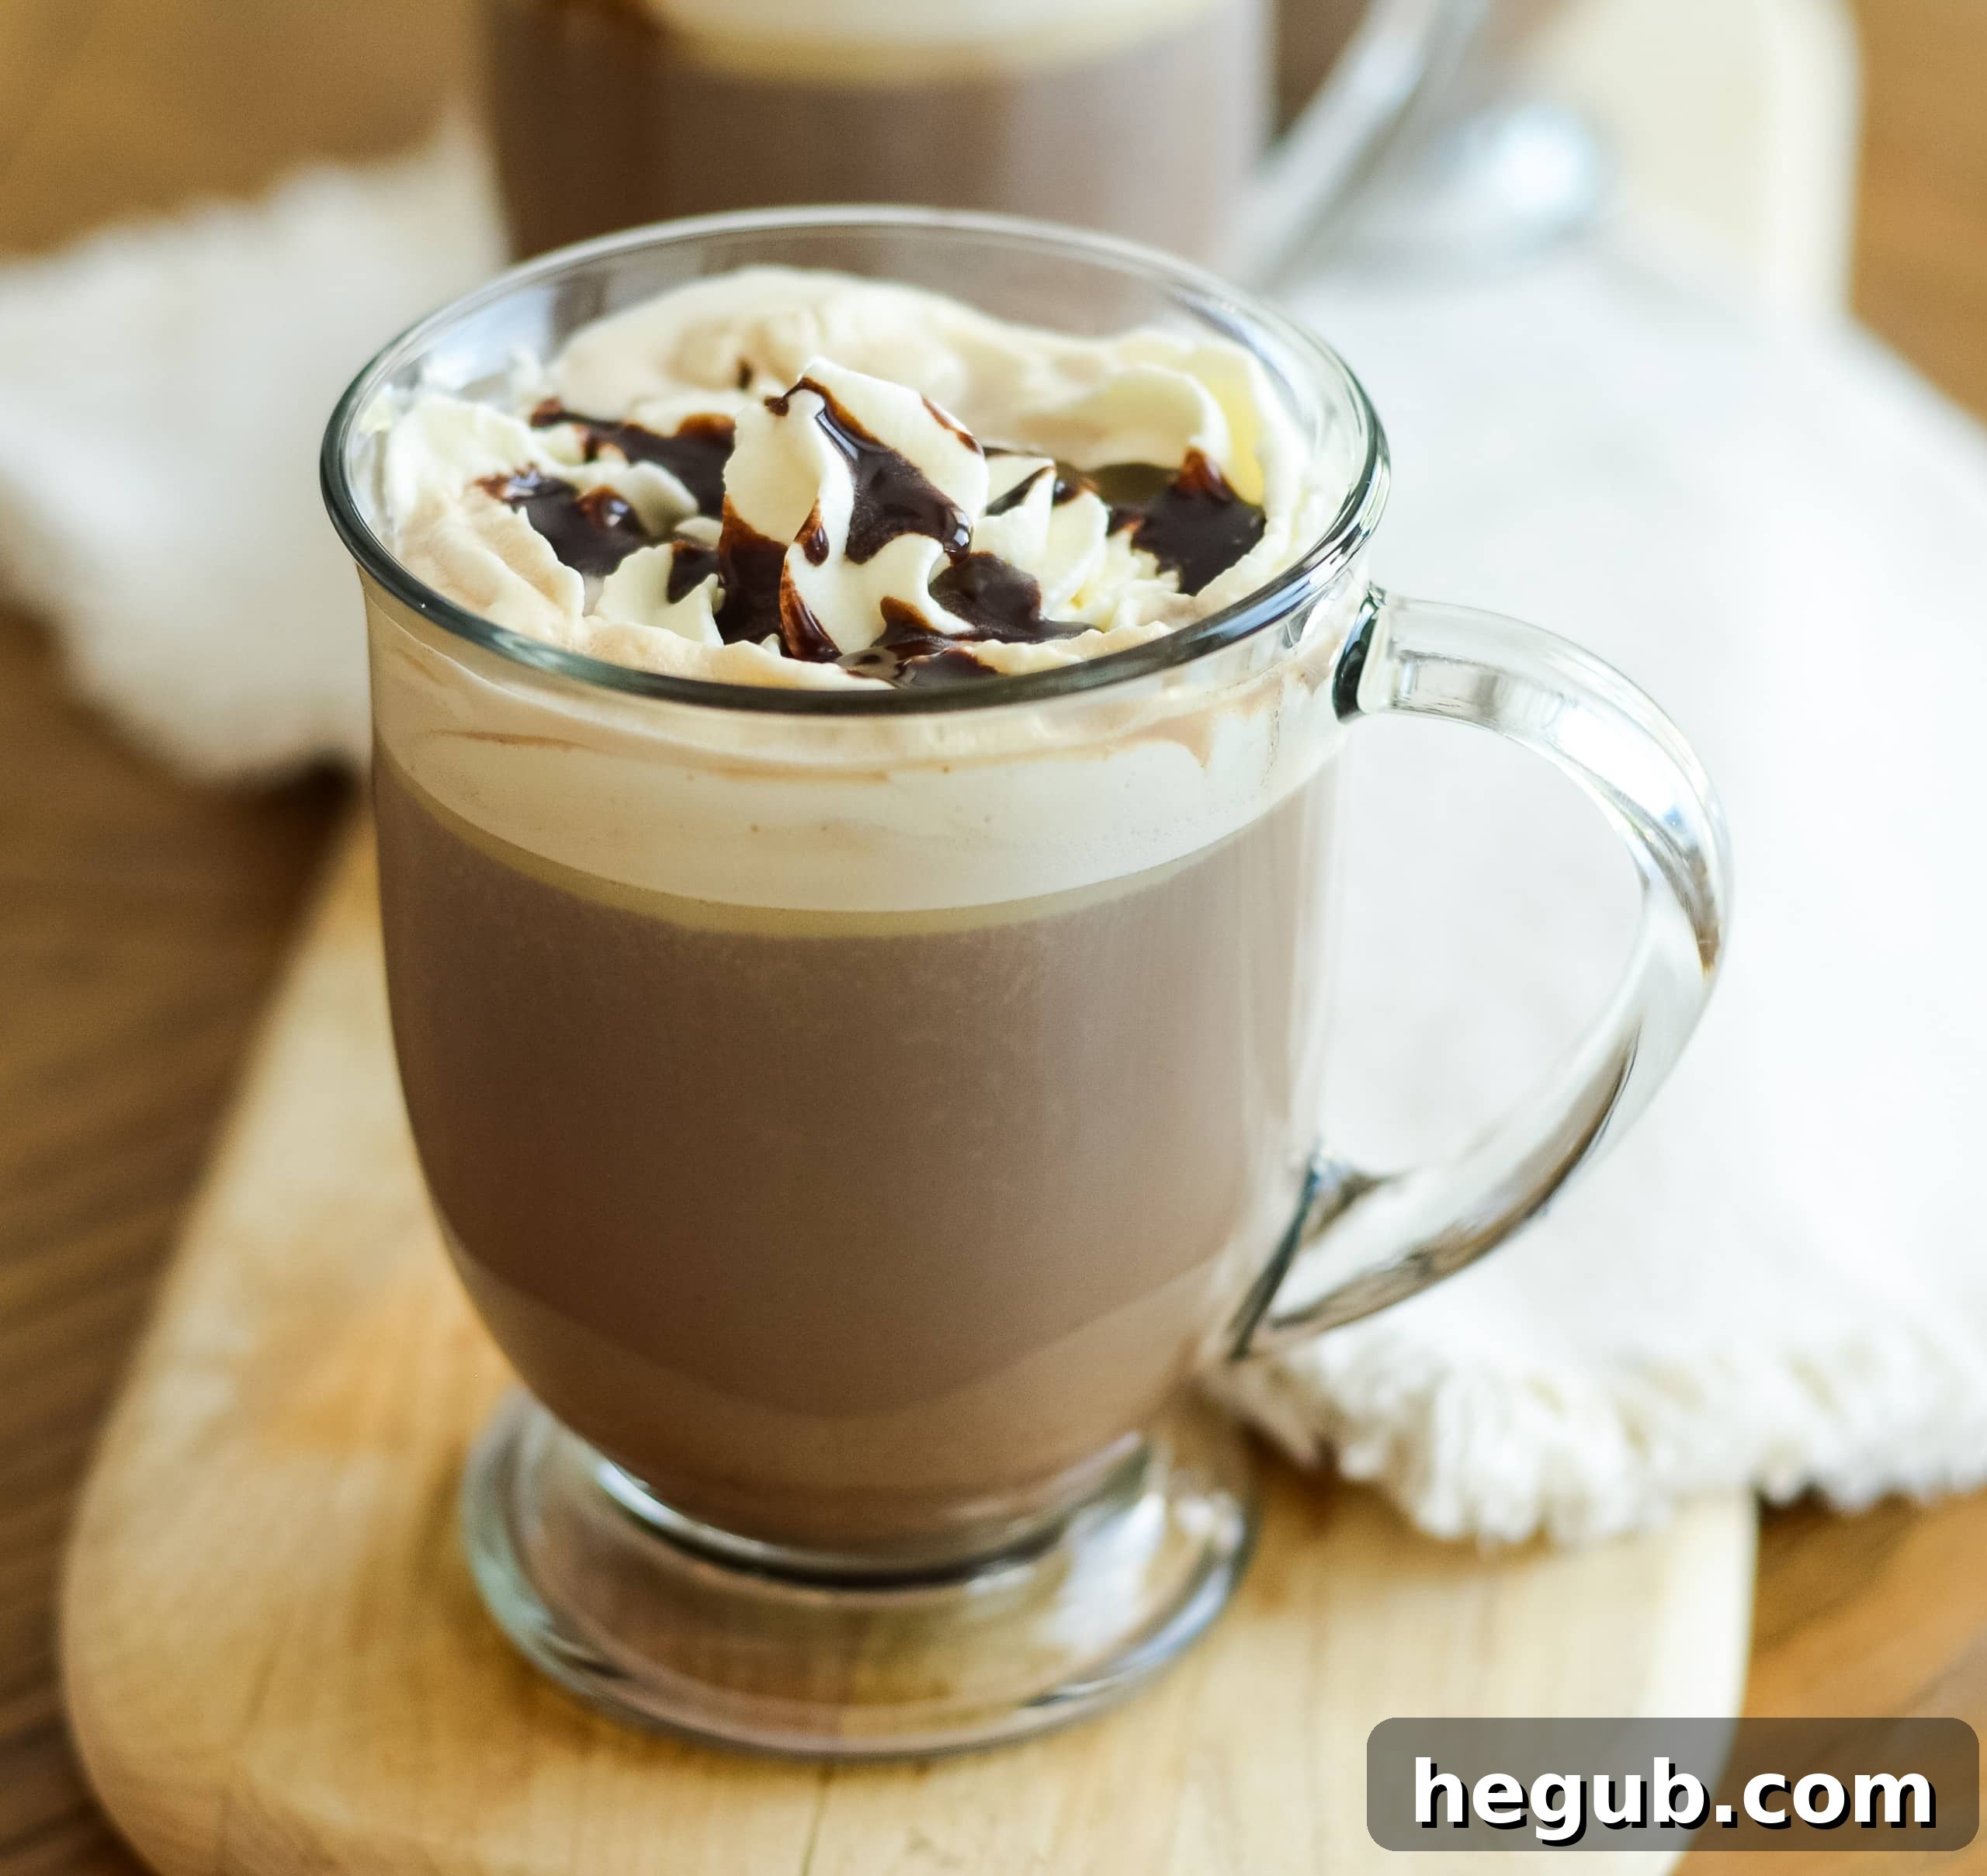
Cafe Mocha Latte
Ingredients
- 2 Shots Espresso (Total 2oz)
- 2 Tbsp Chocolate Sauce
- 1/2 Cup Whole Milk
Homemade Whipped Topping (Optional – Serves 4)
- 1/2 Pint Heavy Whipping Cream
- 4 Tbsp Powdered Sugar
- 1 tsp Vanilla Extract
- Decorators Bag
- 1 M Wilton Tip
Instructions
-
This method uses an espresso machine with a milk steamer and frother.
-
Begin by using your espresso machine per the instructions on your machine to make 2 shots of espresso. This is the equivalent of 2 oz.
-
Add 1/2 cup milk to your milk steaming pitcher, then stir in the chocolate sauce.
-
Once stirred in, slowly steam the milk until it reaches 140°F, anything above 160°F is extra hot.
-
Pour the shots into the cup you plan to use, then use a spatula to sift off the foam as you pour the warm chocolate milk into the cup, then let the foam go on top. There will likely just be a small bit of foam, not much since this is a latte.
-
Serve topped with whipped cream and chocolate sauce.
Making the Whipped Cream:
-
Add the heavy whipping cream, powdered sugar, and vanilla to a large bowl. Use a whisk and whisk well until stiff peaks are formed creating the whipped cream.
-
Add the 1M tip to your decorator’s bag and spoon in the whipped cream.
-
Serve. This makes enough whipped cream for 4+ drinks. To store, it needs to be stored in an airtight container in the fridge. This has to be refrigerated nonstop or it will not last.
Notes
If you do not have an espresso machine, use 1/4 cup of dark roast brewed coffee. Then, warm your milk and chocolate sauce in the microwave for about 2 minutes, and continue on with the instructions above. For frothing milk without a steamer, you can use a French press (plunge vigorously), a handheld frother, or even vigorously whisk hot milk.
The serving size is for 1 Mocha without Whipped Cream.
Nutrition
Did you make this recipe?
Make sure to tag #mommyhatescooking on Instagram and follow for more @momhatescooking
📍Pin Recipe
Share on Facebook